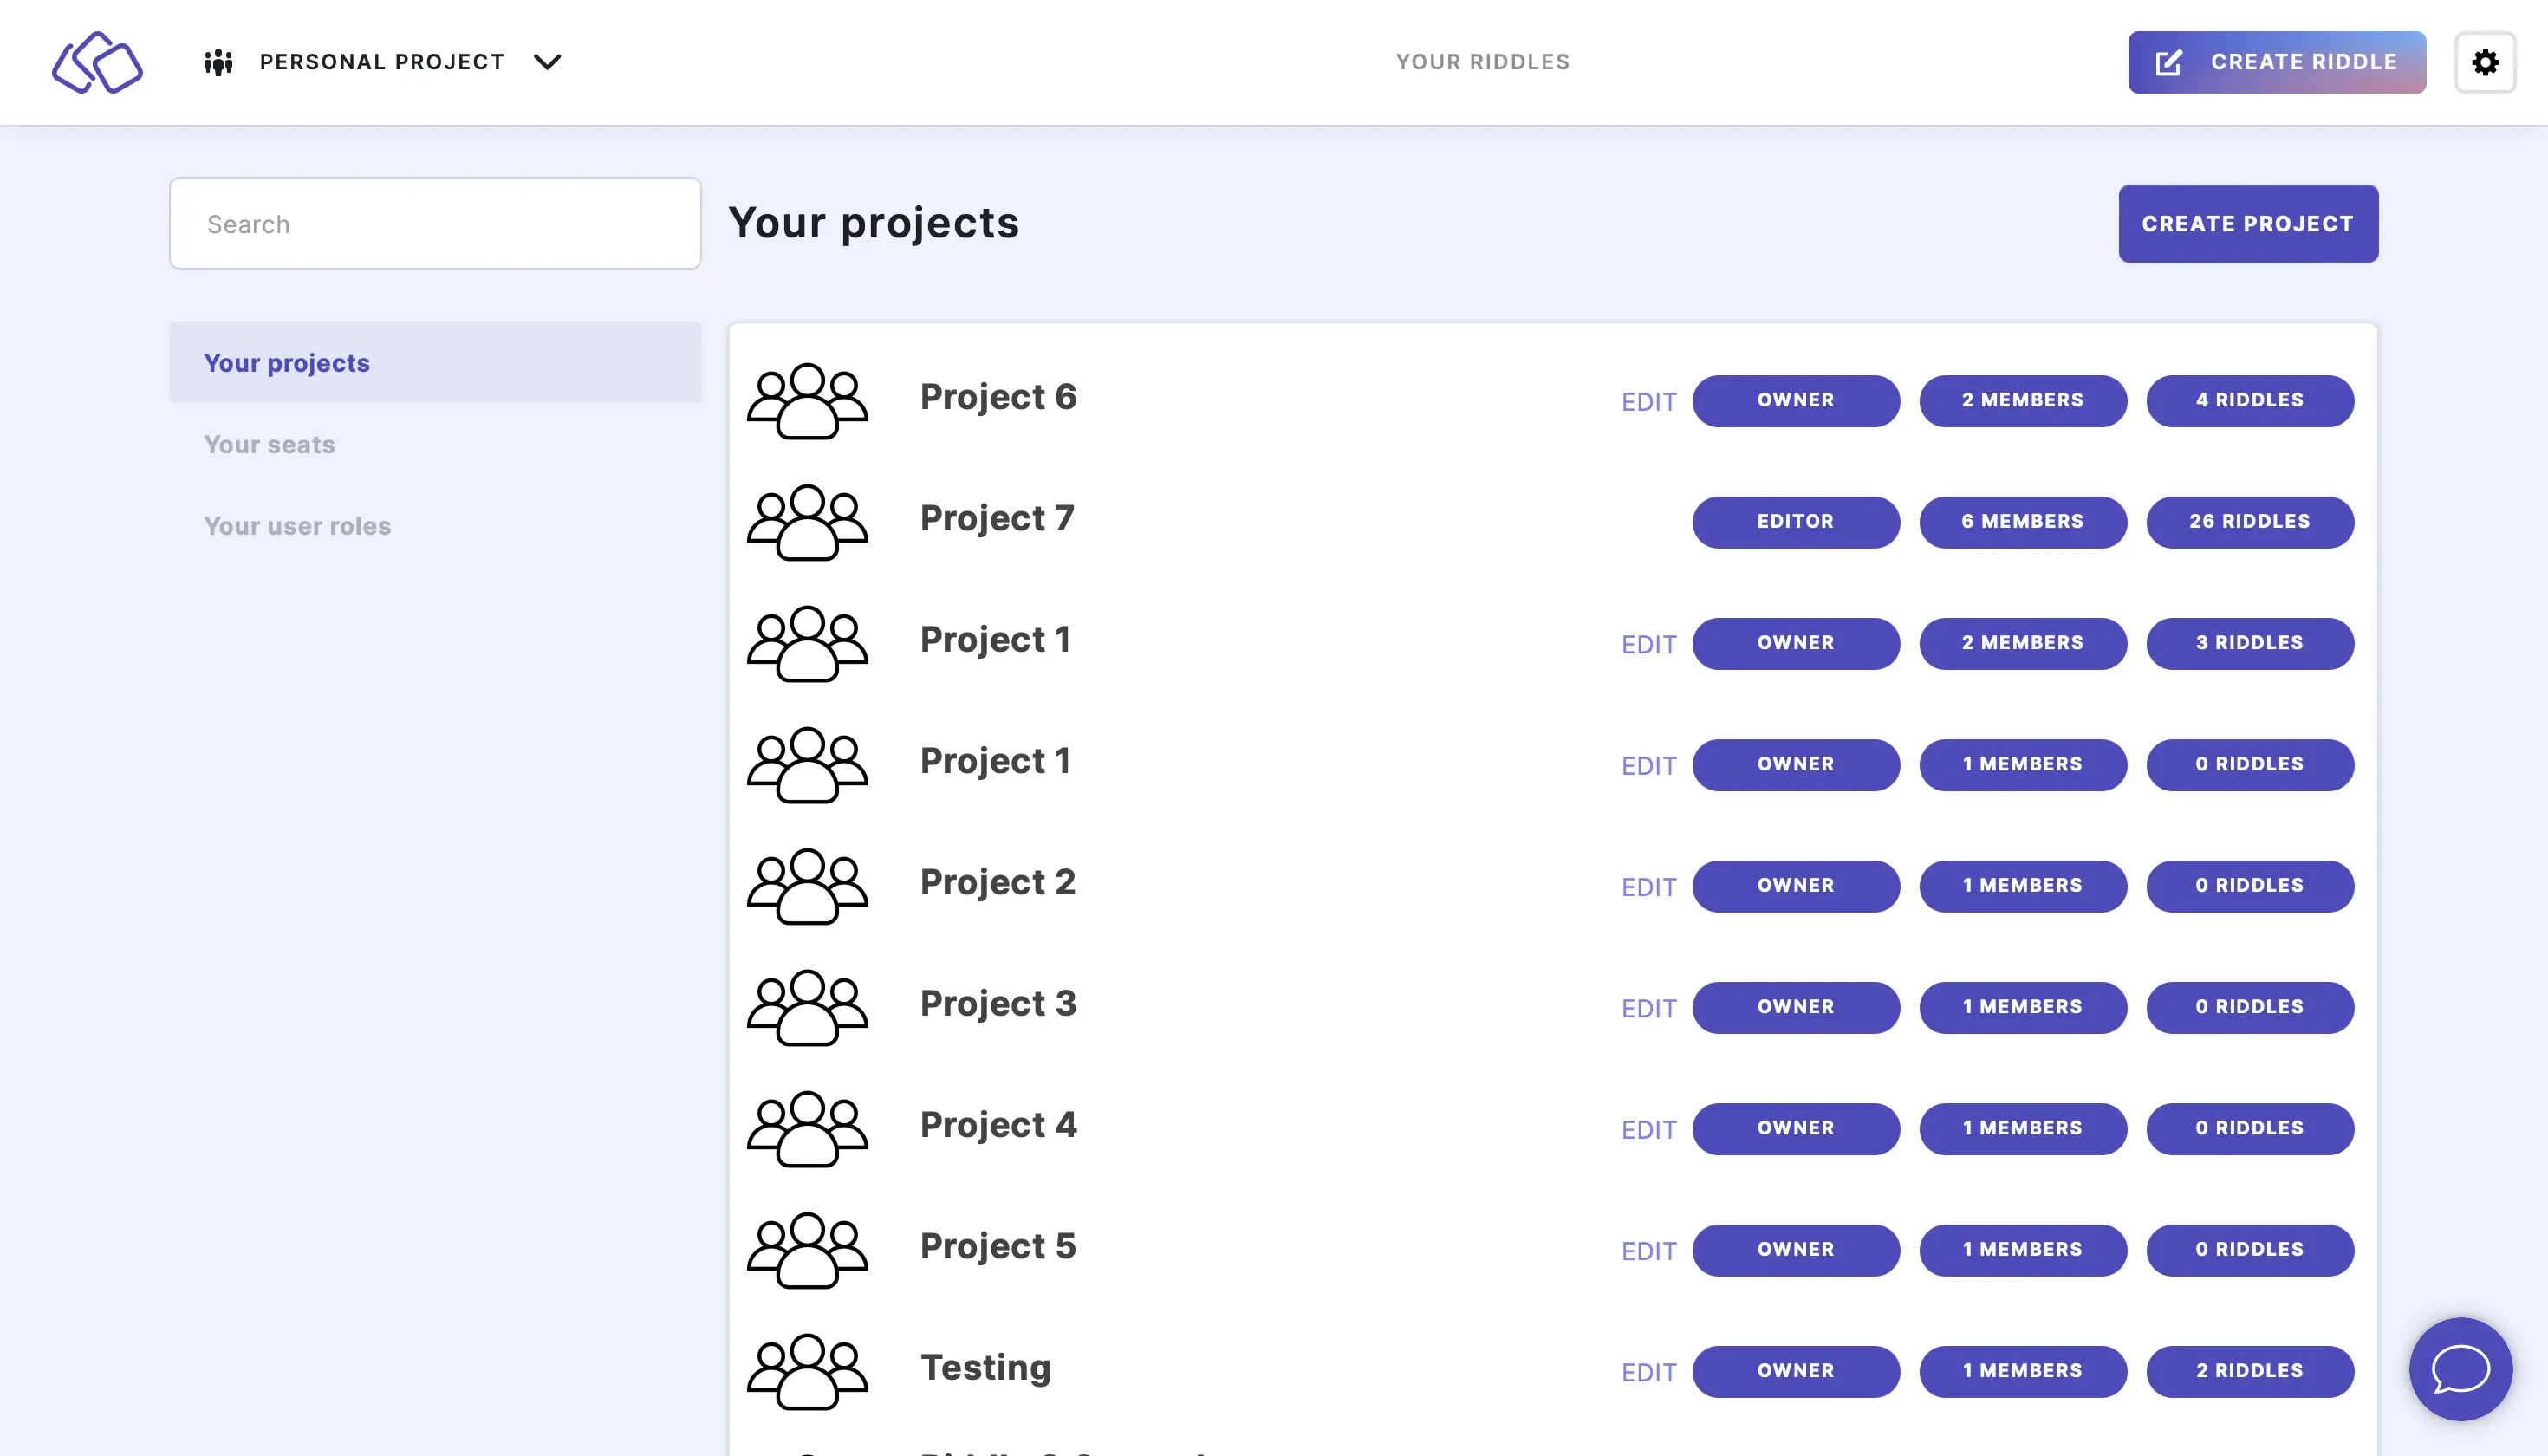
Your projects
All Riddle plans are multi-user so you can collaborate on Riddles with colleagues and clients.
Create a new project
When you log in to your Riddle account, you will be in your PERSONAL account by default. To work with others on a Riddle you need to create a project so that you can work together.
- Go to the main menu in the top right corner and click on Your projects under COLLABORATION.
- Click on CREATE PROJECT.
- Type a project title into the Name field.
- Click on CREATE.
Add a member to a project

- Go to the main menu in the top right corner and click on Your projects under COLLABORATION.
- Go to one of your projects.
- Click on Members on the menu list on the left.
- Type in the email addresses of the people you want to add to the project into the Email field.
- Assign a role to this person from the dropdown menu.
- Click on the green ADD MEMBER button.
- Repeat steps 2-5 for all the people you would like to add.
The number of available and used seats appears with a percentage bar. Your maximum number of seats depends on which plan and how many added seats you have. - If the added member already has a Riddle login, the Riddle will be visible in the project in their account immediately.
If the added member does not have a Riddle login yet, they will receive an email with a link for joining the project (see Join a project below).
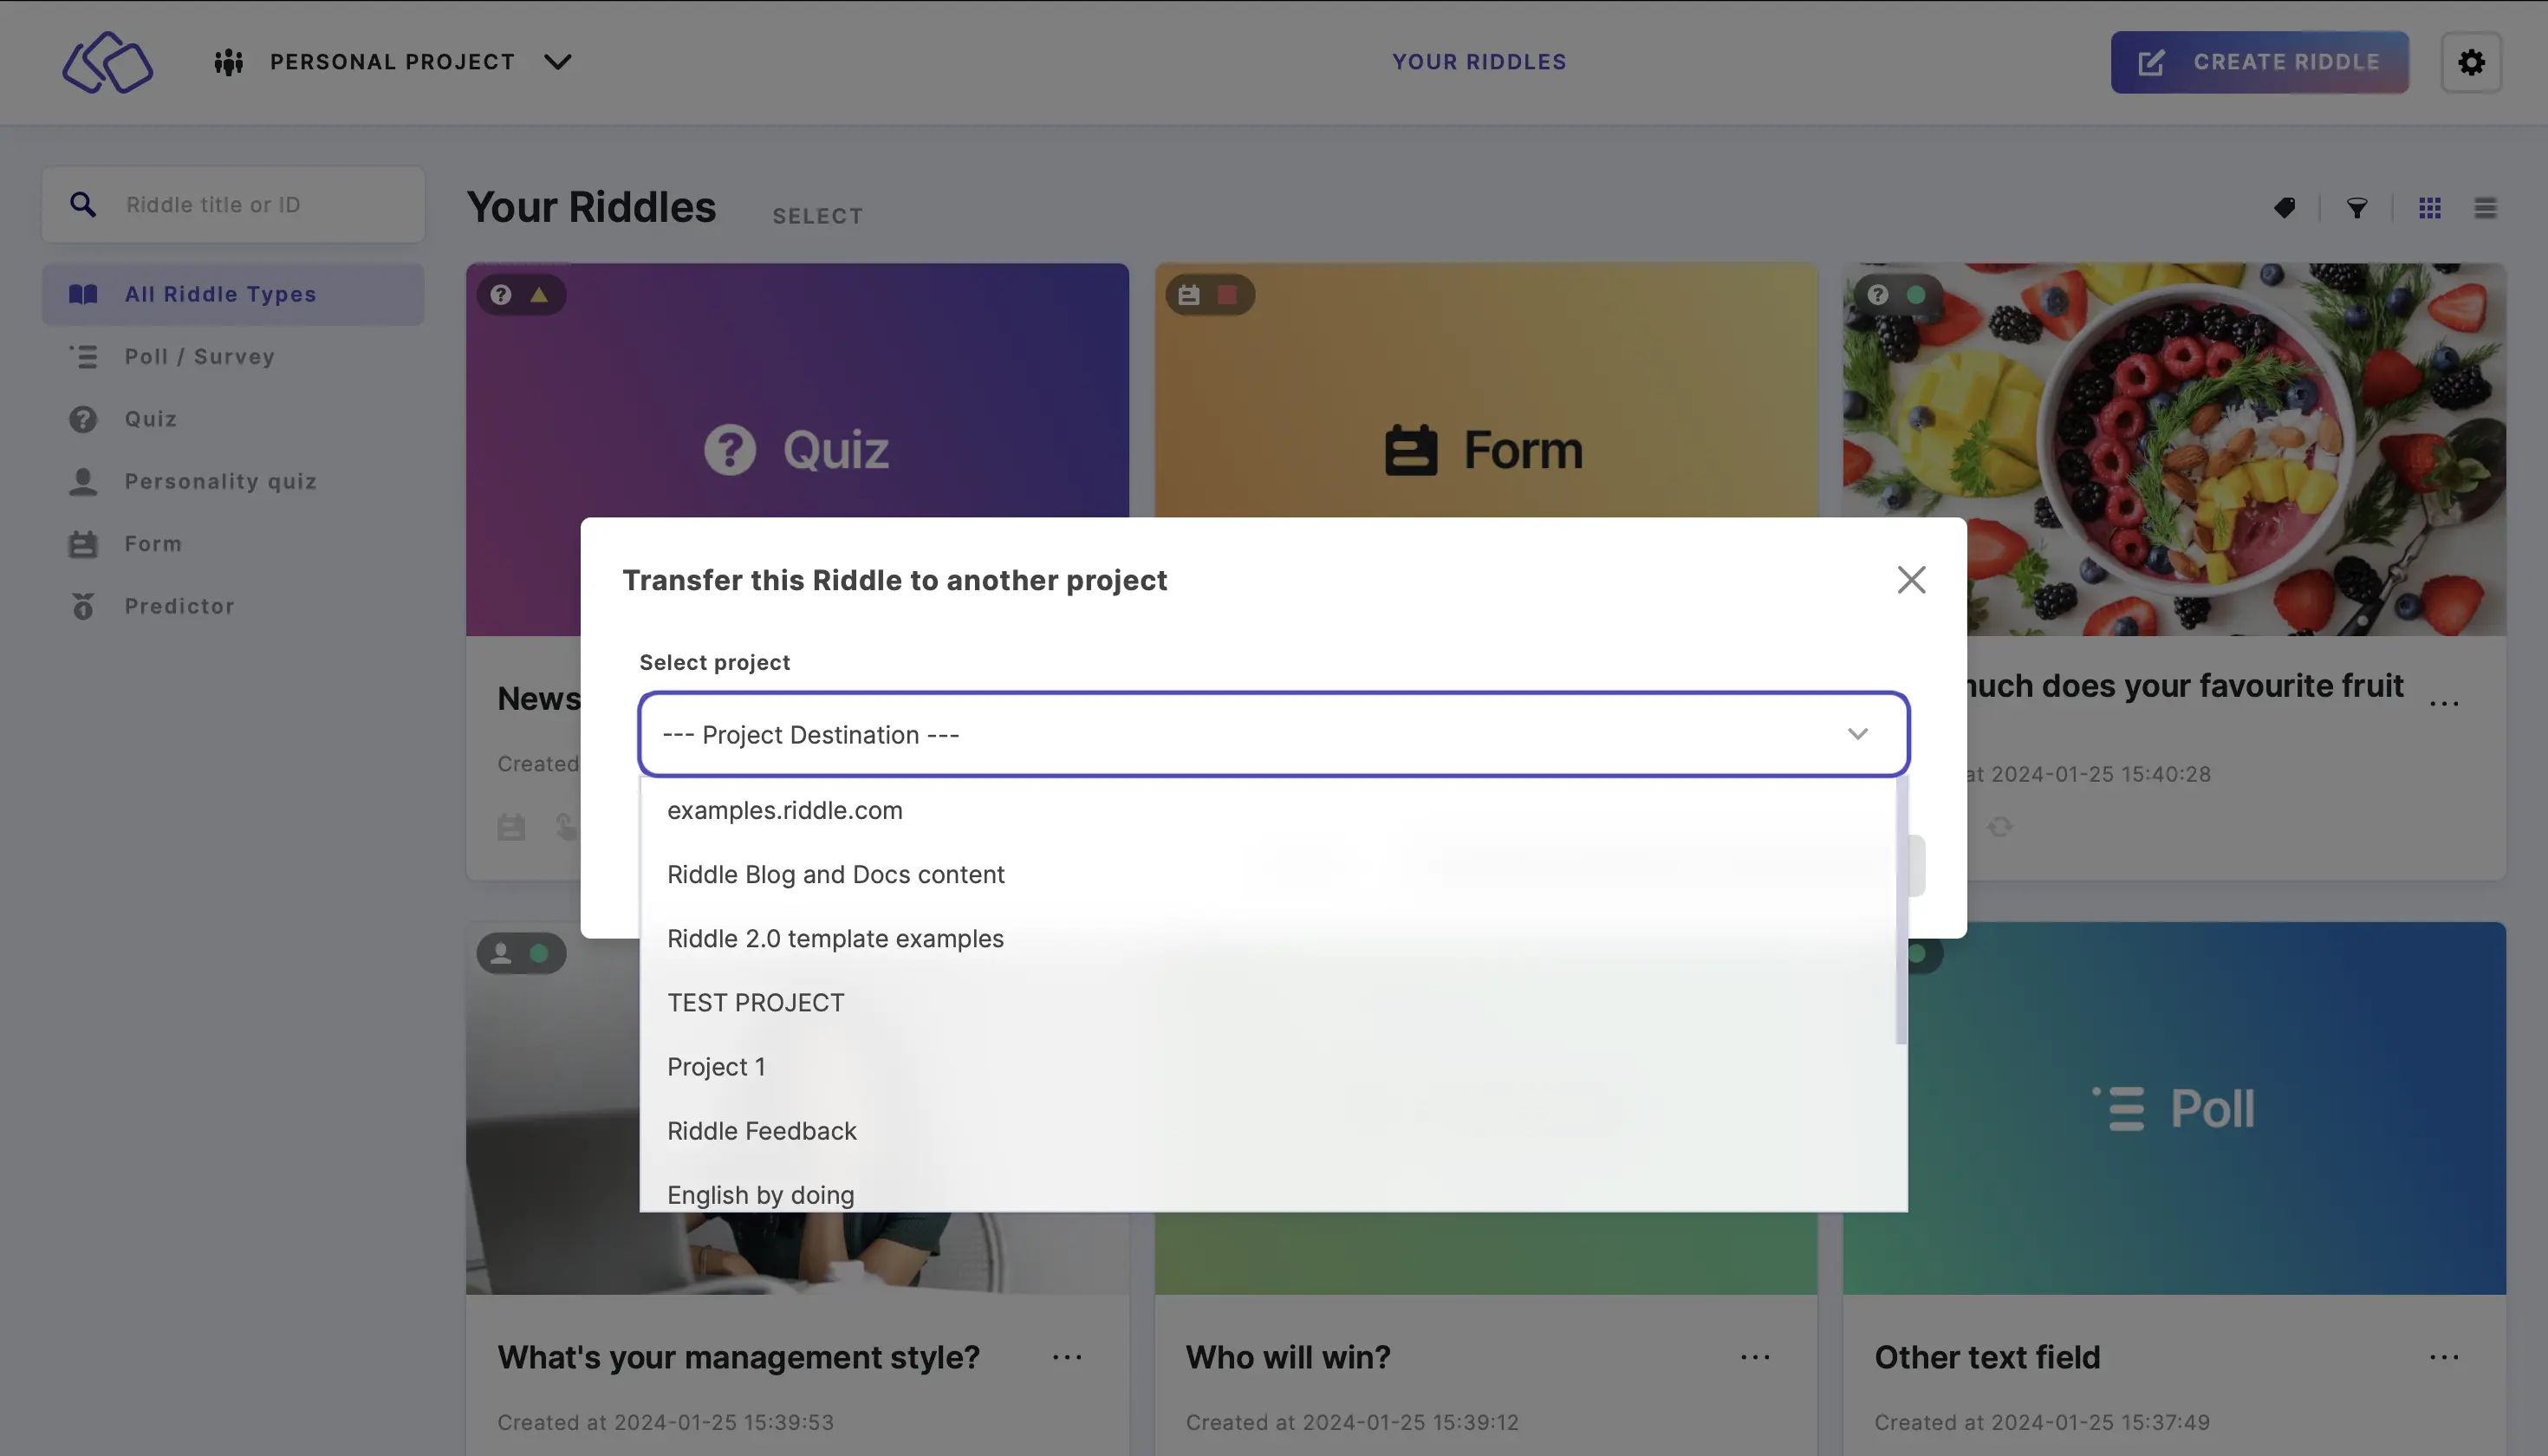
Transfer an existing Riddle to a project
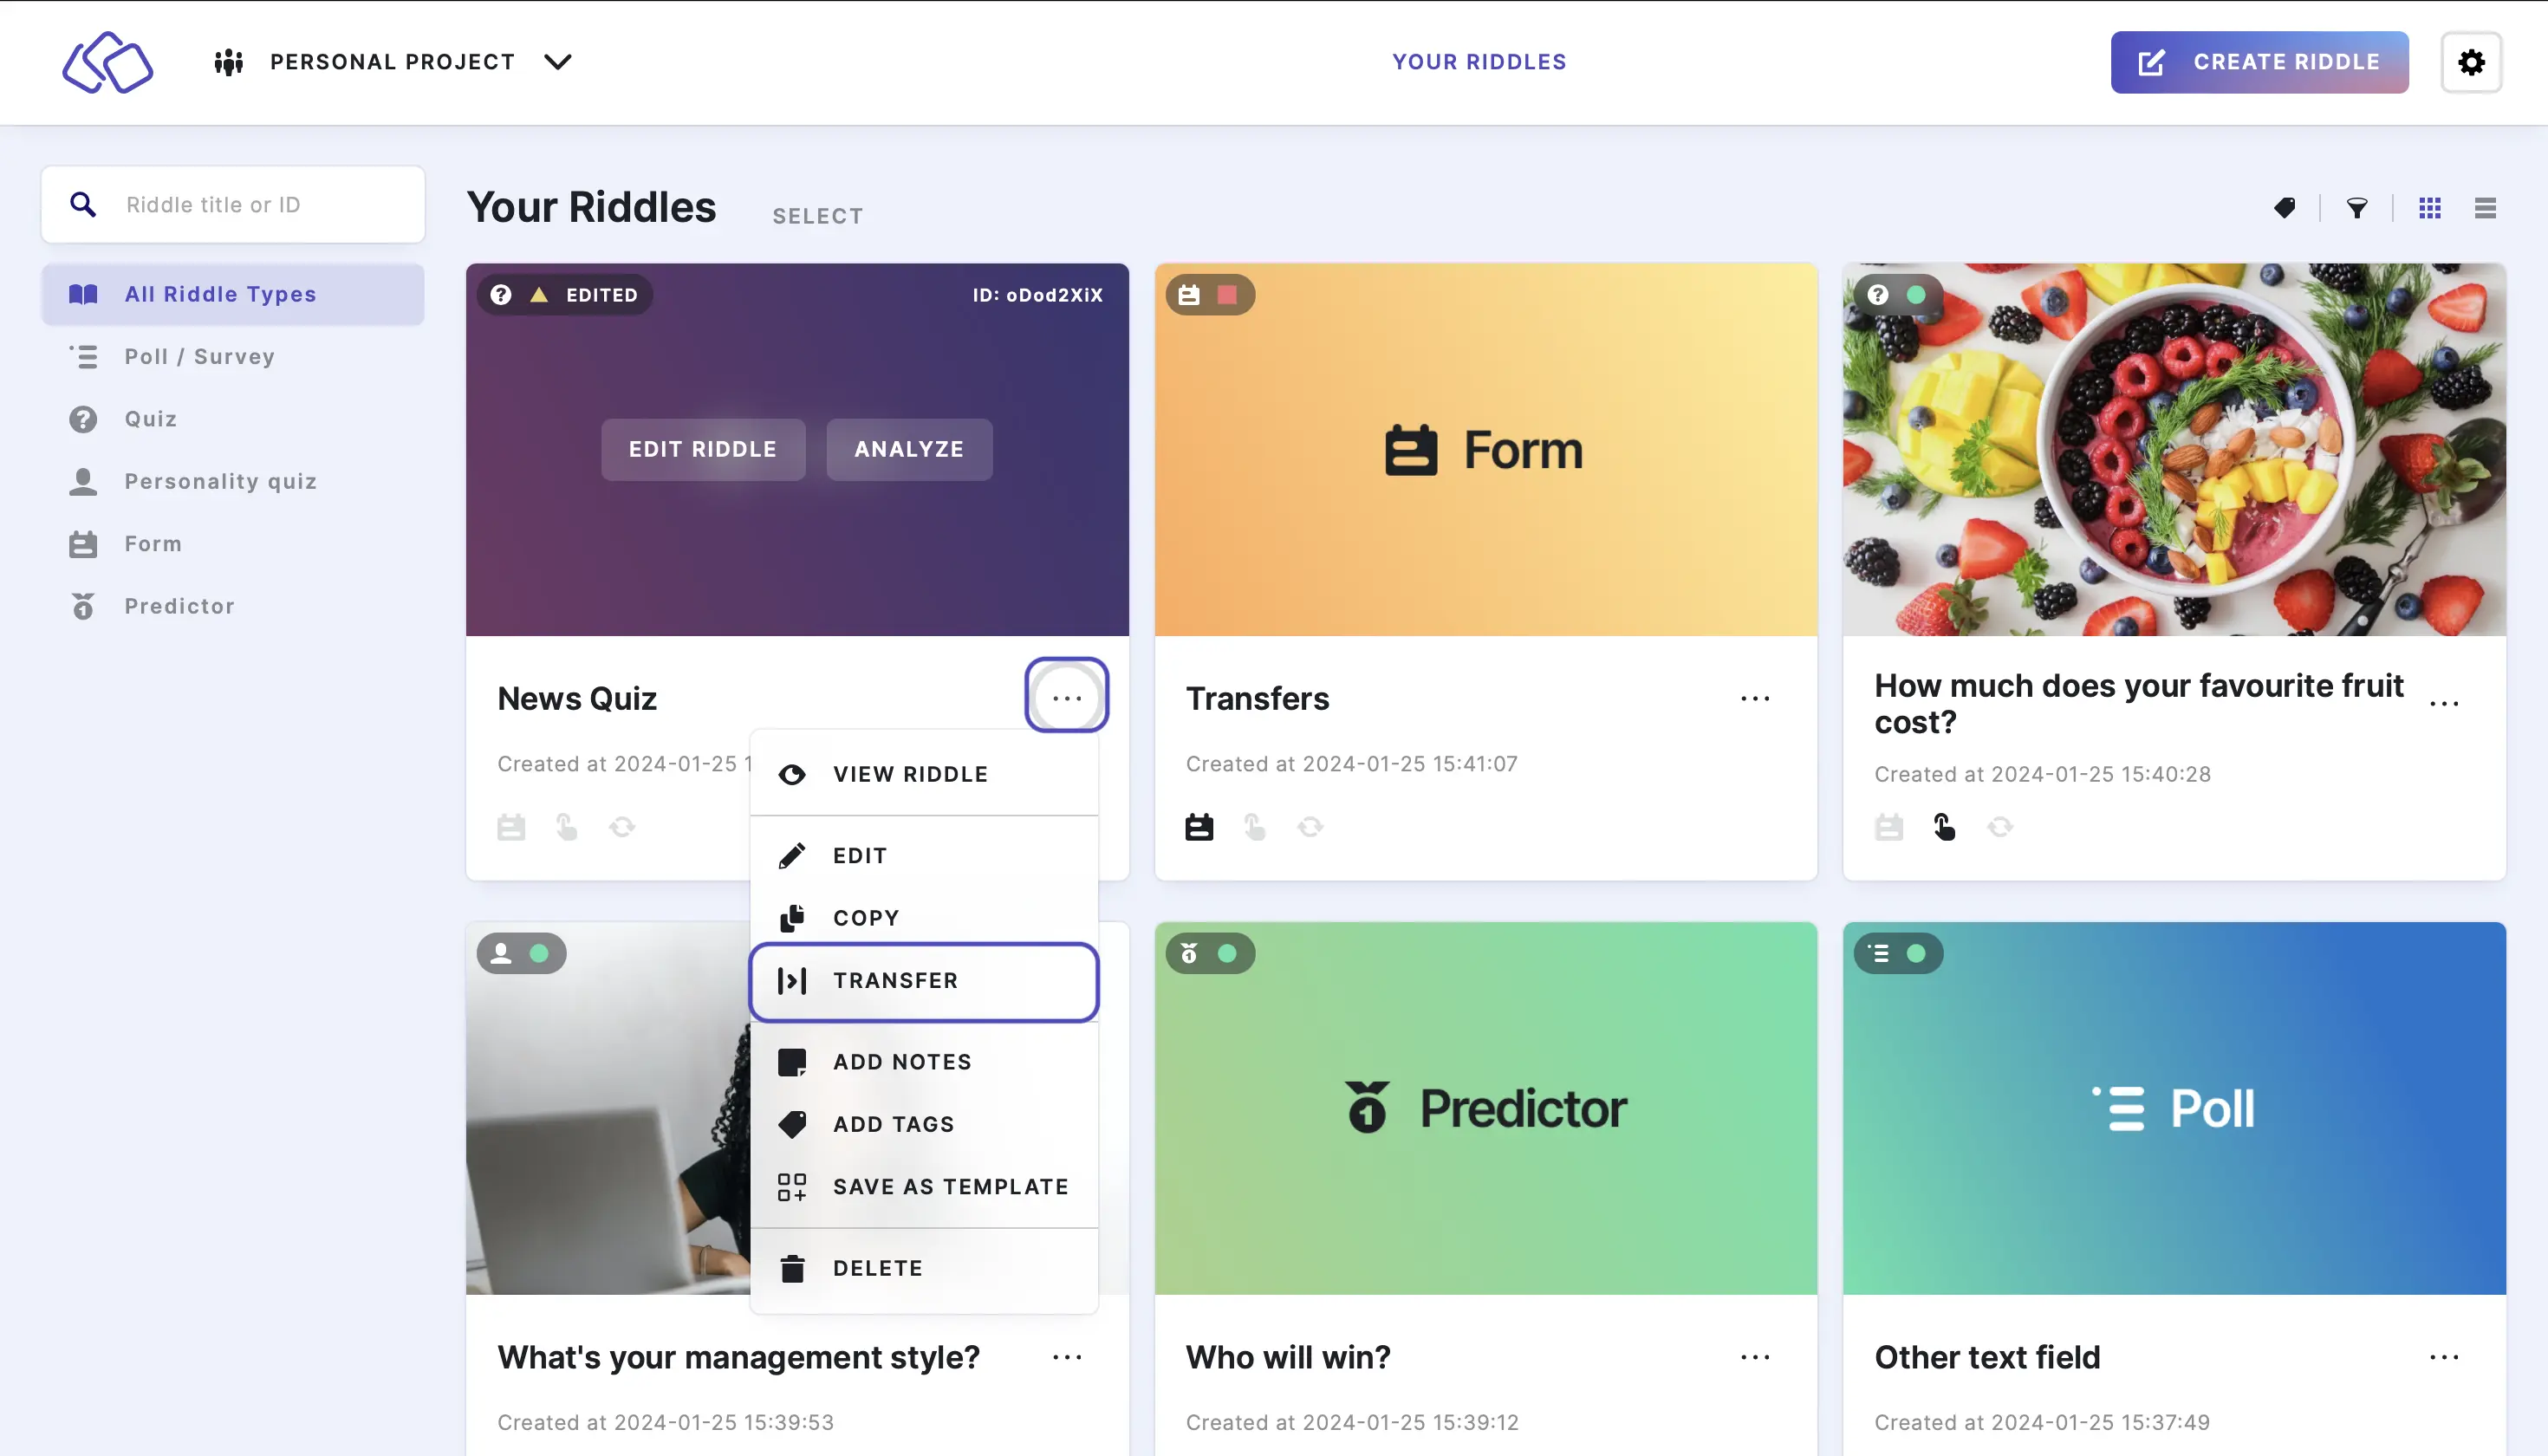
- Go to YOUR RIDDLES.
- Click on the three dots next to your Riddle and then TRANSFER.
- Select a Project Destination from the dropdown menu.
- Click on CONFIRM TRANSFER TO THIS PROJECT.
Edit members

- Go to the main menu in the top right corner and click on Your projects under COLLABORATION.
- Click on EDIT next to the project you would like to change.
- Click on Delete to delete a member.
- Select a role from the dropdown menu to change a member's role.
- Enter an email address into the Email field and click on ADD MEMBER to add a new member.
Join a project

- Click on the Riddle.com link in the automated email you receive from Riddle (mail@mailer.riddle.com).
- Use the email address and temporary password provided in the email to log in.
- Click on the three dots in the top right corner.
- Click on Change password under the ACCOUNT section.
- Enter the current password and new password in the password fields.
- Click on the blue UPDATE button.
- Done. You can now edit Riddles or create your own in the project you've joined.
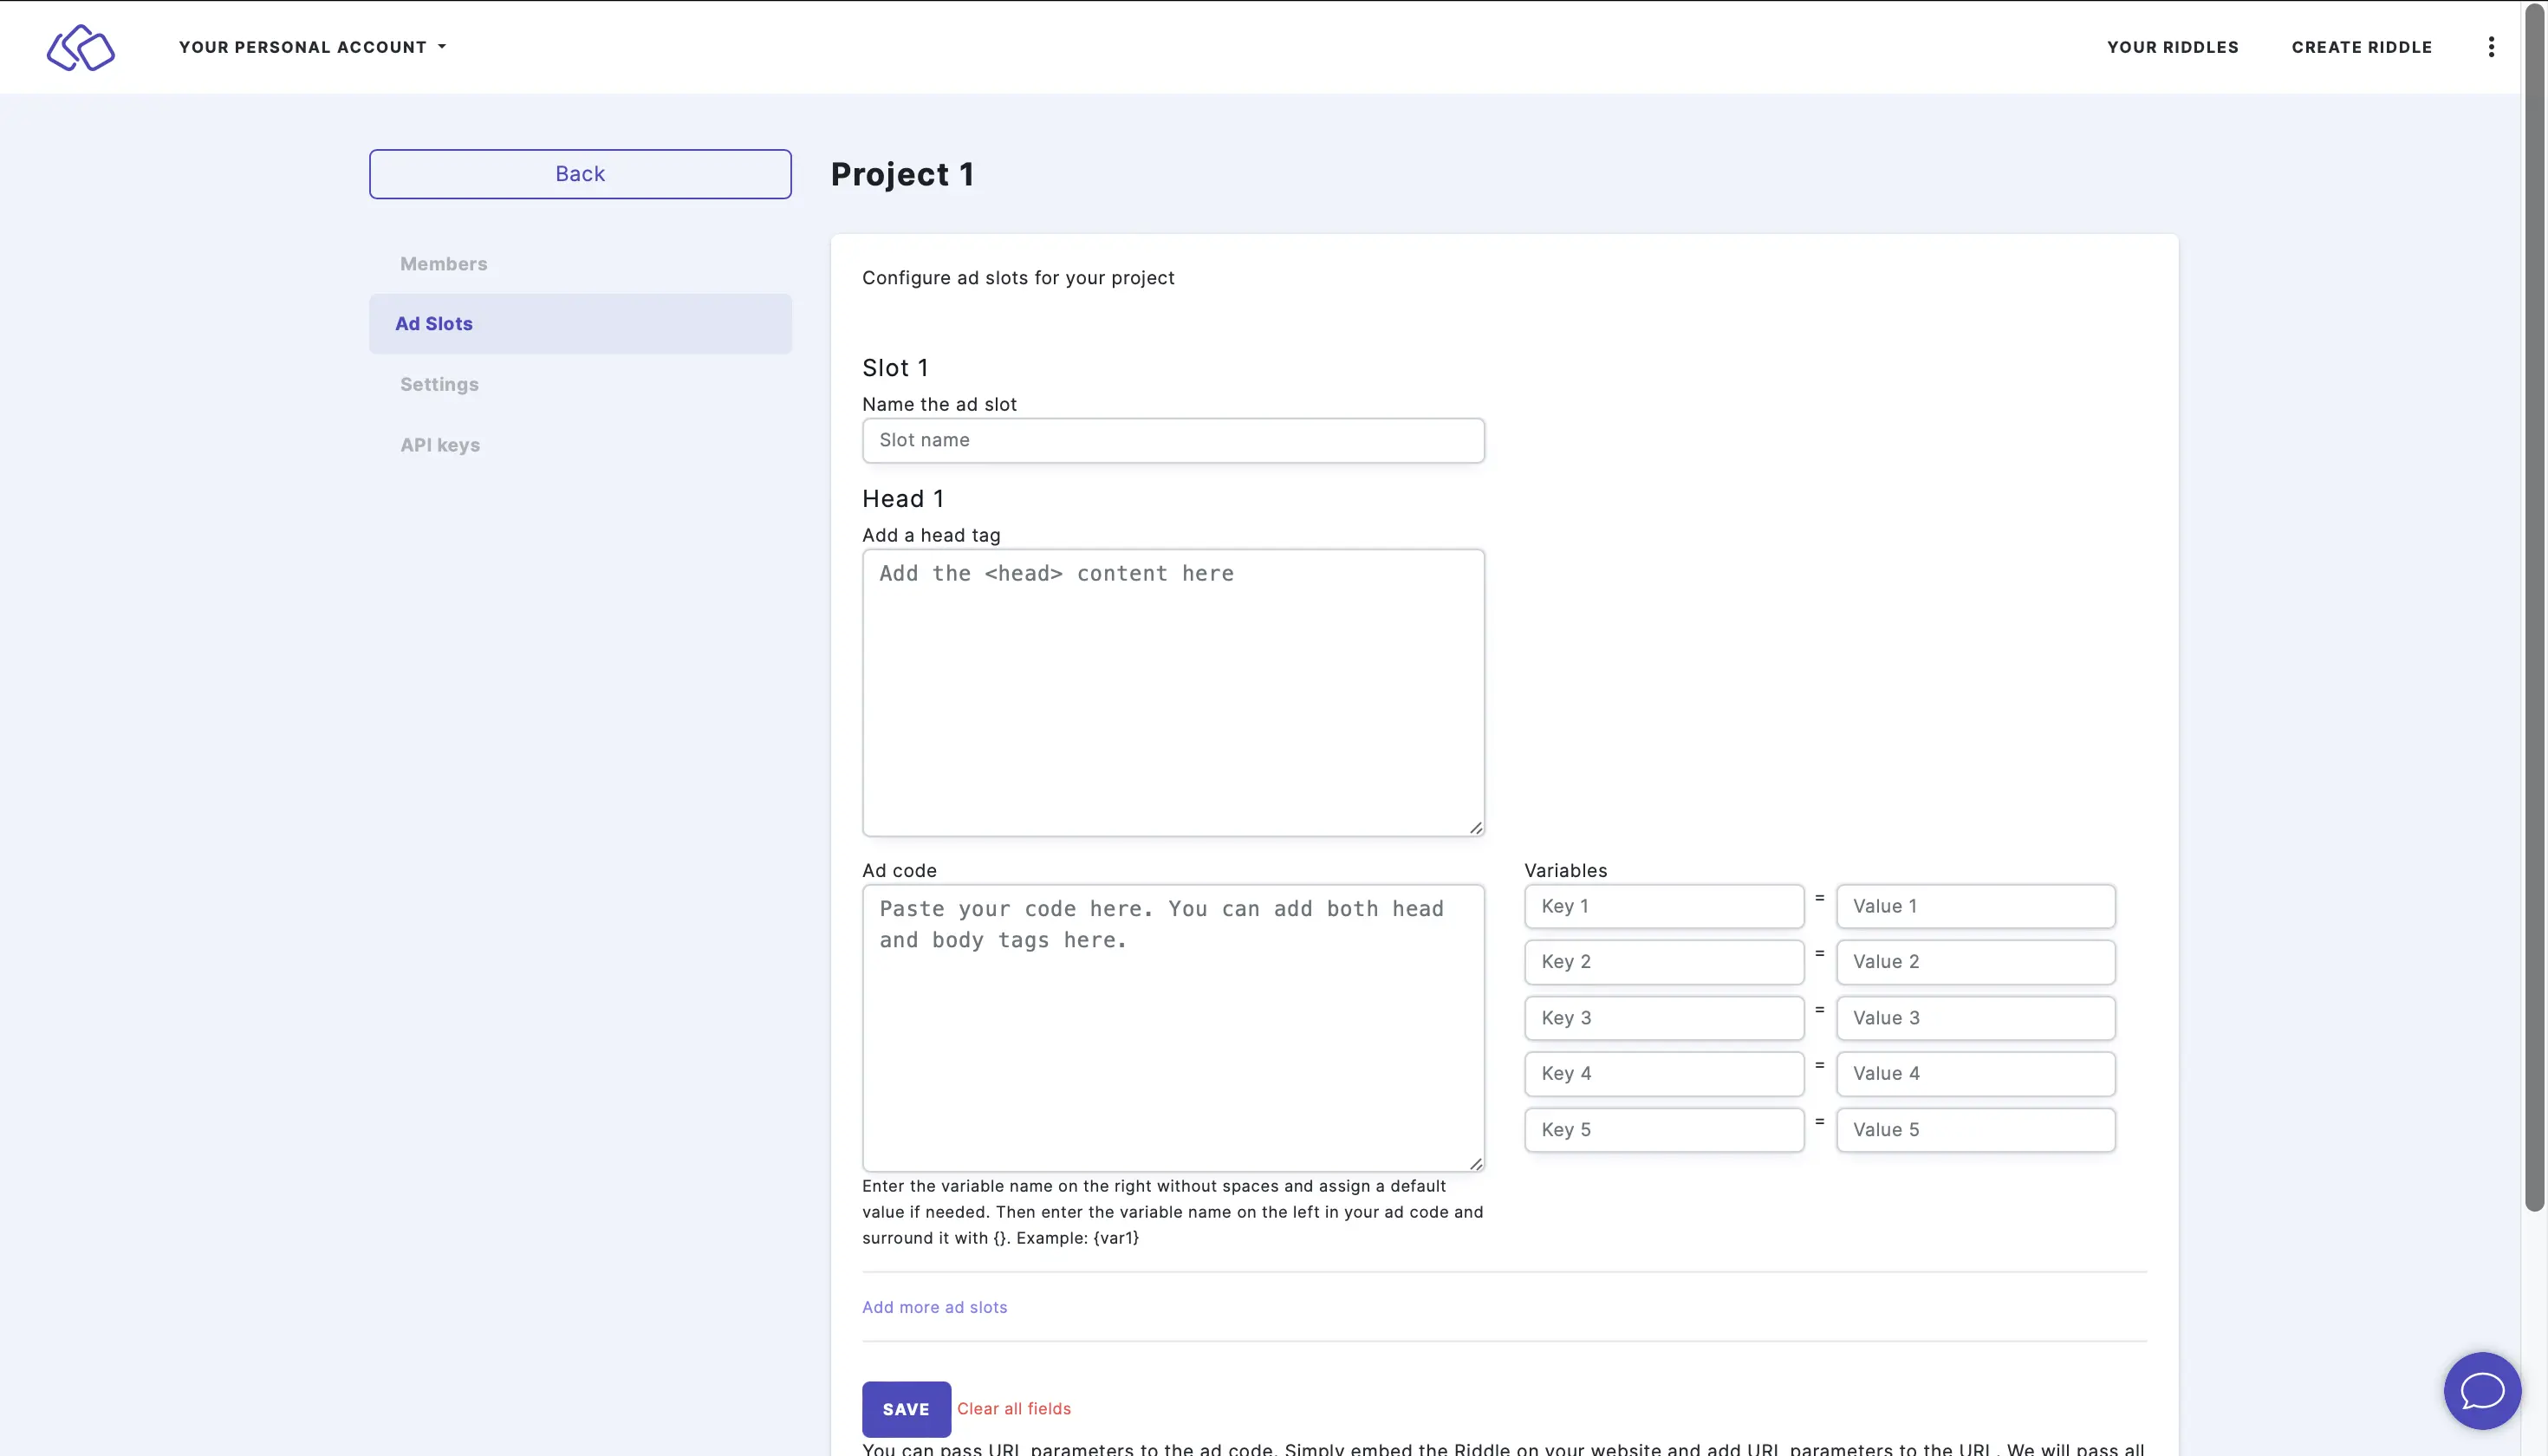
Add ad slots
You can configure ad slots for a project to use again and again in any Riddle in that project.
- Go to the main menu in the top right corner and click on Your projects under COLLABORATION.
- Click on Ad Slots.
- Enter the Slot, Head, Code, and Variables.
- Click on Add more ad slots and repeat step 4 for as many ad slots as you like.
- Click on SAVE.
- You can now insert an ad slot into a Riddle.
Additional project ideas
You might also want to add projects separated by:
- Language
You might be supporting sites across multiple languages, so we recommend Riddle's publishing partners create projects for each language (French, Spanish, etc.). - Department
One project for marketing, another for editorial, and so on. - Client
This is especially true for agencies using Riddle. Client-specific projects help them collaborate while limiting their visibility and access to their content only.
Content locking
When multiple team members work on the same Riddle simultaneously, Riddle uses granular content locking to ensure smooth collaboration without conflicts.
How it works
Previously, if someone was editing a Riddle, the entire Riddle would be locked and unavailable to other users. Now, Riddle uses granular locking that only locks the specific parts of the Creator where another user is actively working.
What gets locked:
- The specific block being edited
- The settings group currently being modified
- The publish settings section if someone is configuring publish options
- The Analyze tab if someone is viewing analytics
What stays accessible:
- Other blocks in the Riddle
- Other settings groups
- Other sections of the Creator
Benefits
- Better collaboration: Multiple team members can work on different parts of the same Riddle simultaneously
- No conflicts: You'll see a visual indicator when a specific section is locked by another user
- More efficient: No need to wait for someone to finish editing before you can start working
- Clear communication: You can see exactly which parts are in use and by whom
Visual indicators
When a section is locked by another user, you'll see:
- A lock icon indicating which part is currently being edited
- The name of the user who is currently editing that section
- A message indicating that the section will be available once the other user finishes
This granular approach makes collaboration smoother and more efficient, allowing teams to work together without stepping on each other's toes.
Top tips
- You can create unlimited workspaces / projects with Riddle and then invite any of your colleagues or clients for $19 per month (see our pricing here).
- Don't worry - each user can belong to any number of projects. They will only be counted as a single user.
- Create a minimum of two projects, one for finished Riddles, the other for drafts. When your team finalizes a Riddle, they should transfer the Riddle to the finished project.