Result page
You can create a result page for your users where they see their score, title, or other text.
The default page(s) appear(s) automatically when your audience completes the Riddle. You don't have to click on or change anything. There are two default result pages for a quiz, and one default result page for the others Riddle formats.
You can also customize the result page(s). There are six different elements you can have and edit on your result page.
- Click on Add a result block bottom left in the CREATE section and choose .
- Choose Result page.
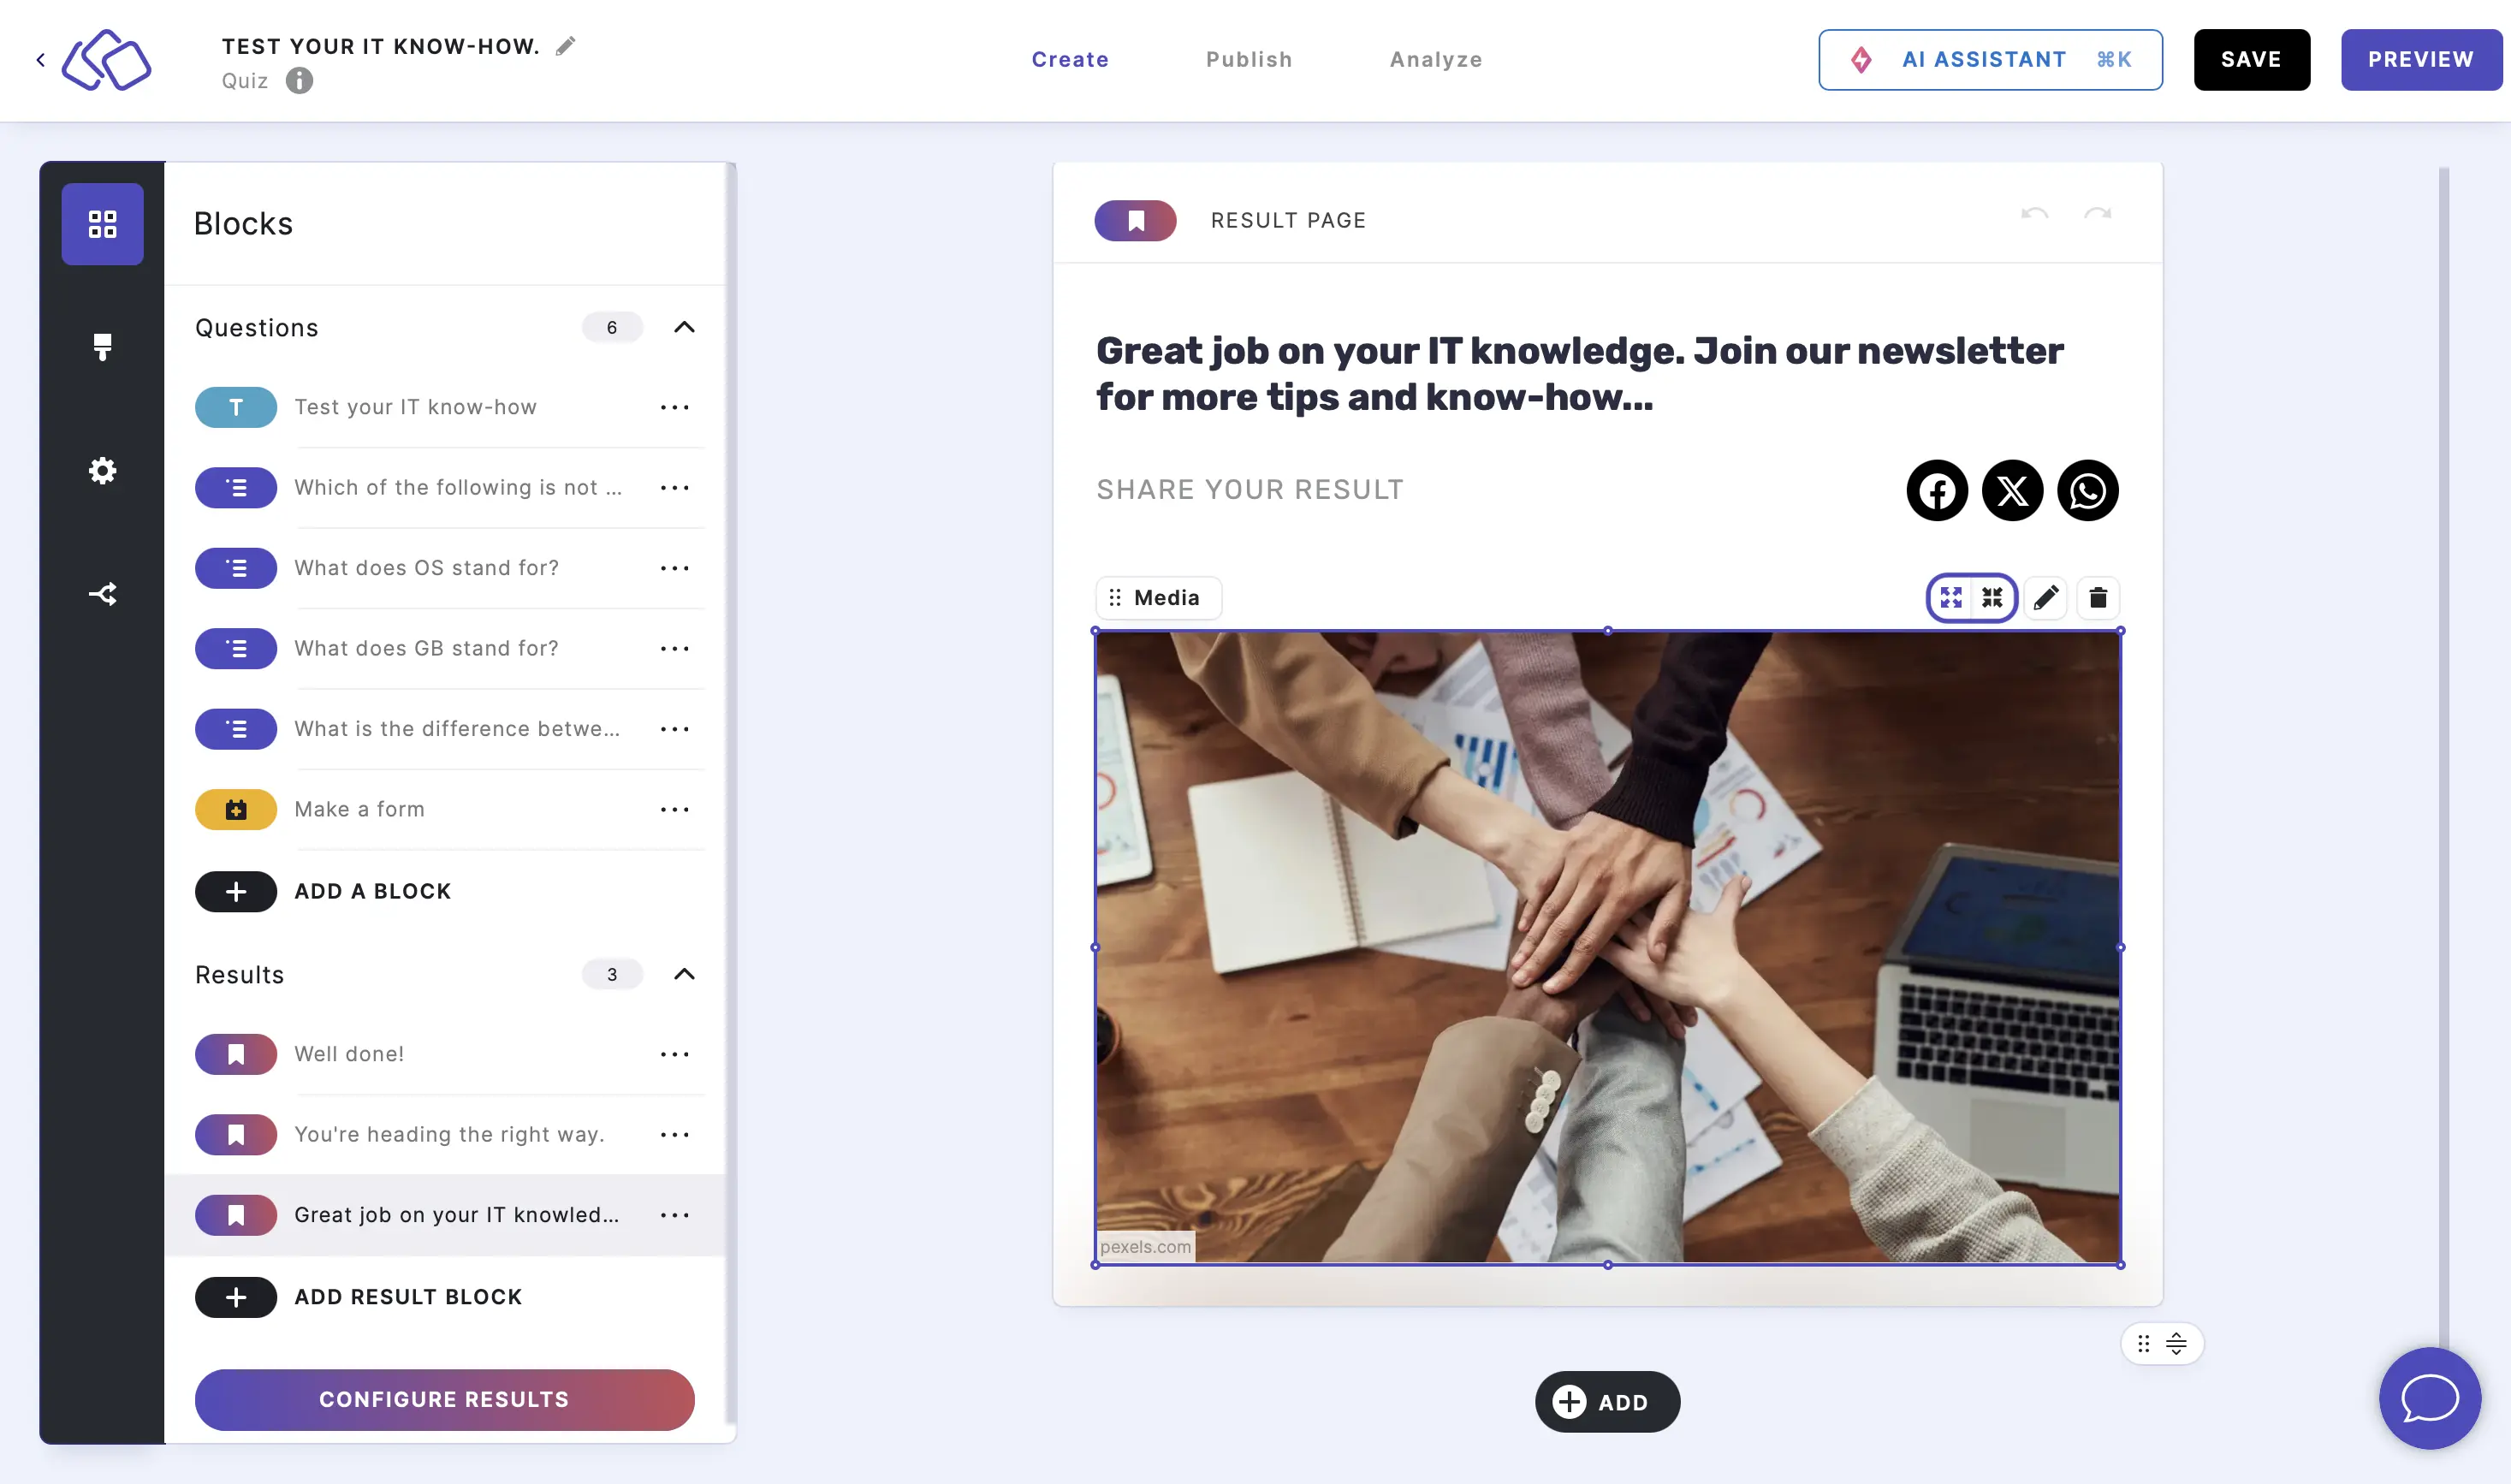
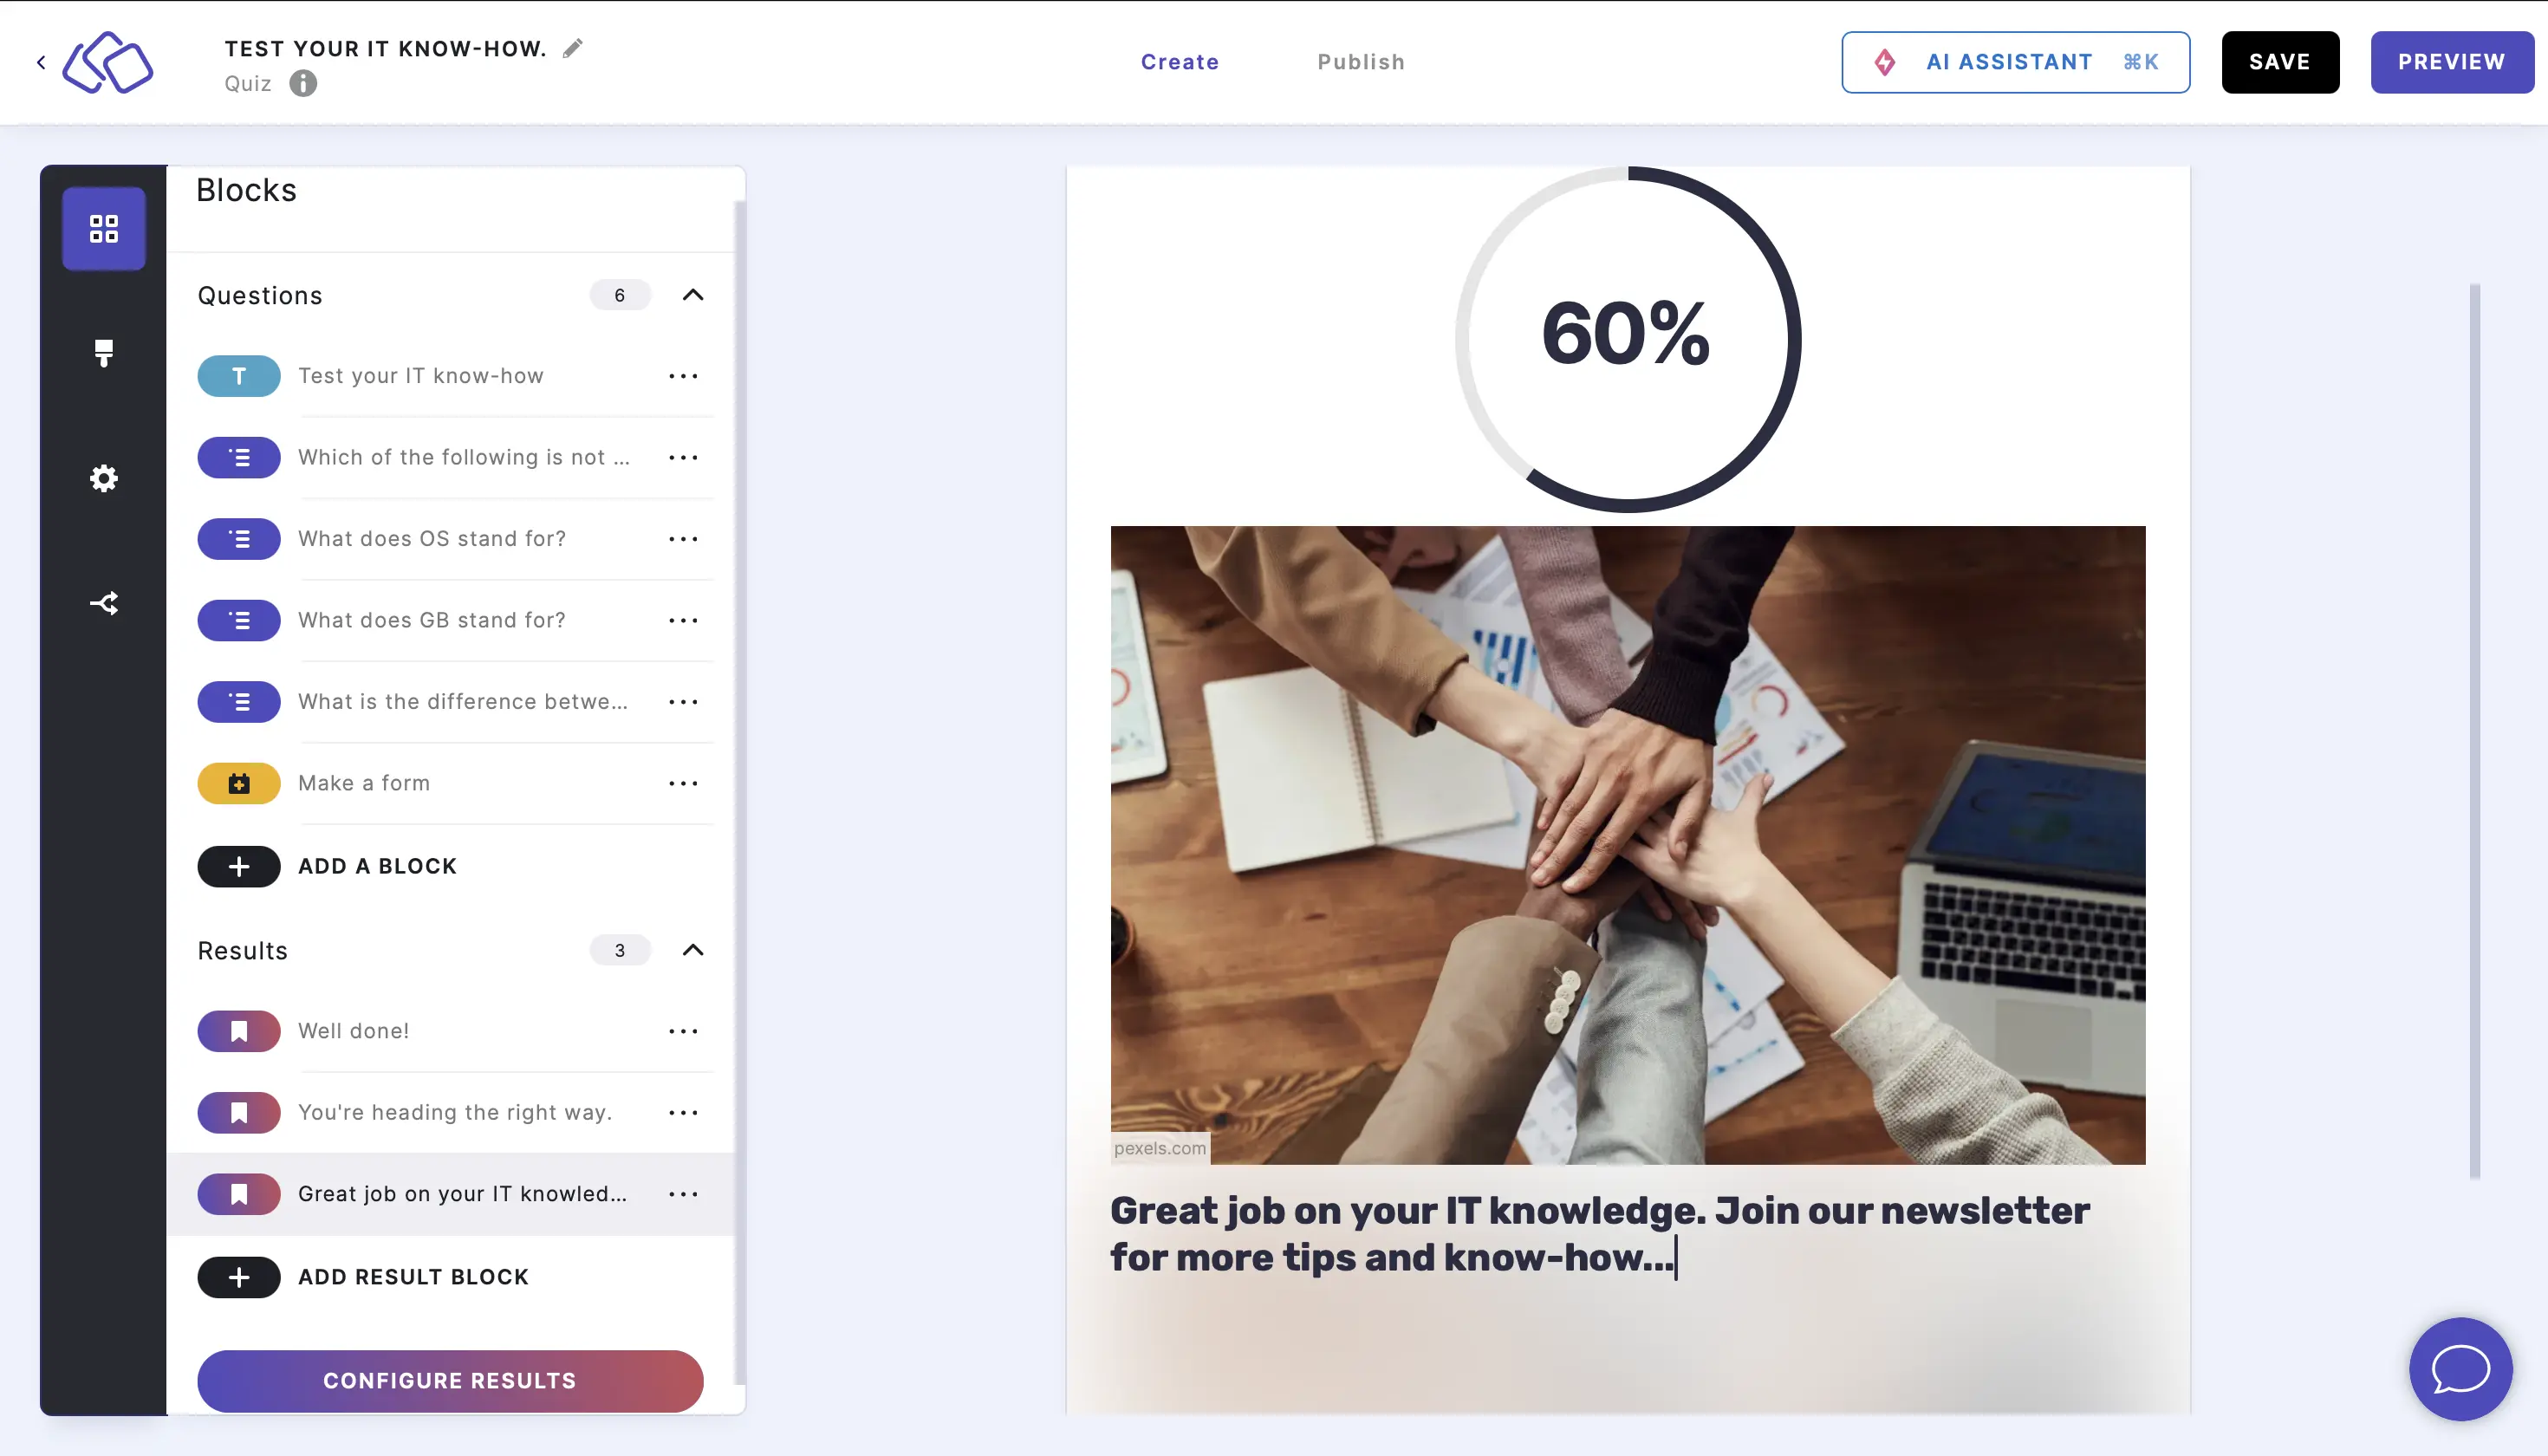
1. Add media
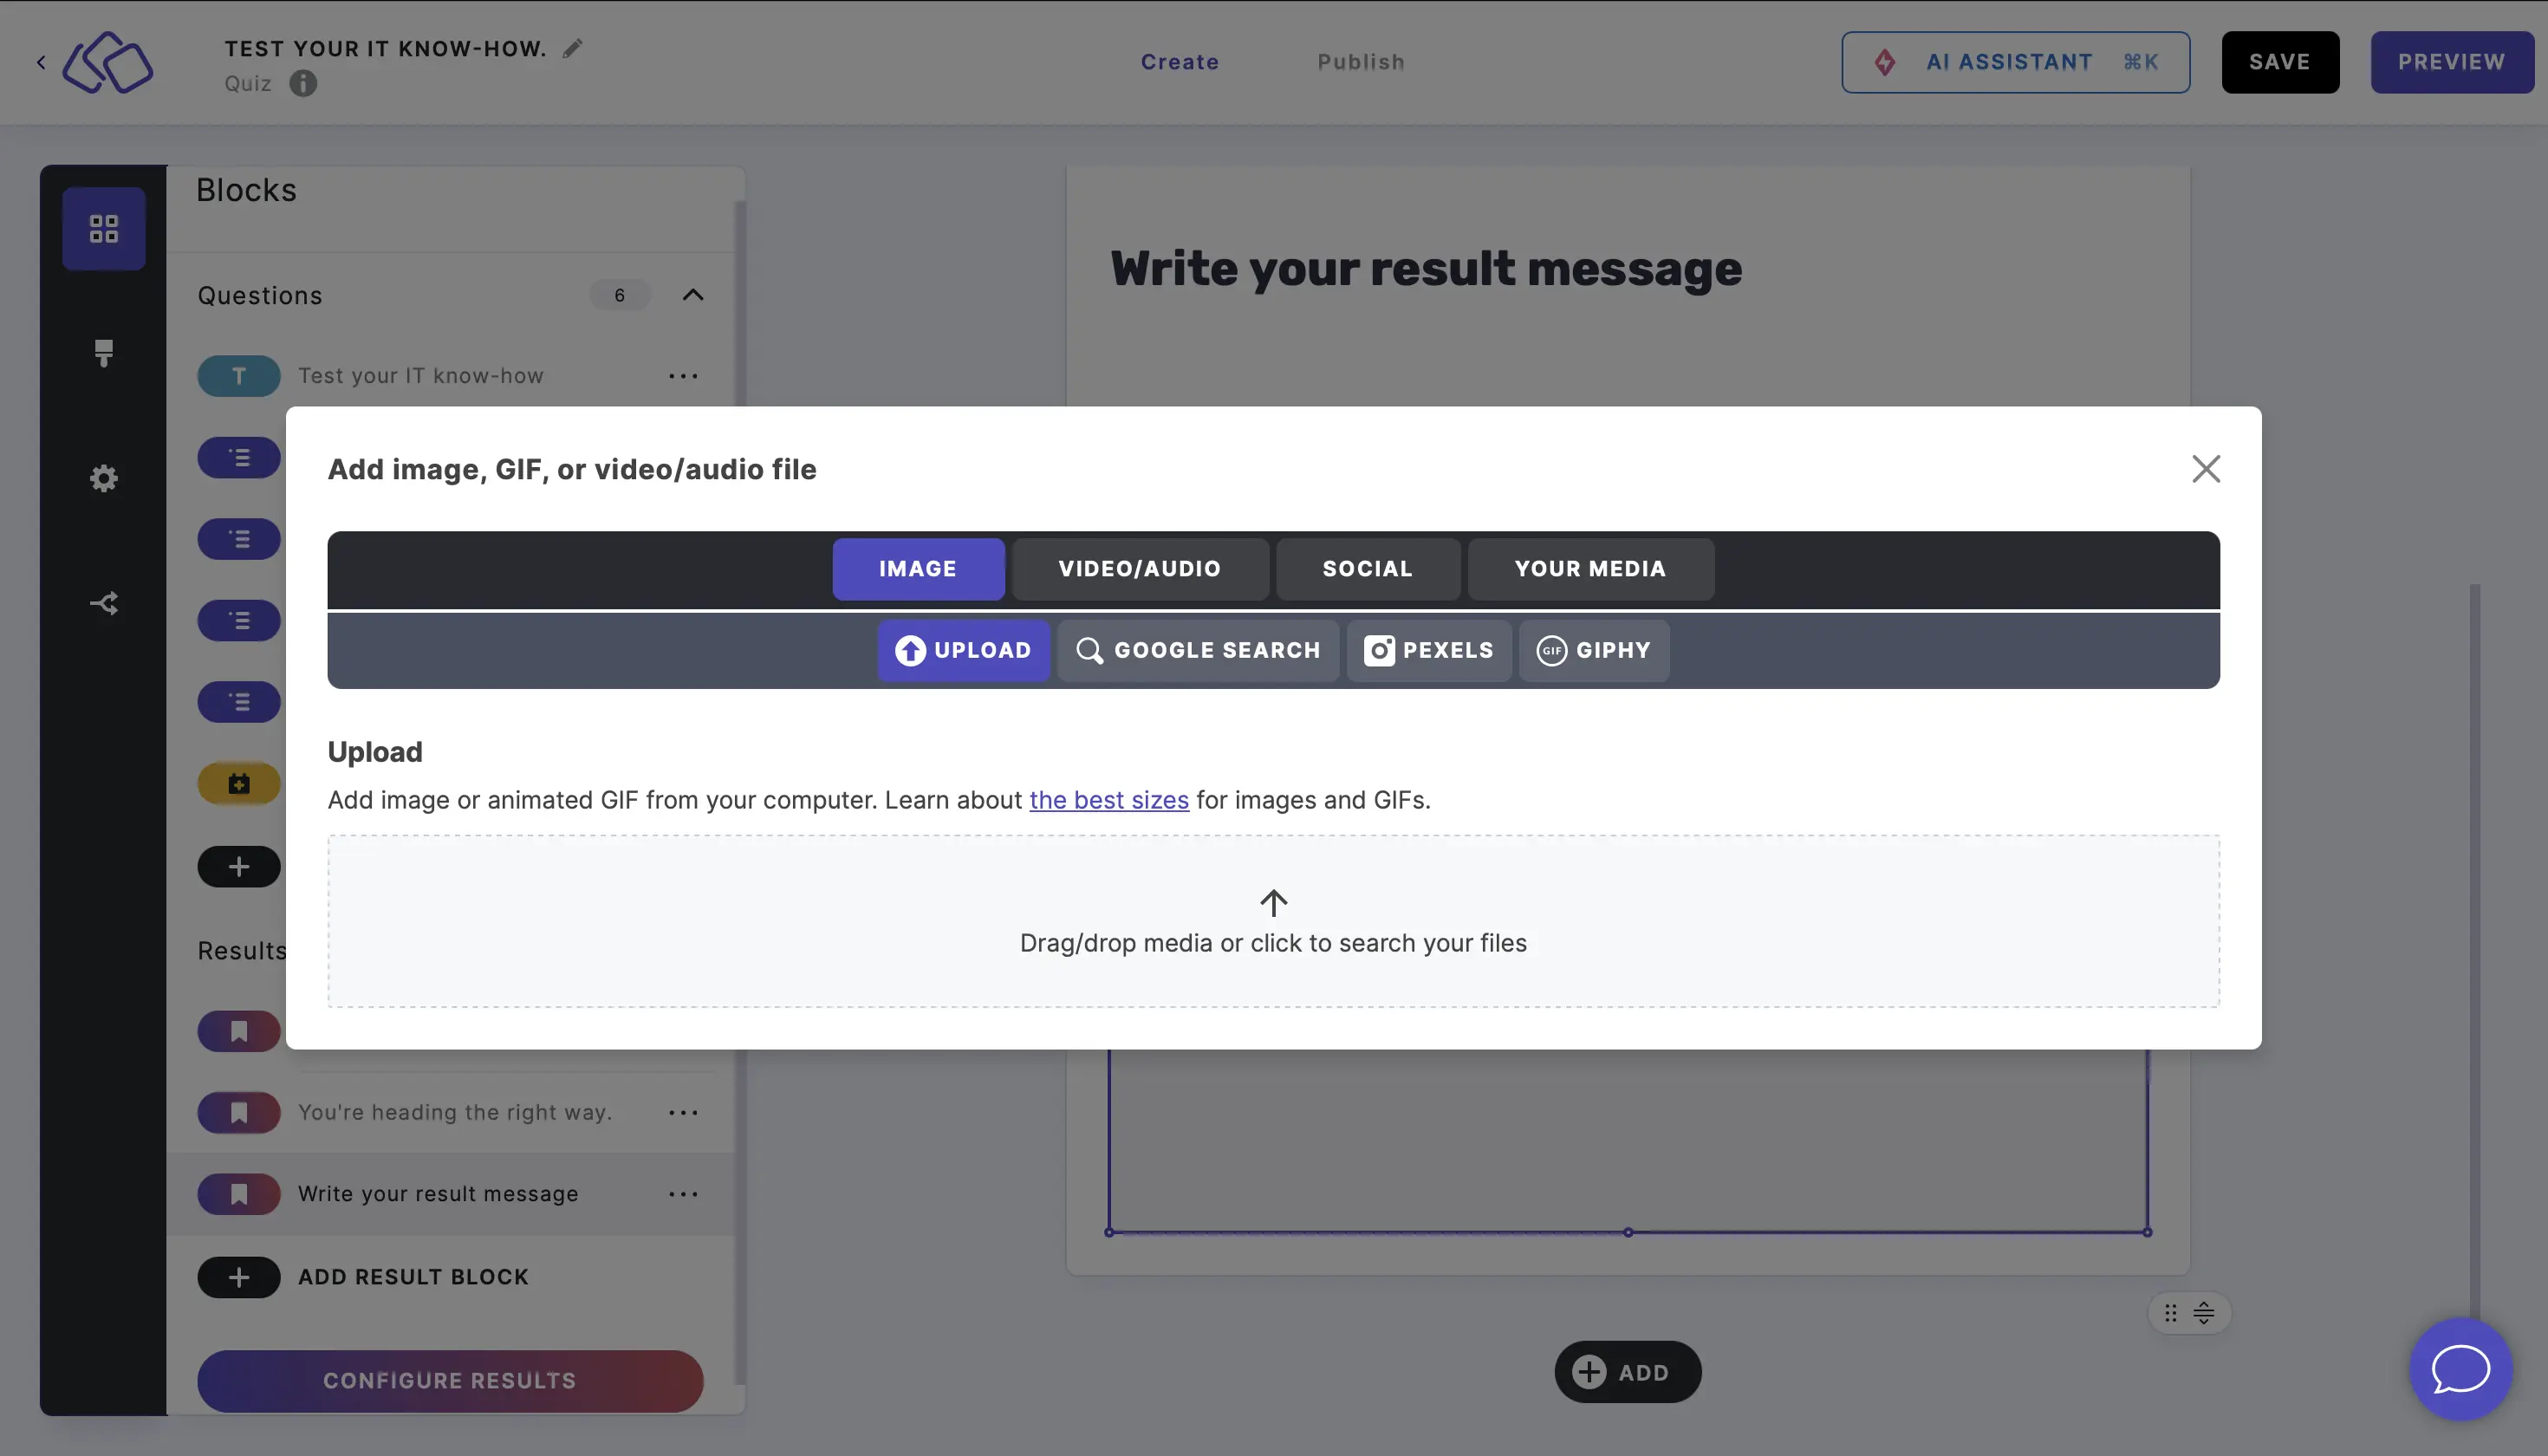
- Click on the ADD button under your result page and select Media.
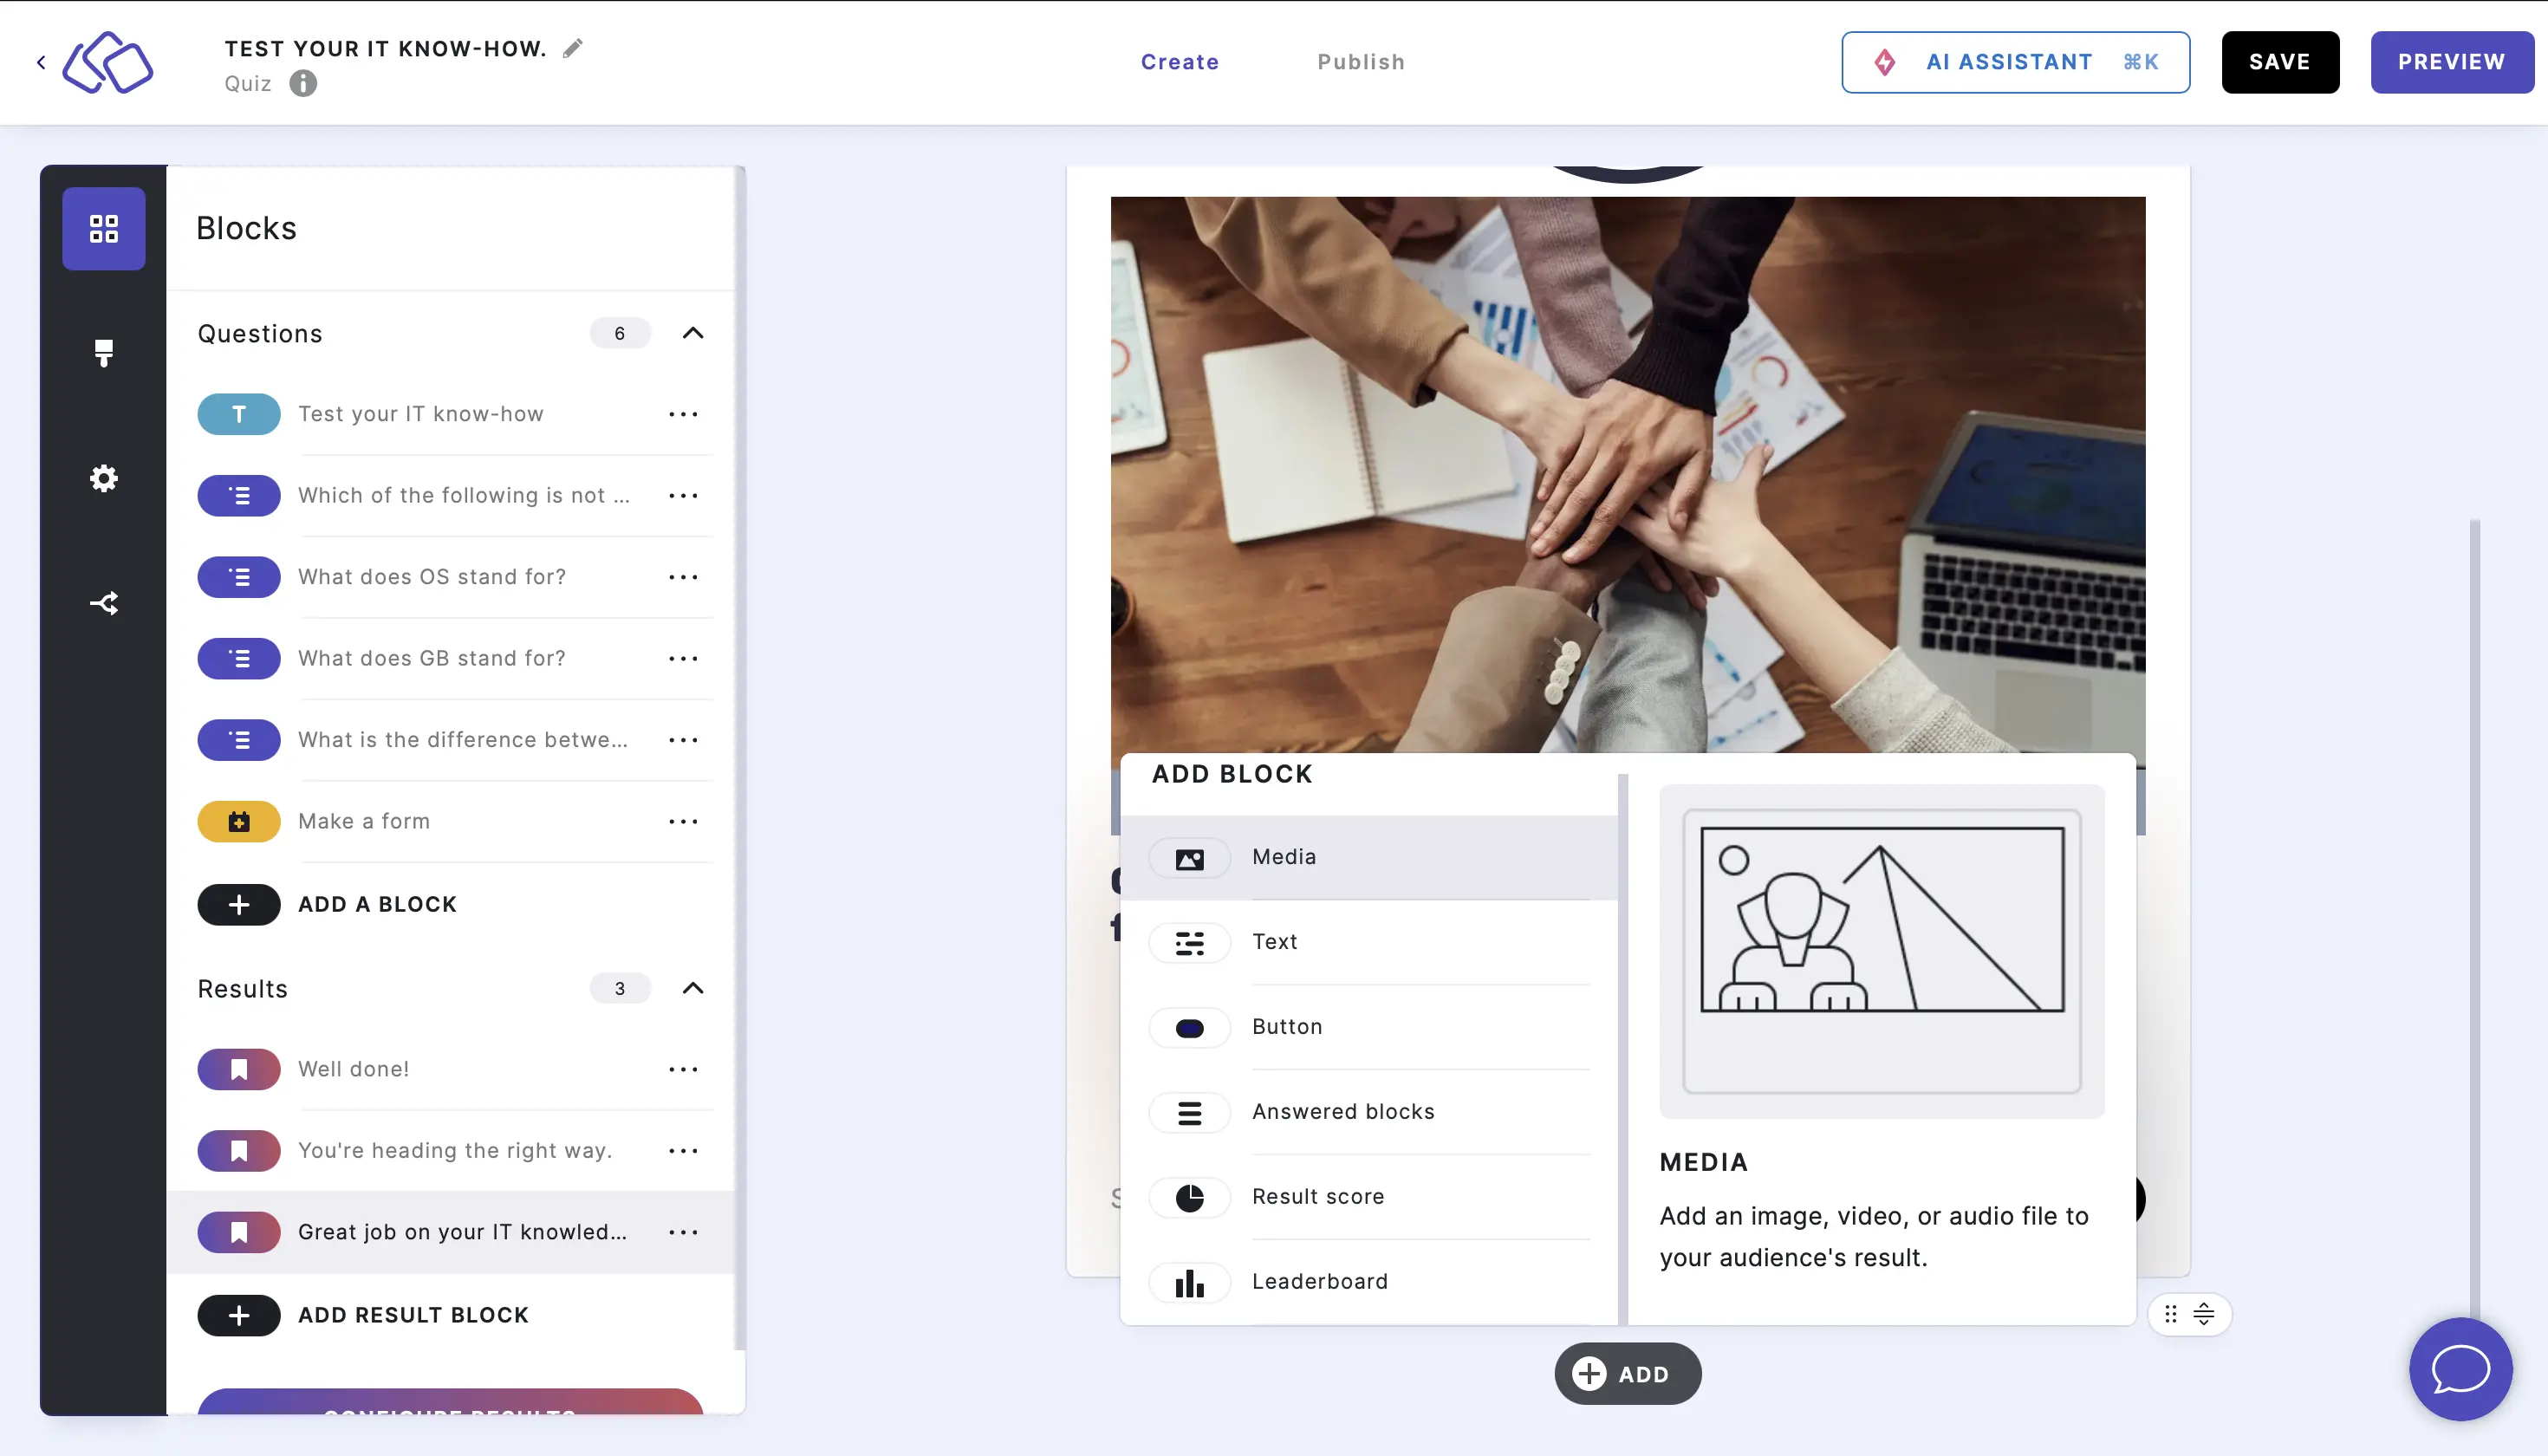
- Click in the ADD MEDIA box and select your media source, drag and drop, or click to search your files.
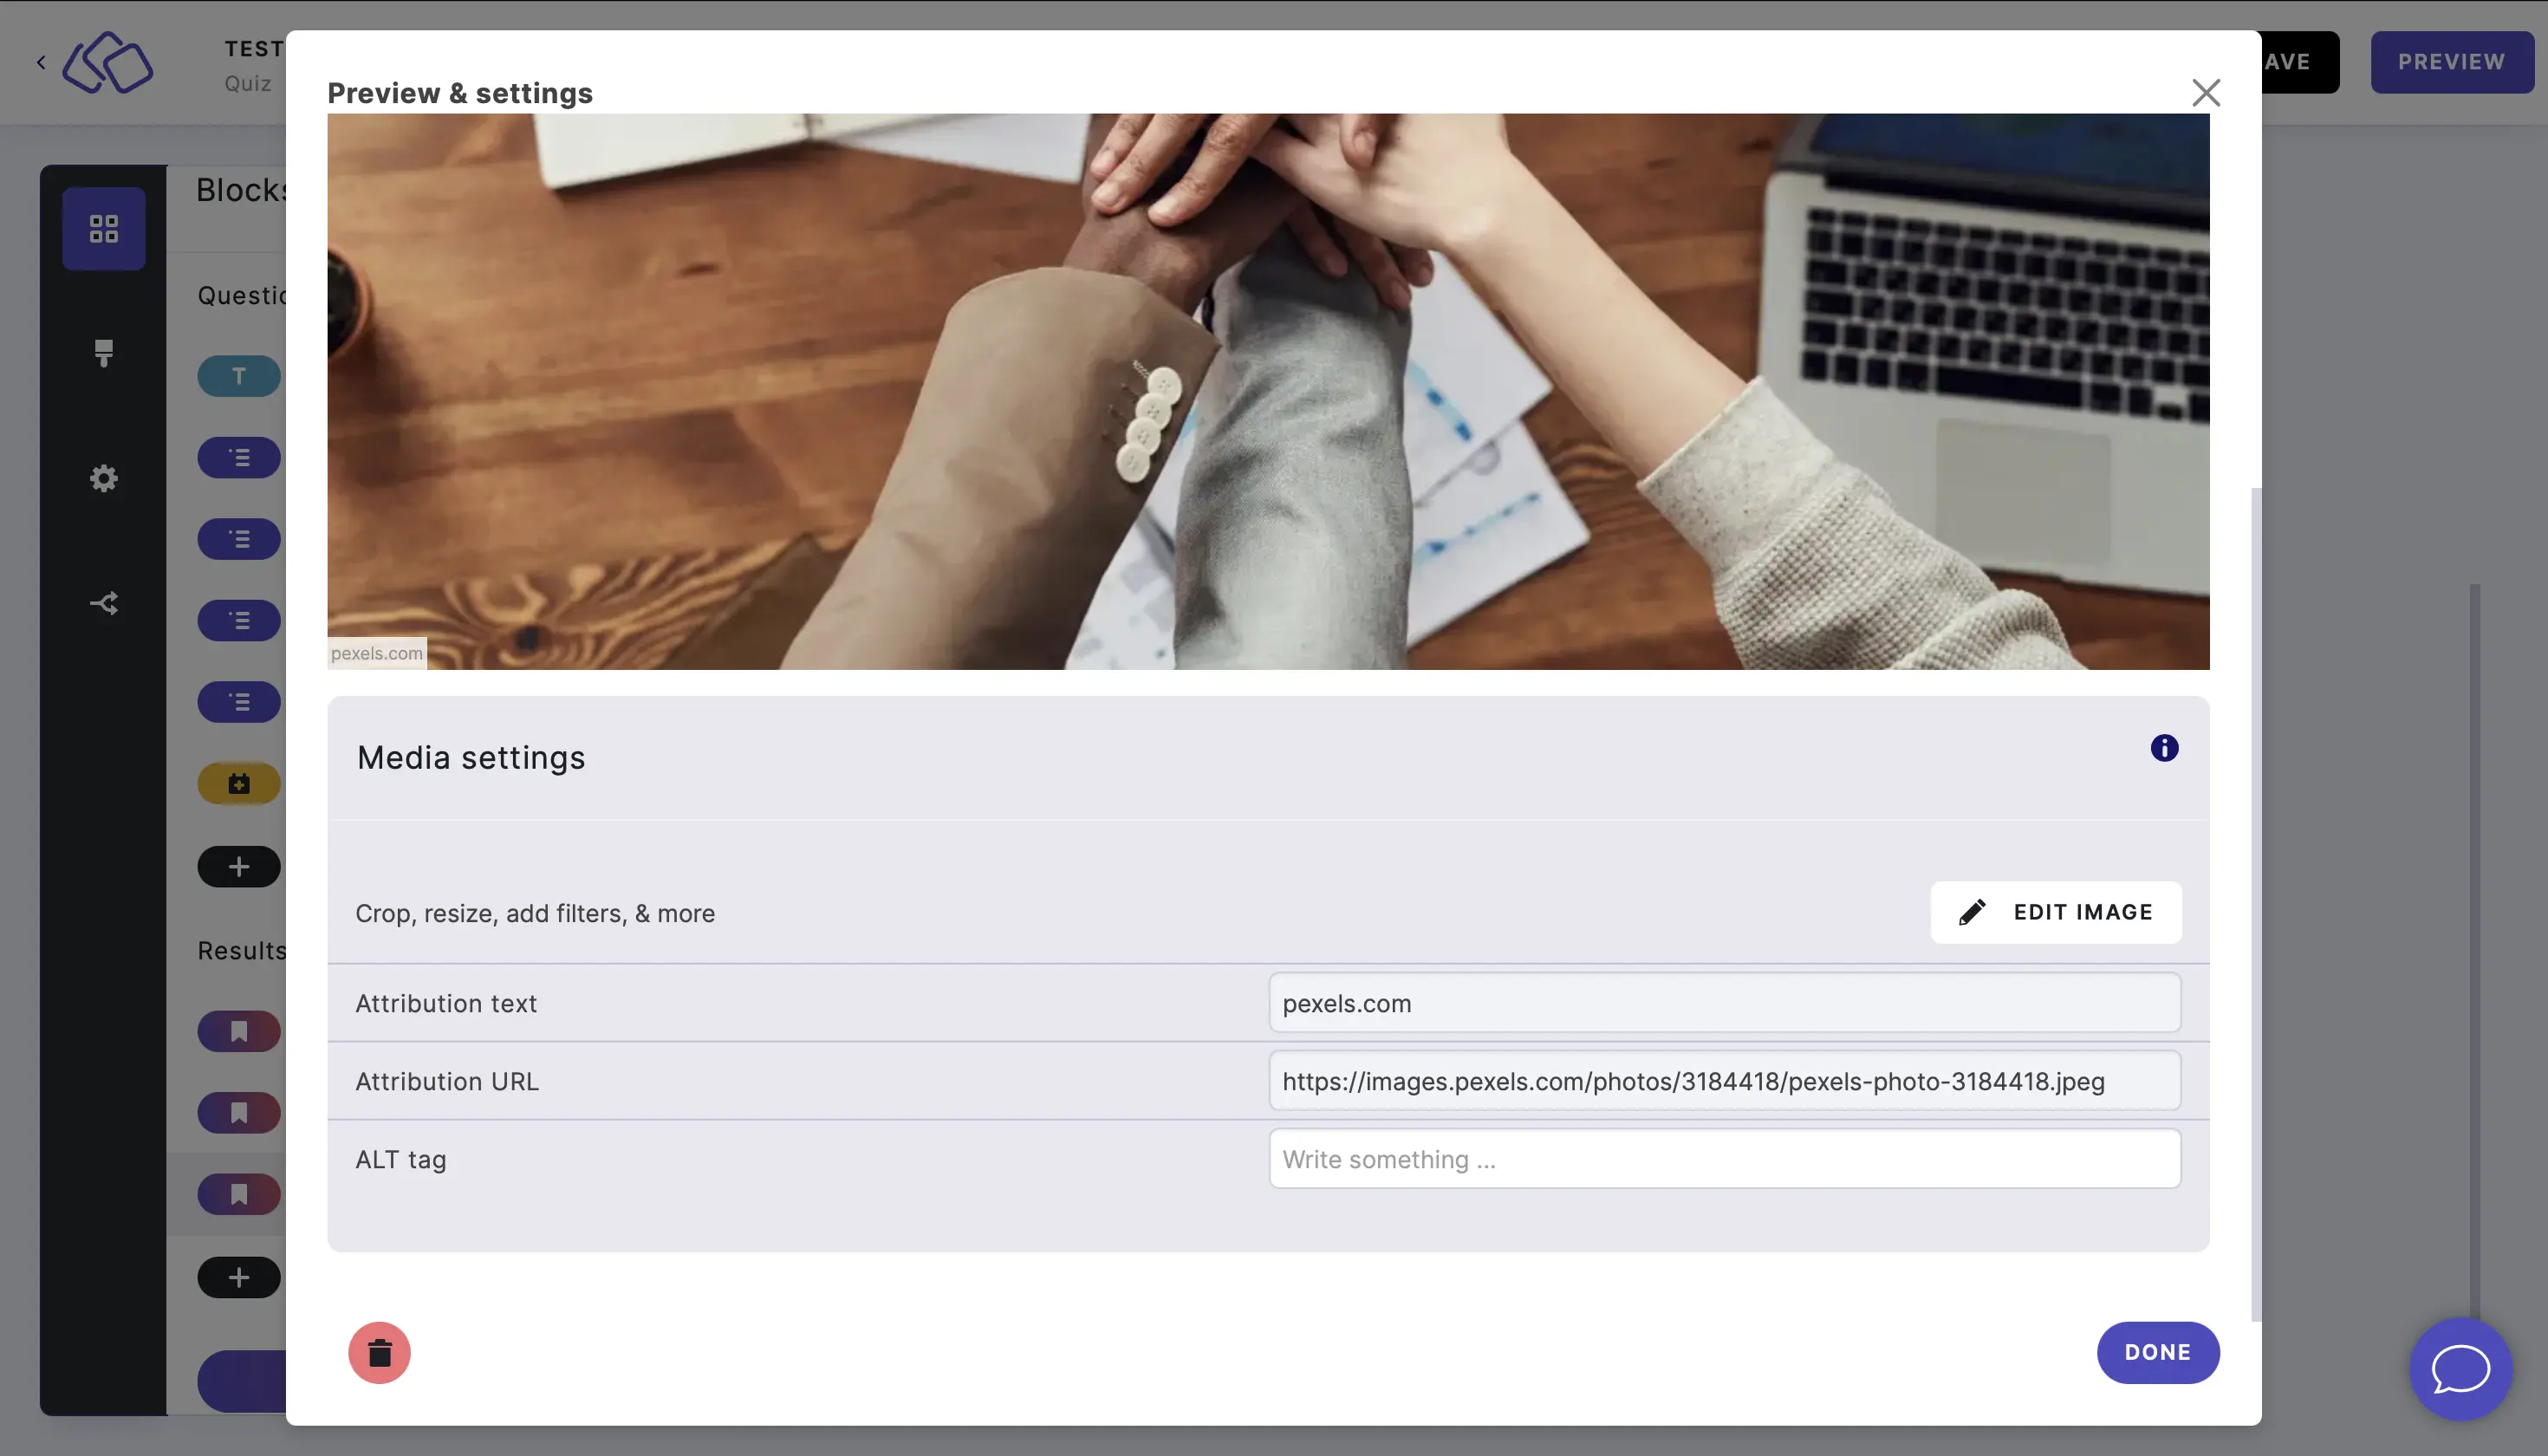
- Click on the media to view the image formatting options.
- Choose between Media covers complete area and Media fits container.
- When there are two elements on top of each other, choose between Send image to the foreground and Send image to the background.
- Choose between Media covers complete area and Media fits container.
- Double click on the media and then click on EDIT IMAGE to filter, resize, crop, draw, text, shapes, stickers, frame, corners, or merge.
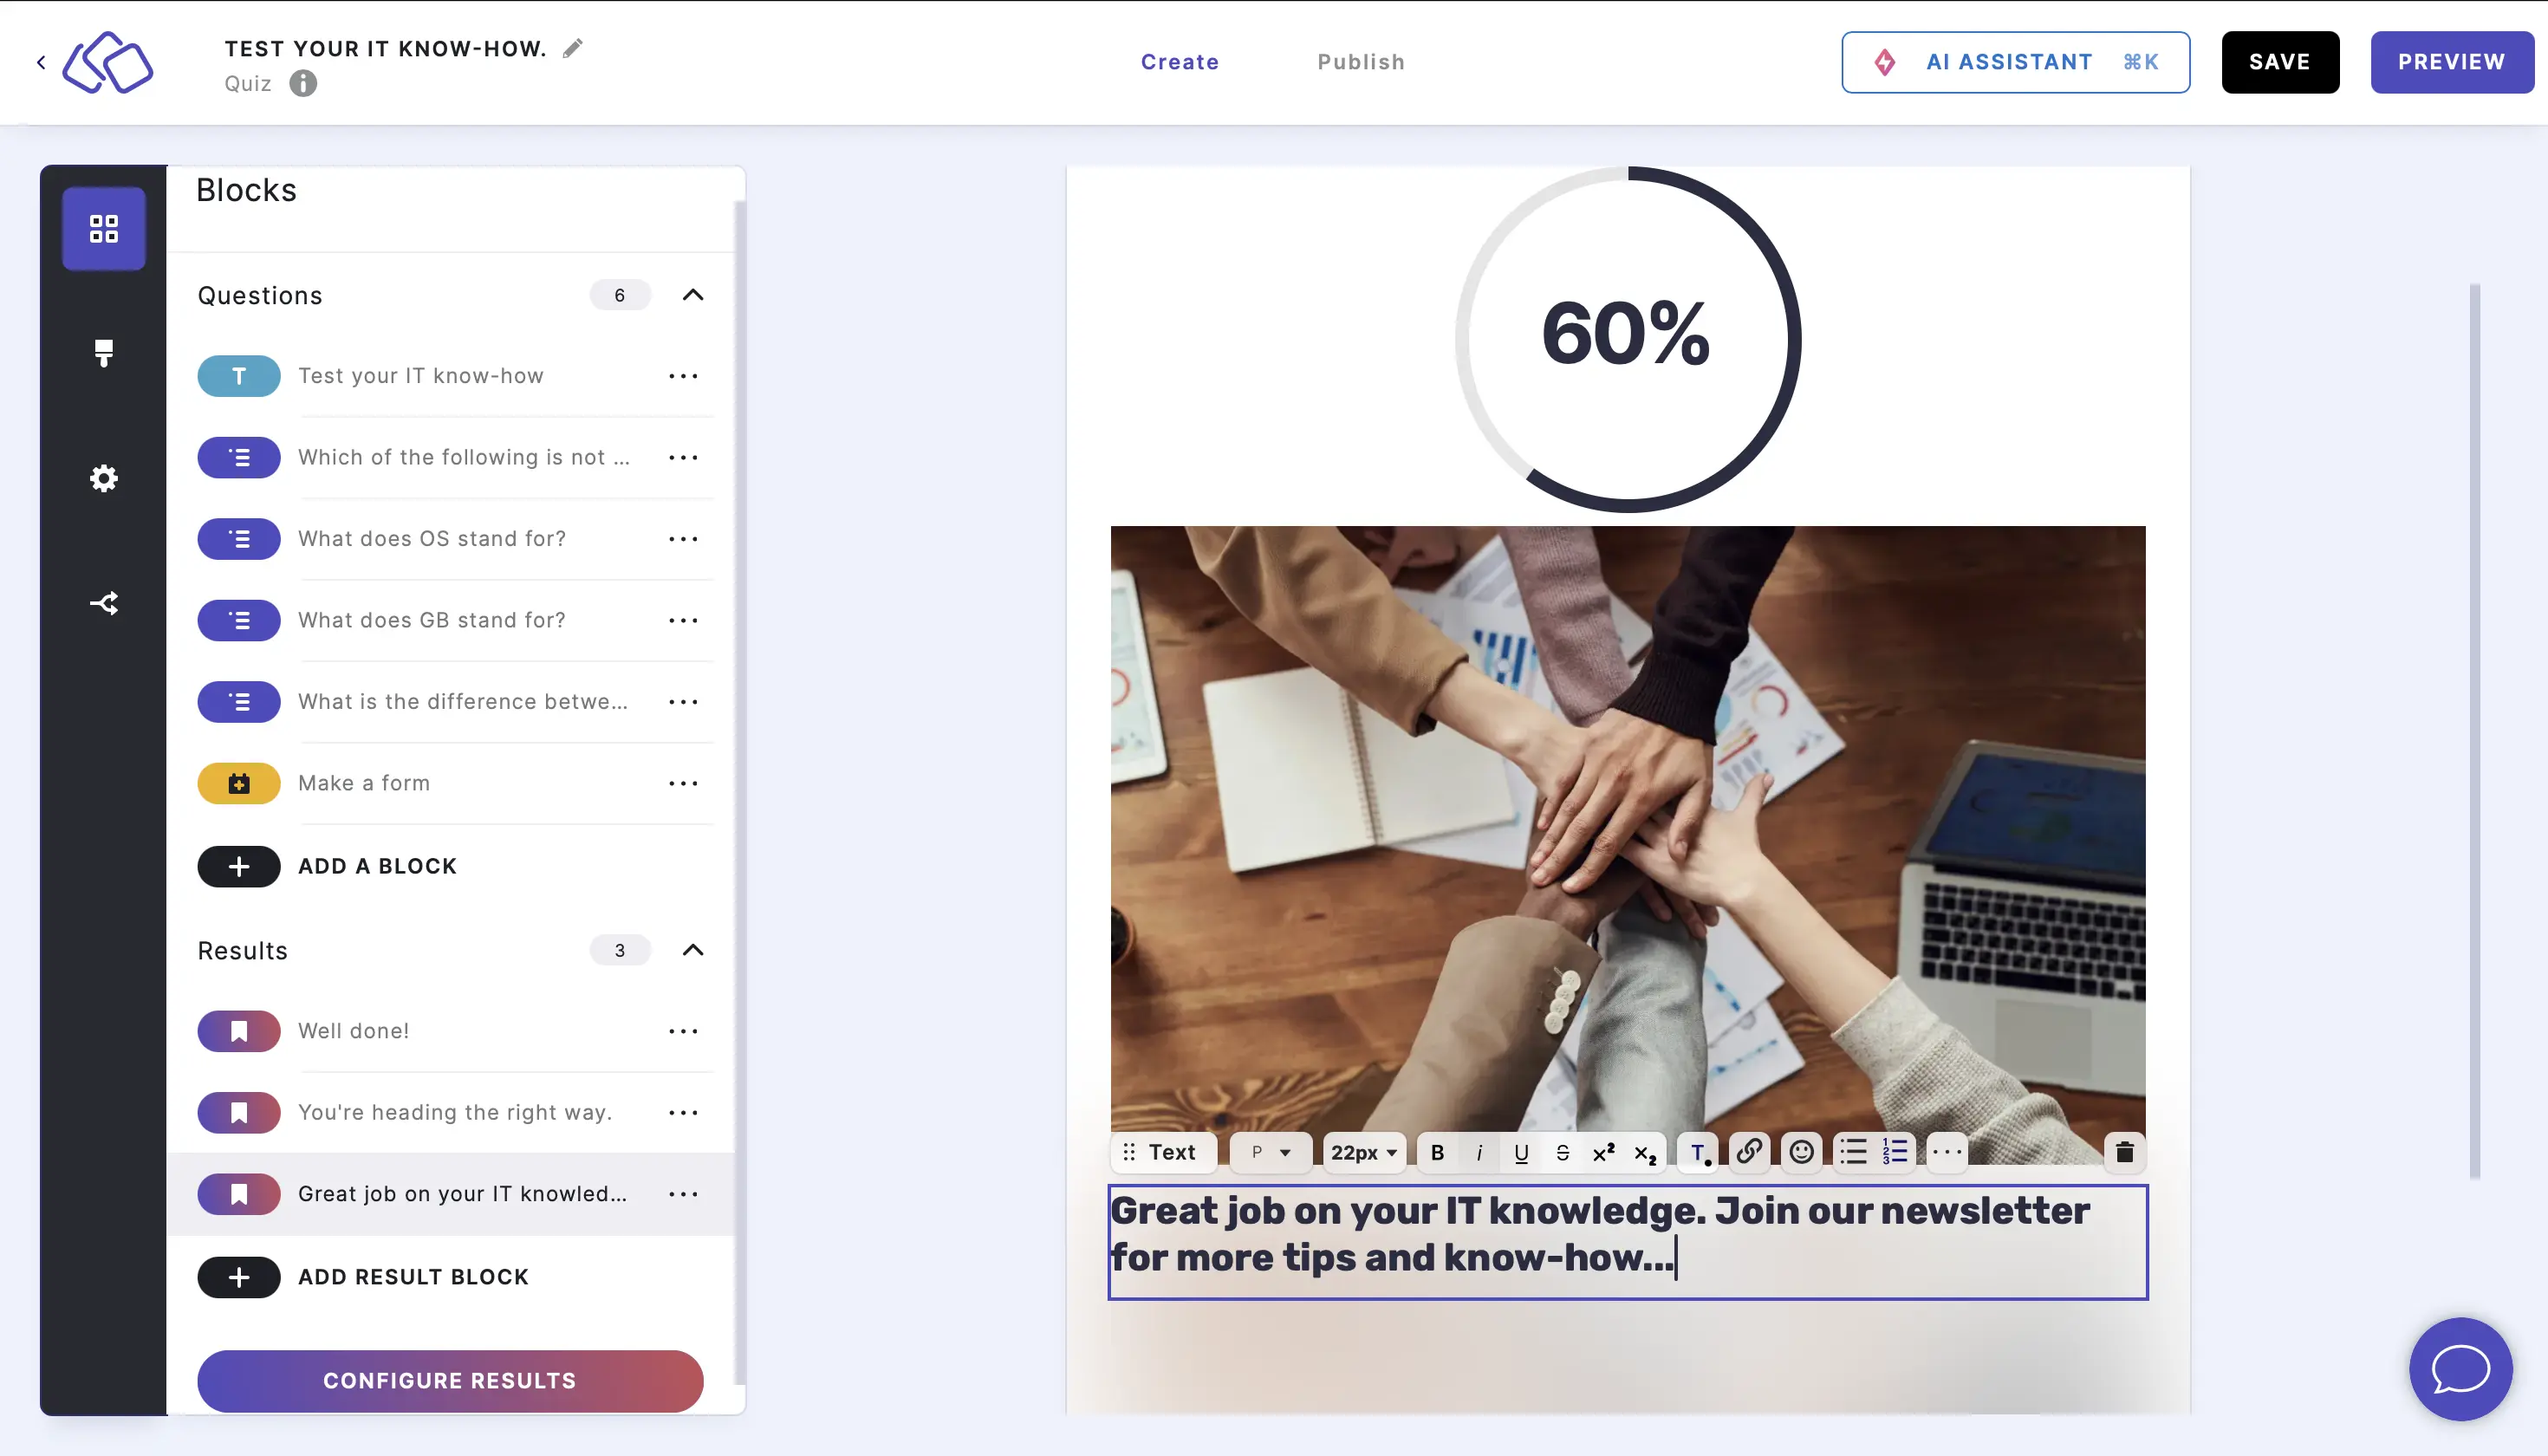
2. Add text
- Click on the ADD button under your result page and select Text.
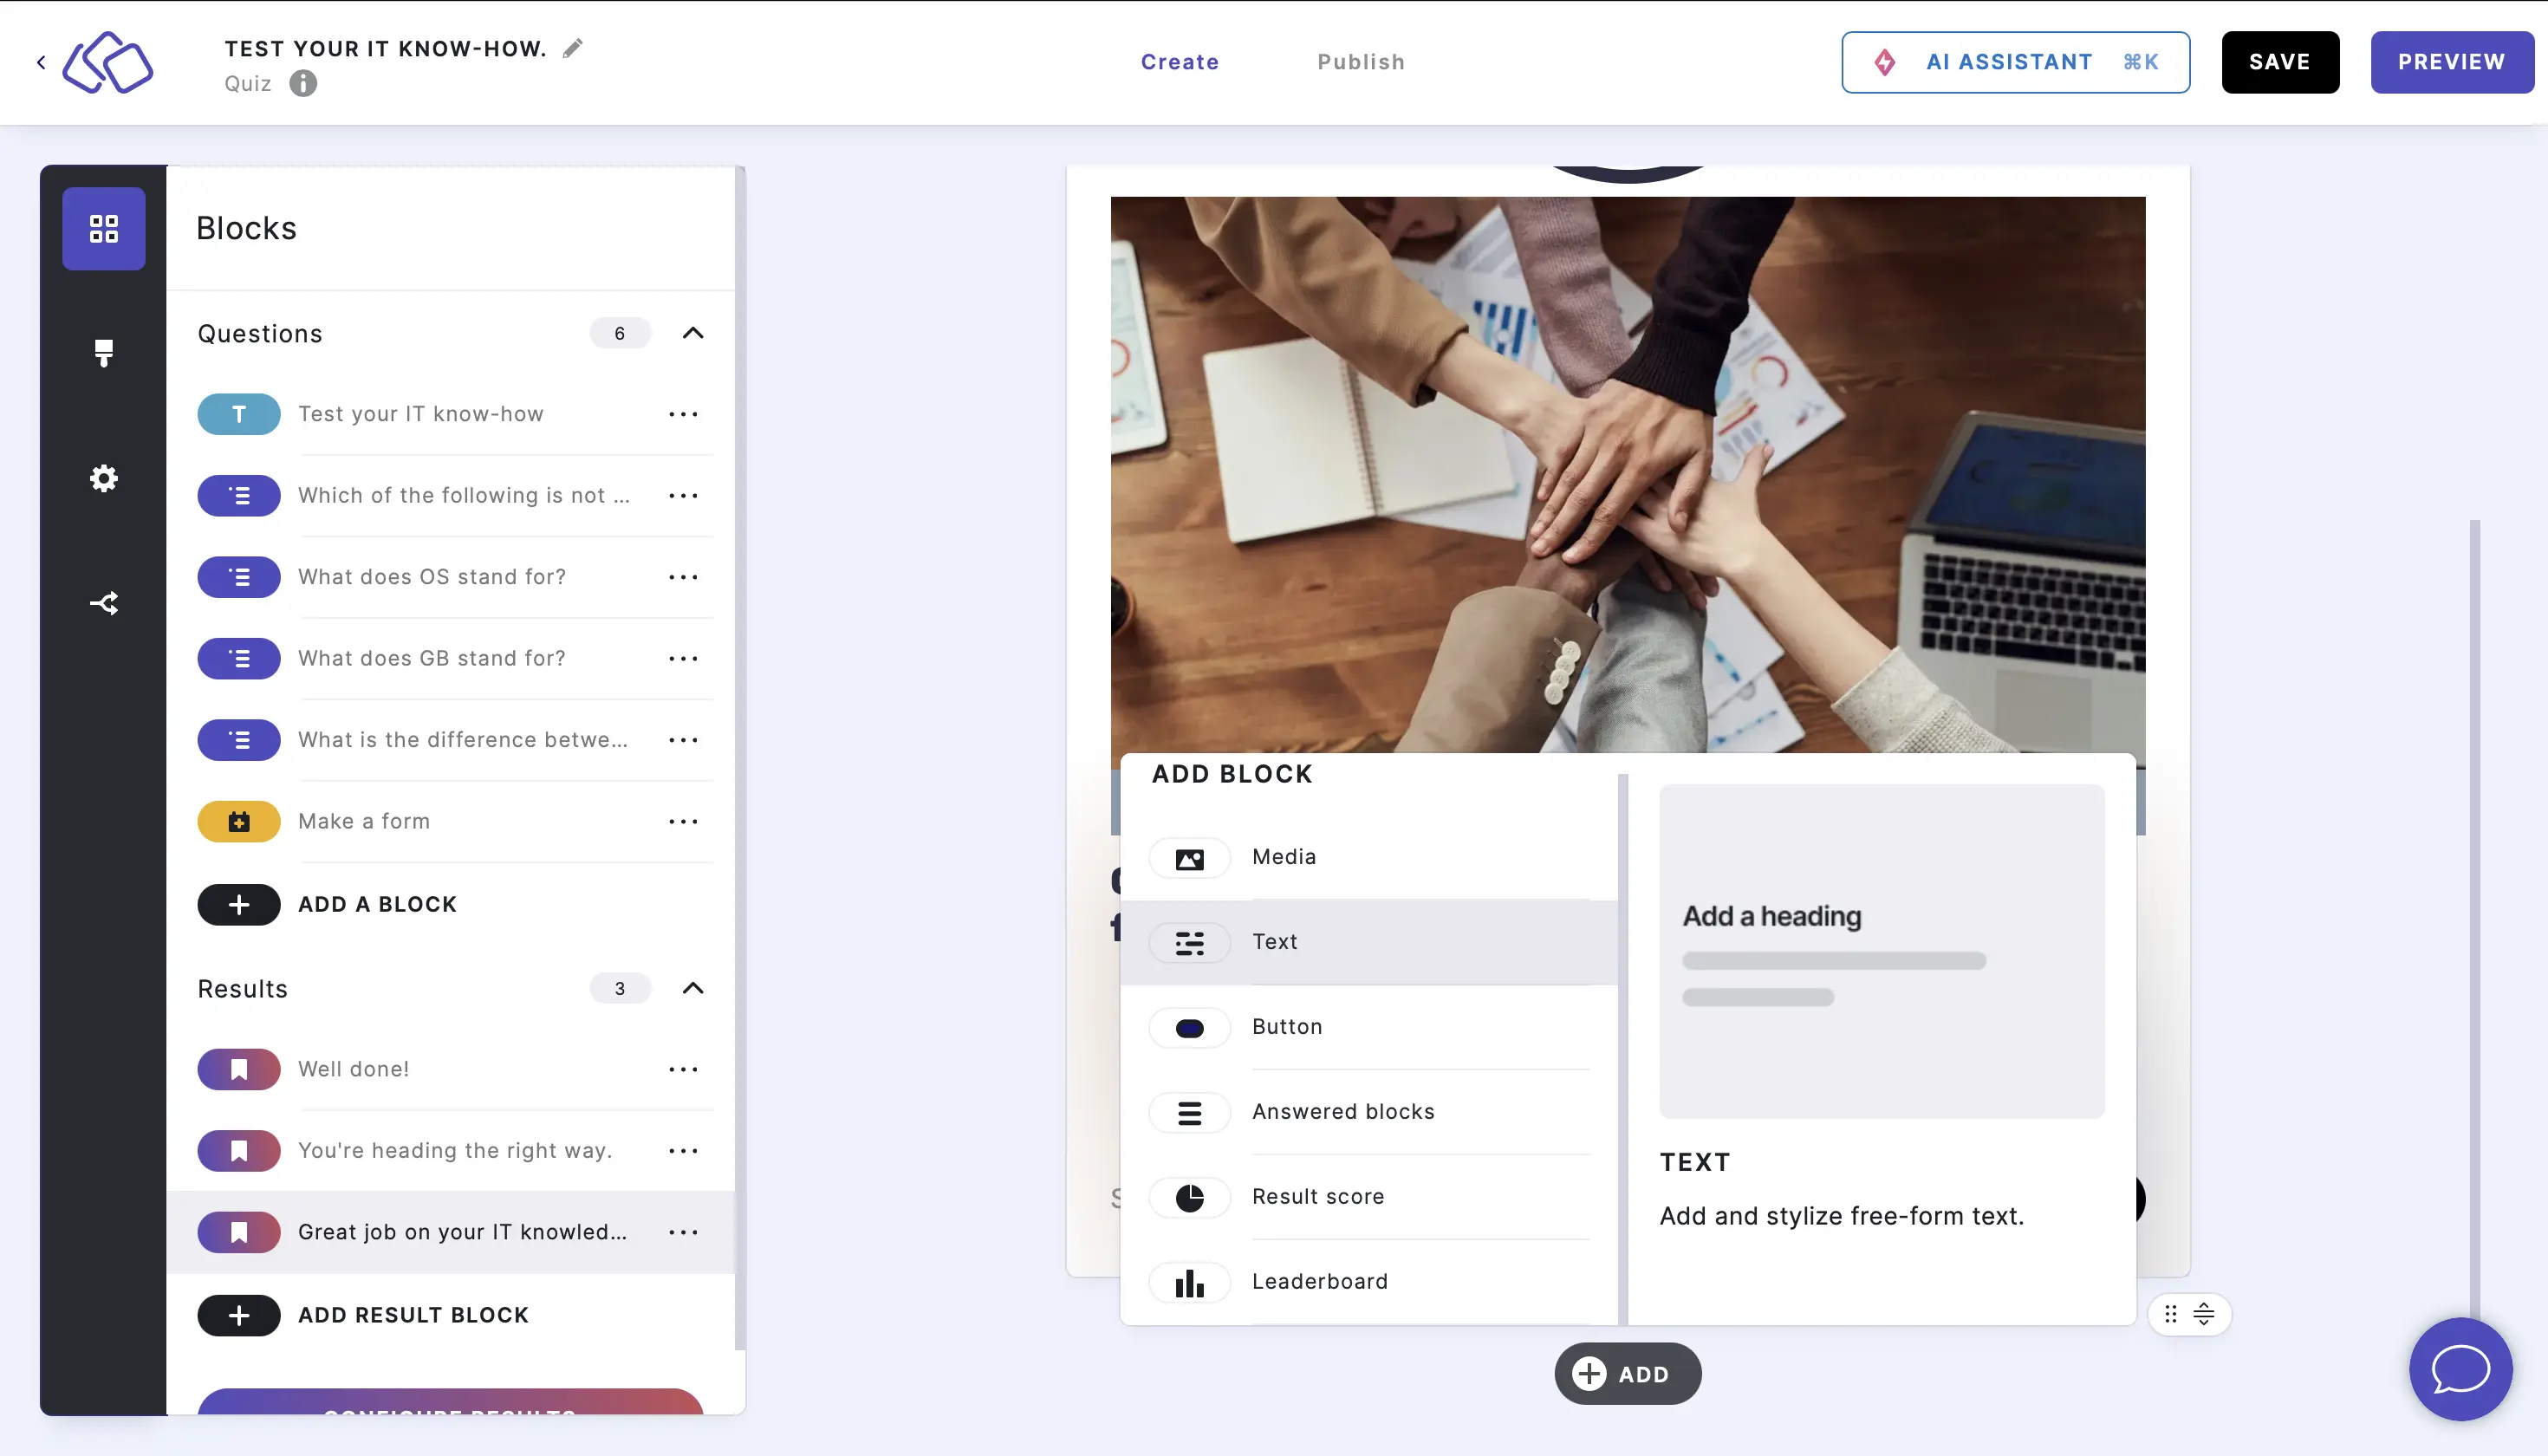
- Double click the box and enter your text.
- Make any text style changes using the text editor menu that appears above the text block.
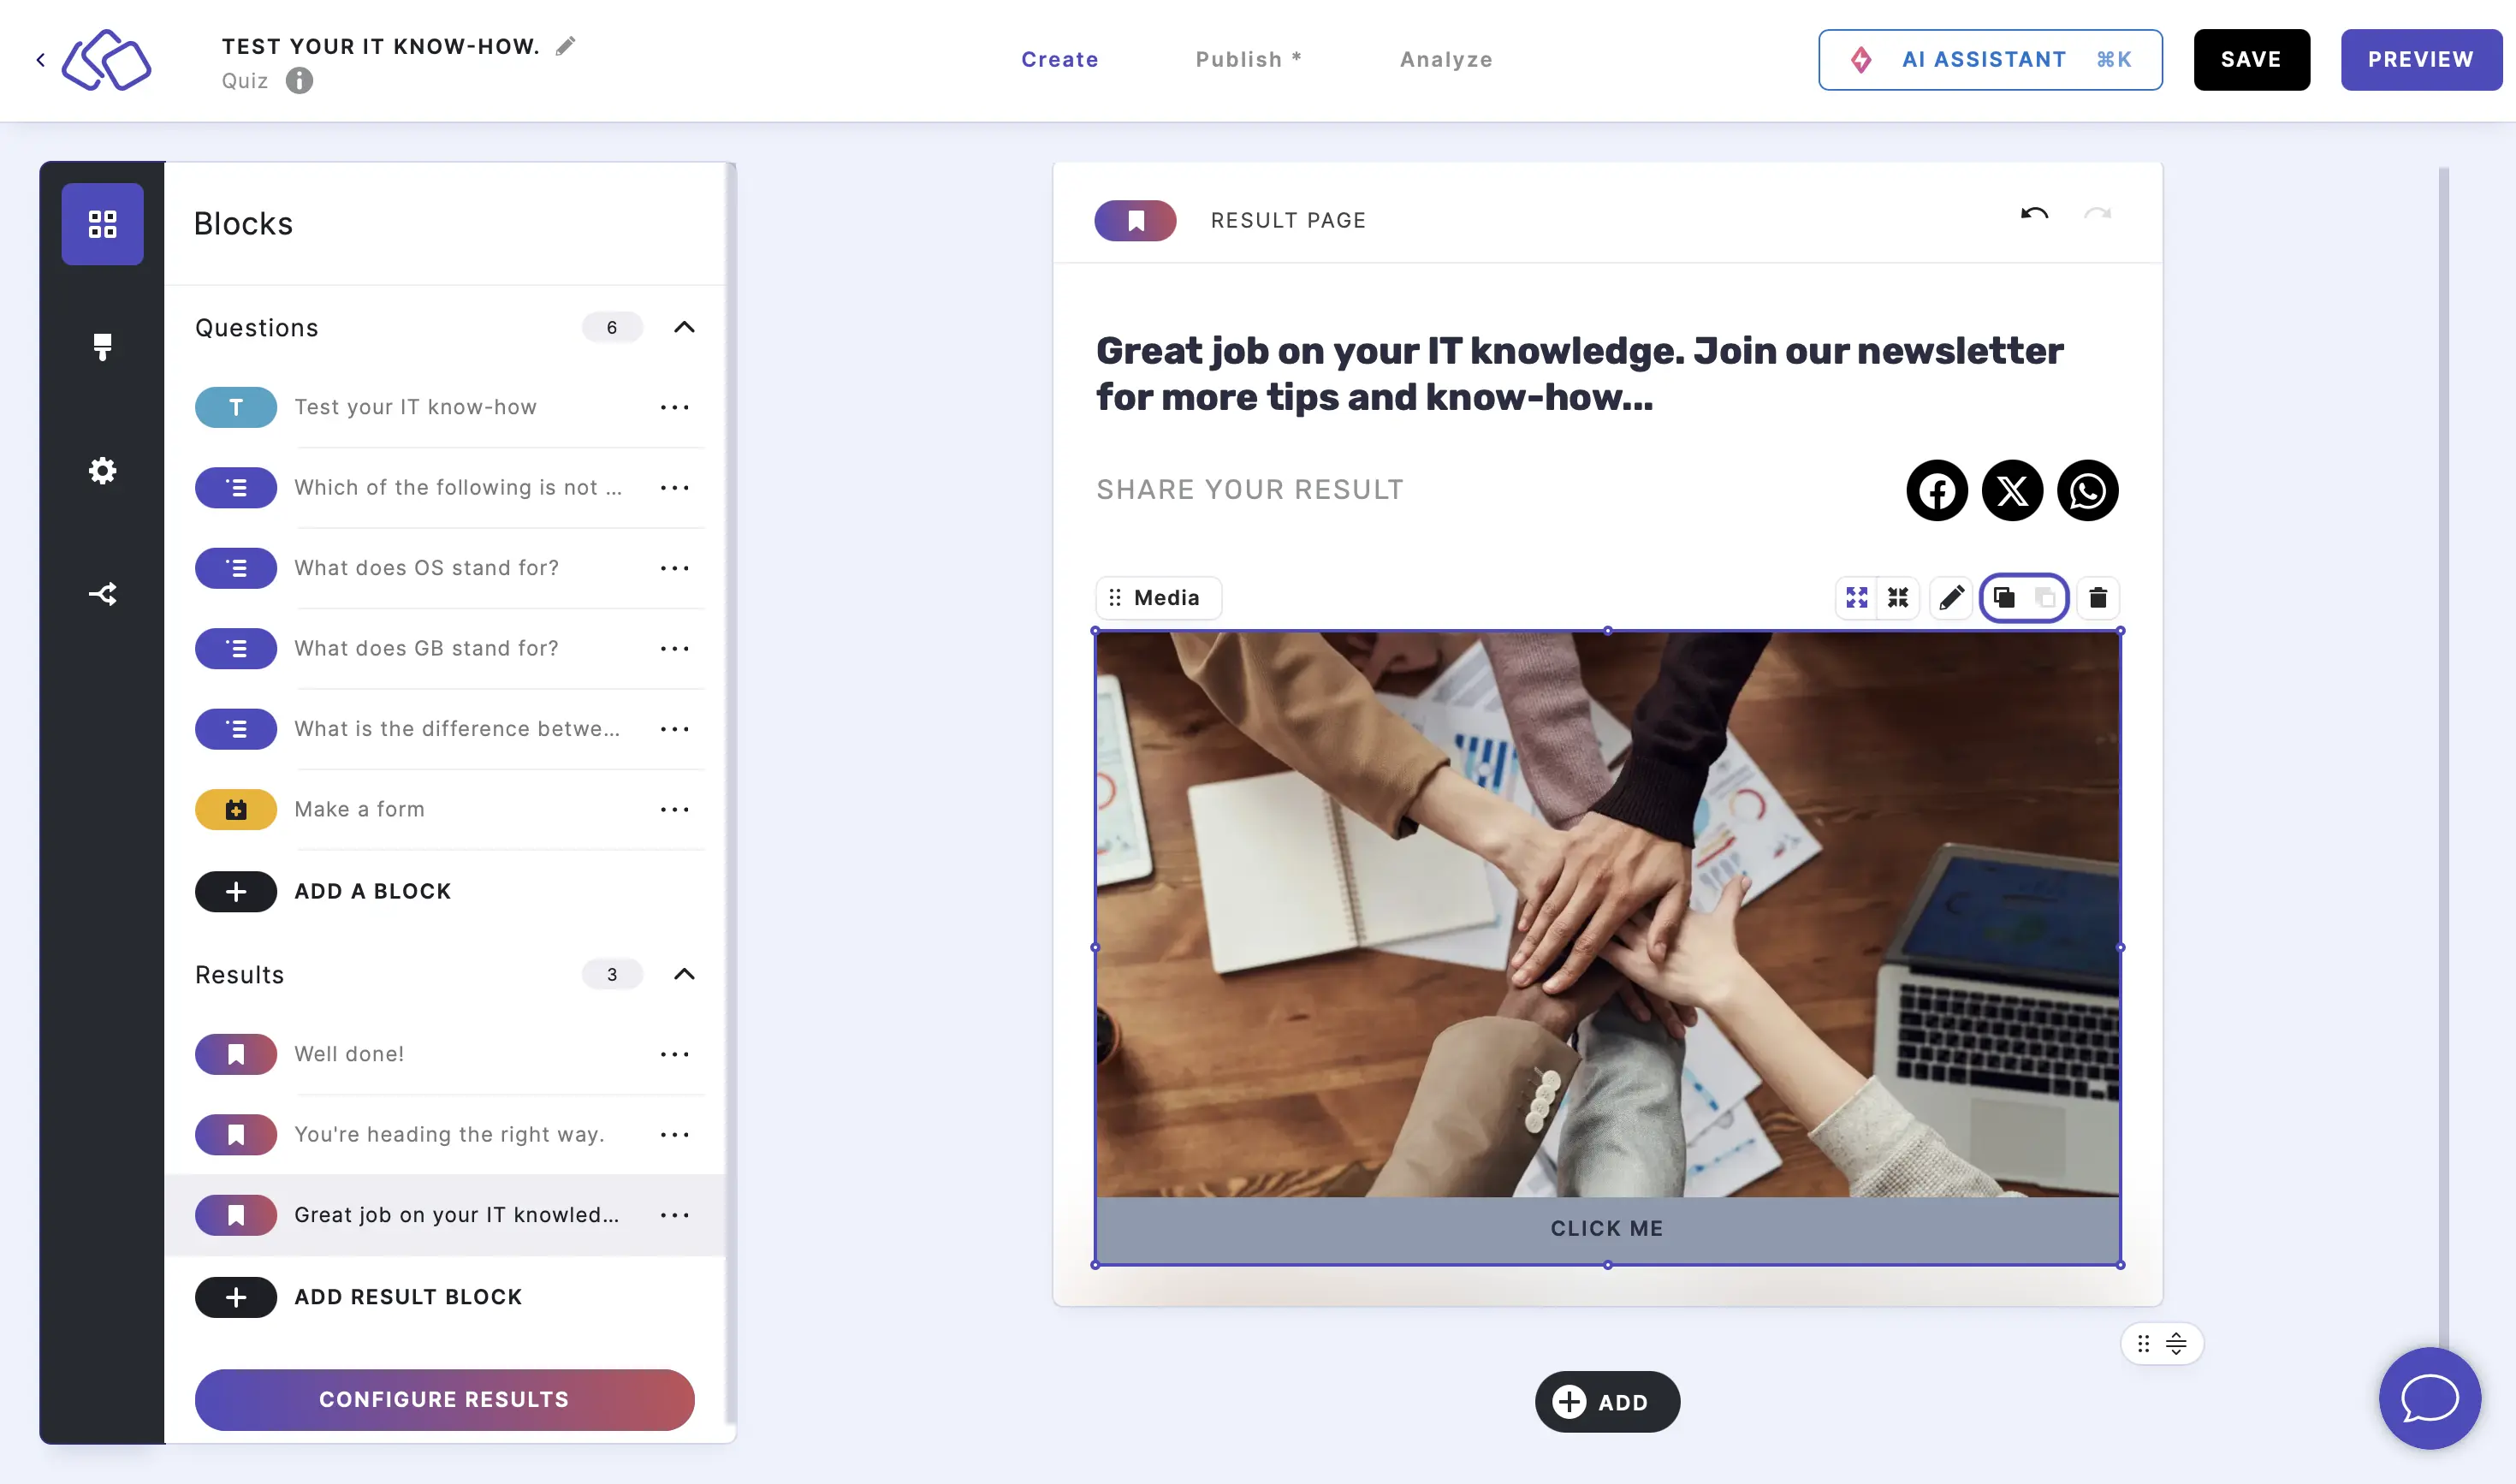
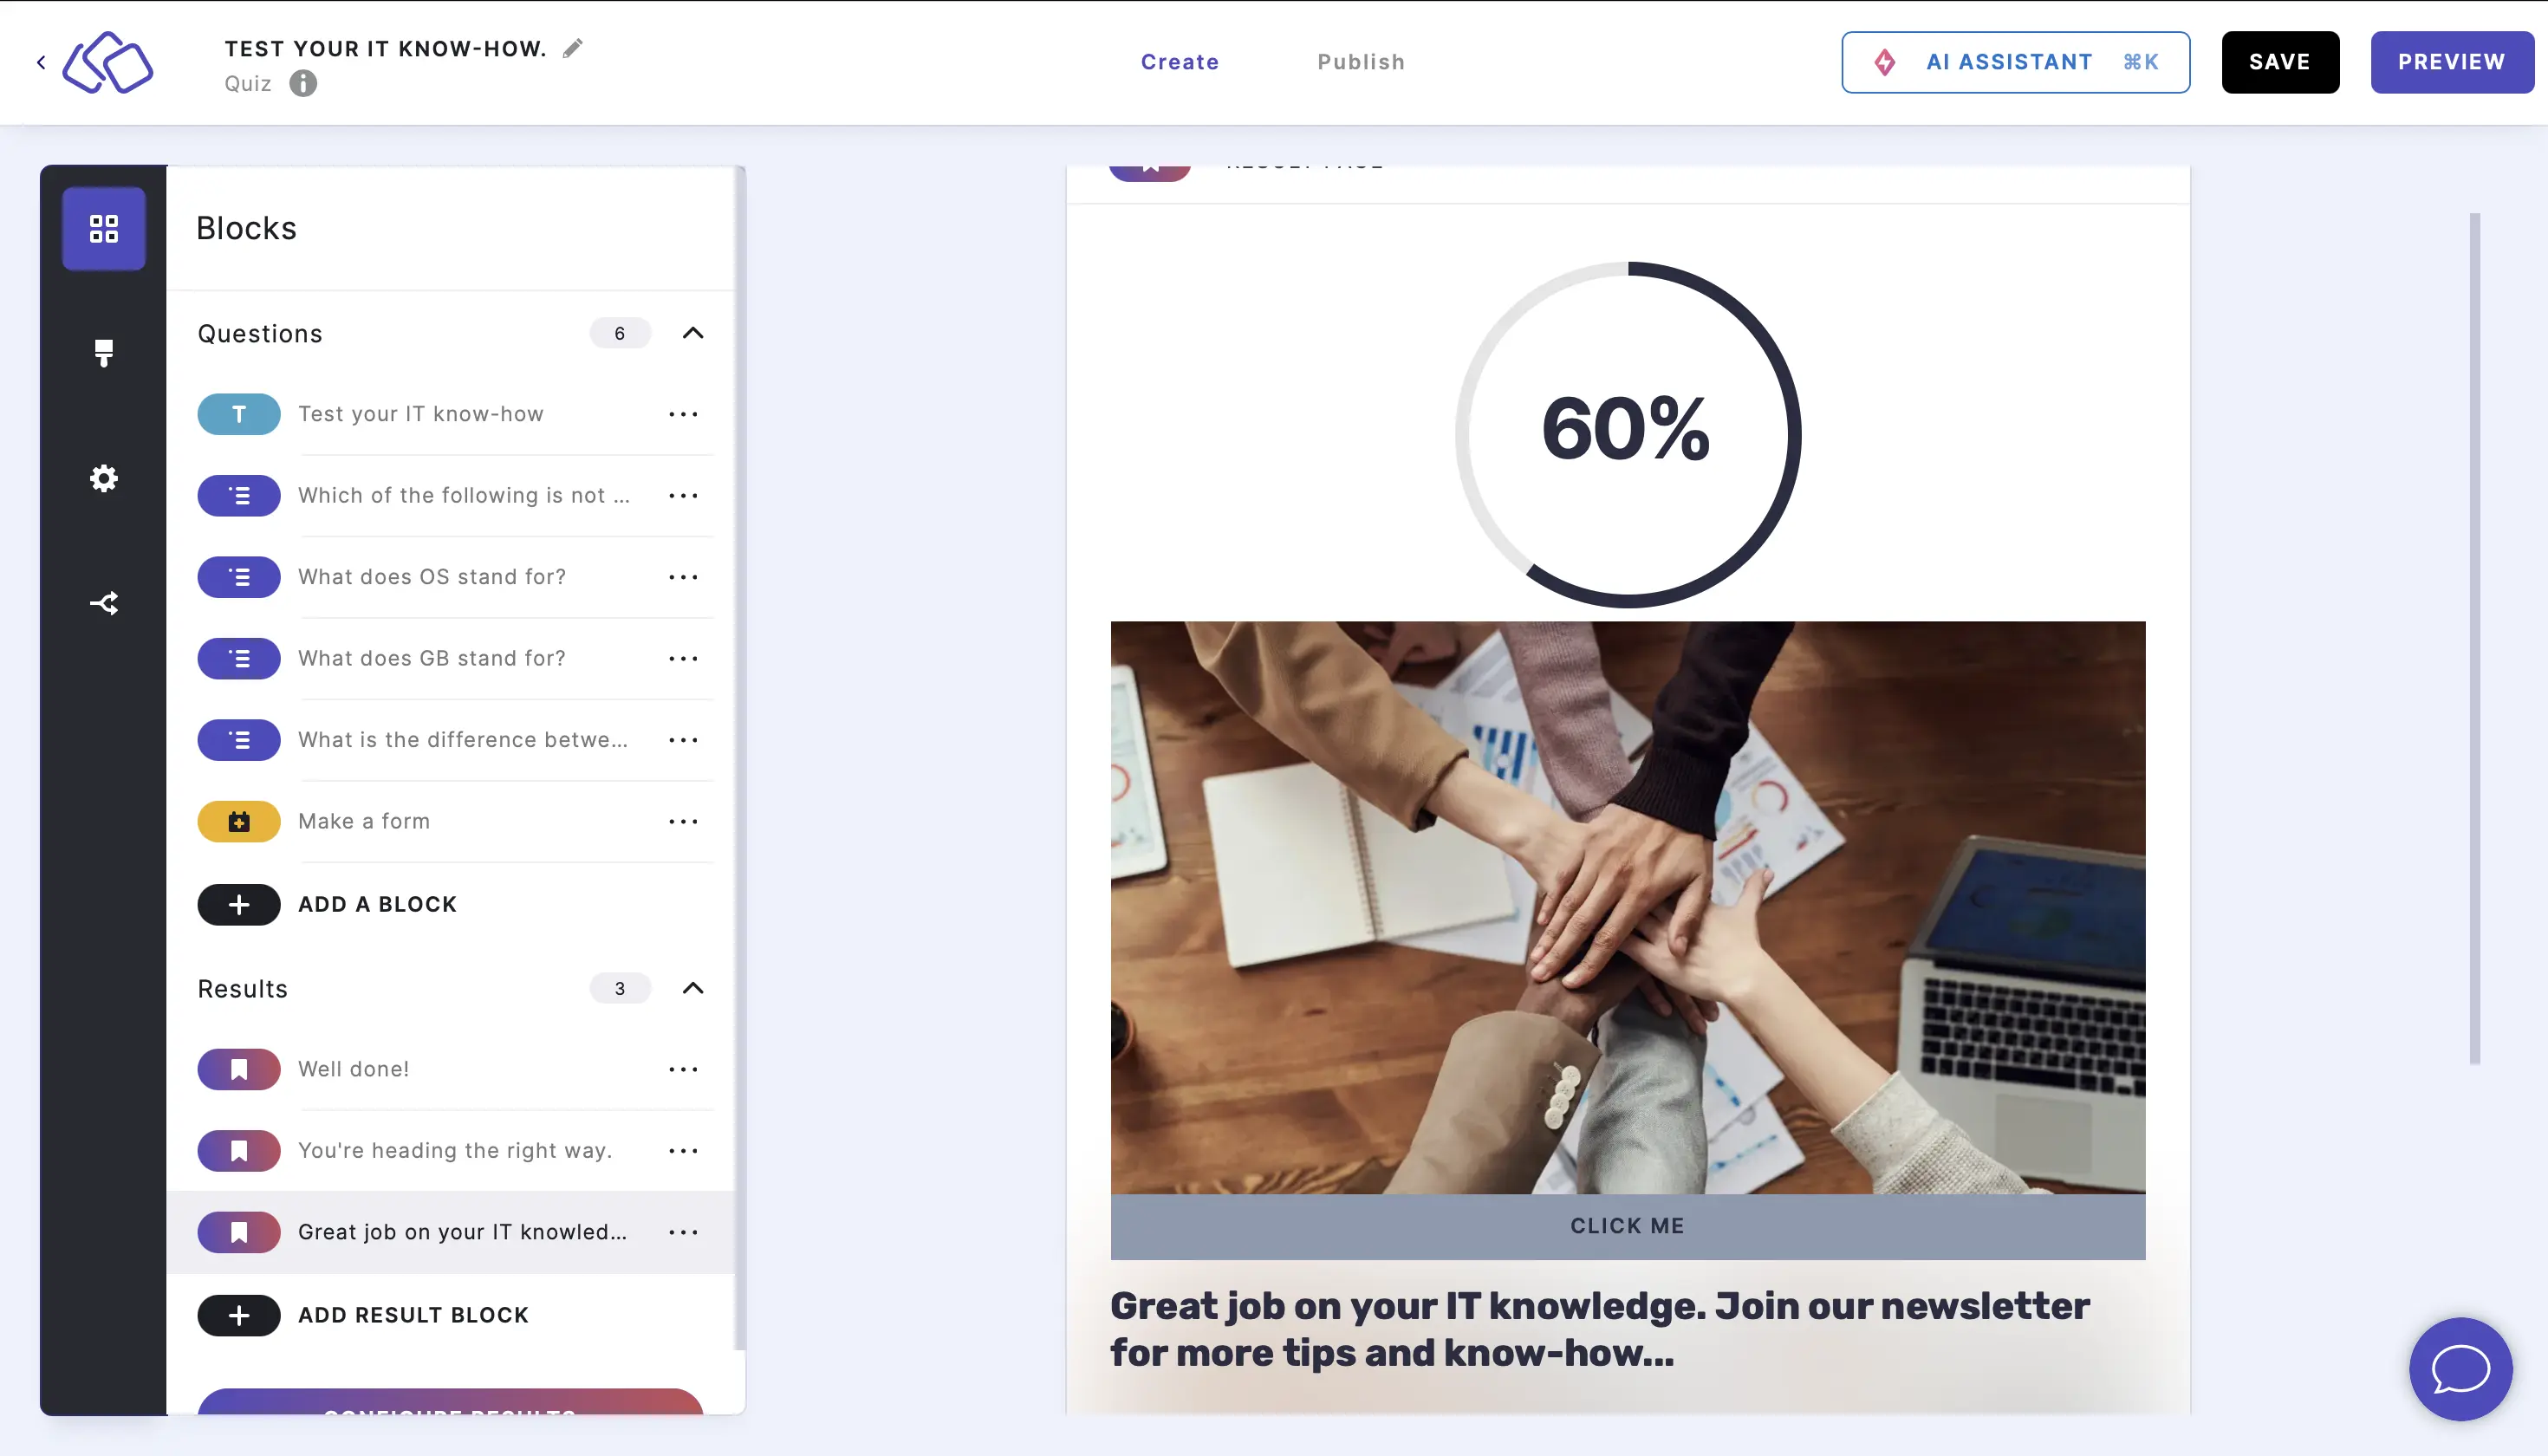
3. Add a CTA button
- Click on the ADD button under your result page and select Button.

- The default label is "Click me".
- Click on the CTA button and then on the Edit button content icon.
- Enter the button text next to Label.
- Enter the button link next to Link.
- Enable or disable Open in new tab to decide whether the linked page opens in the same or new tab.
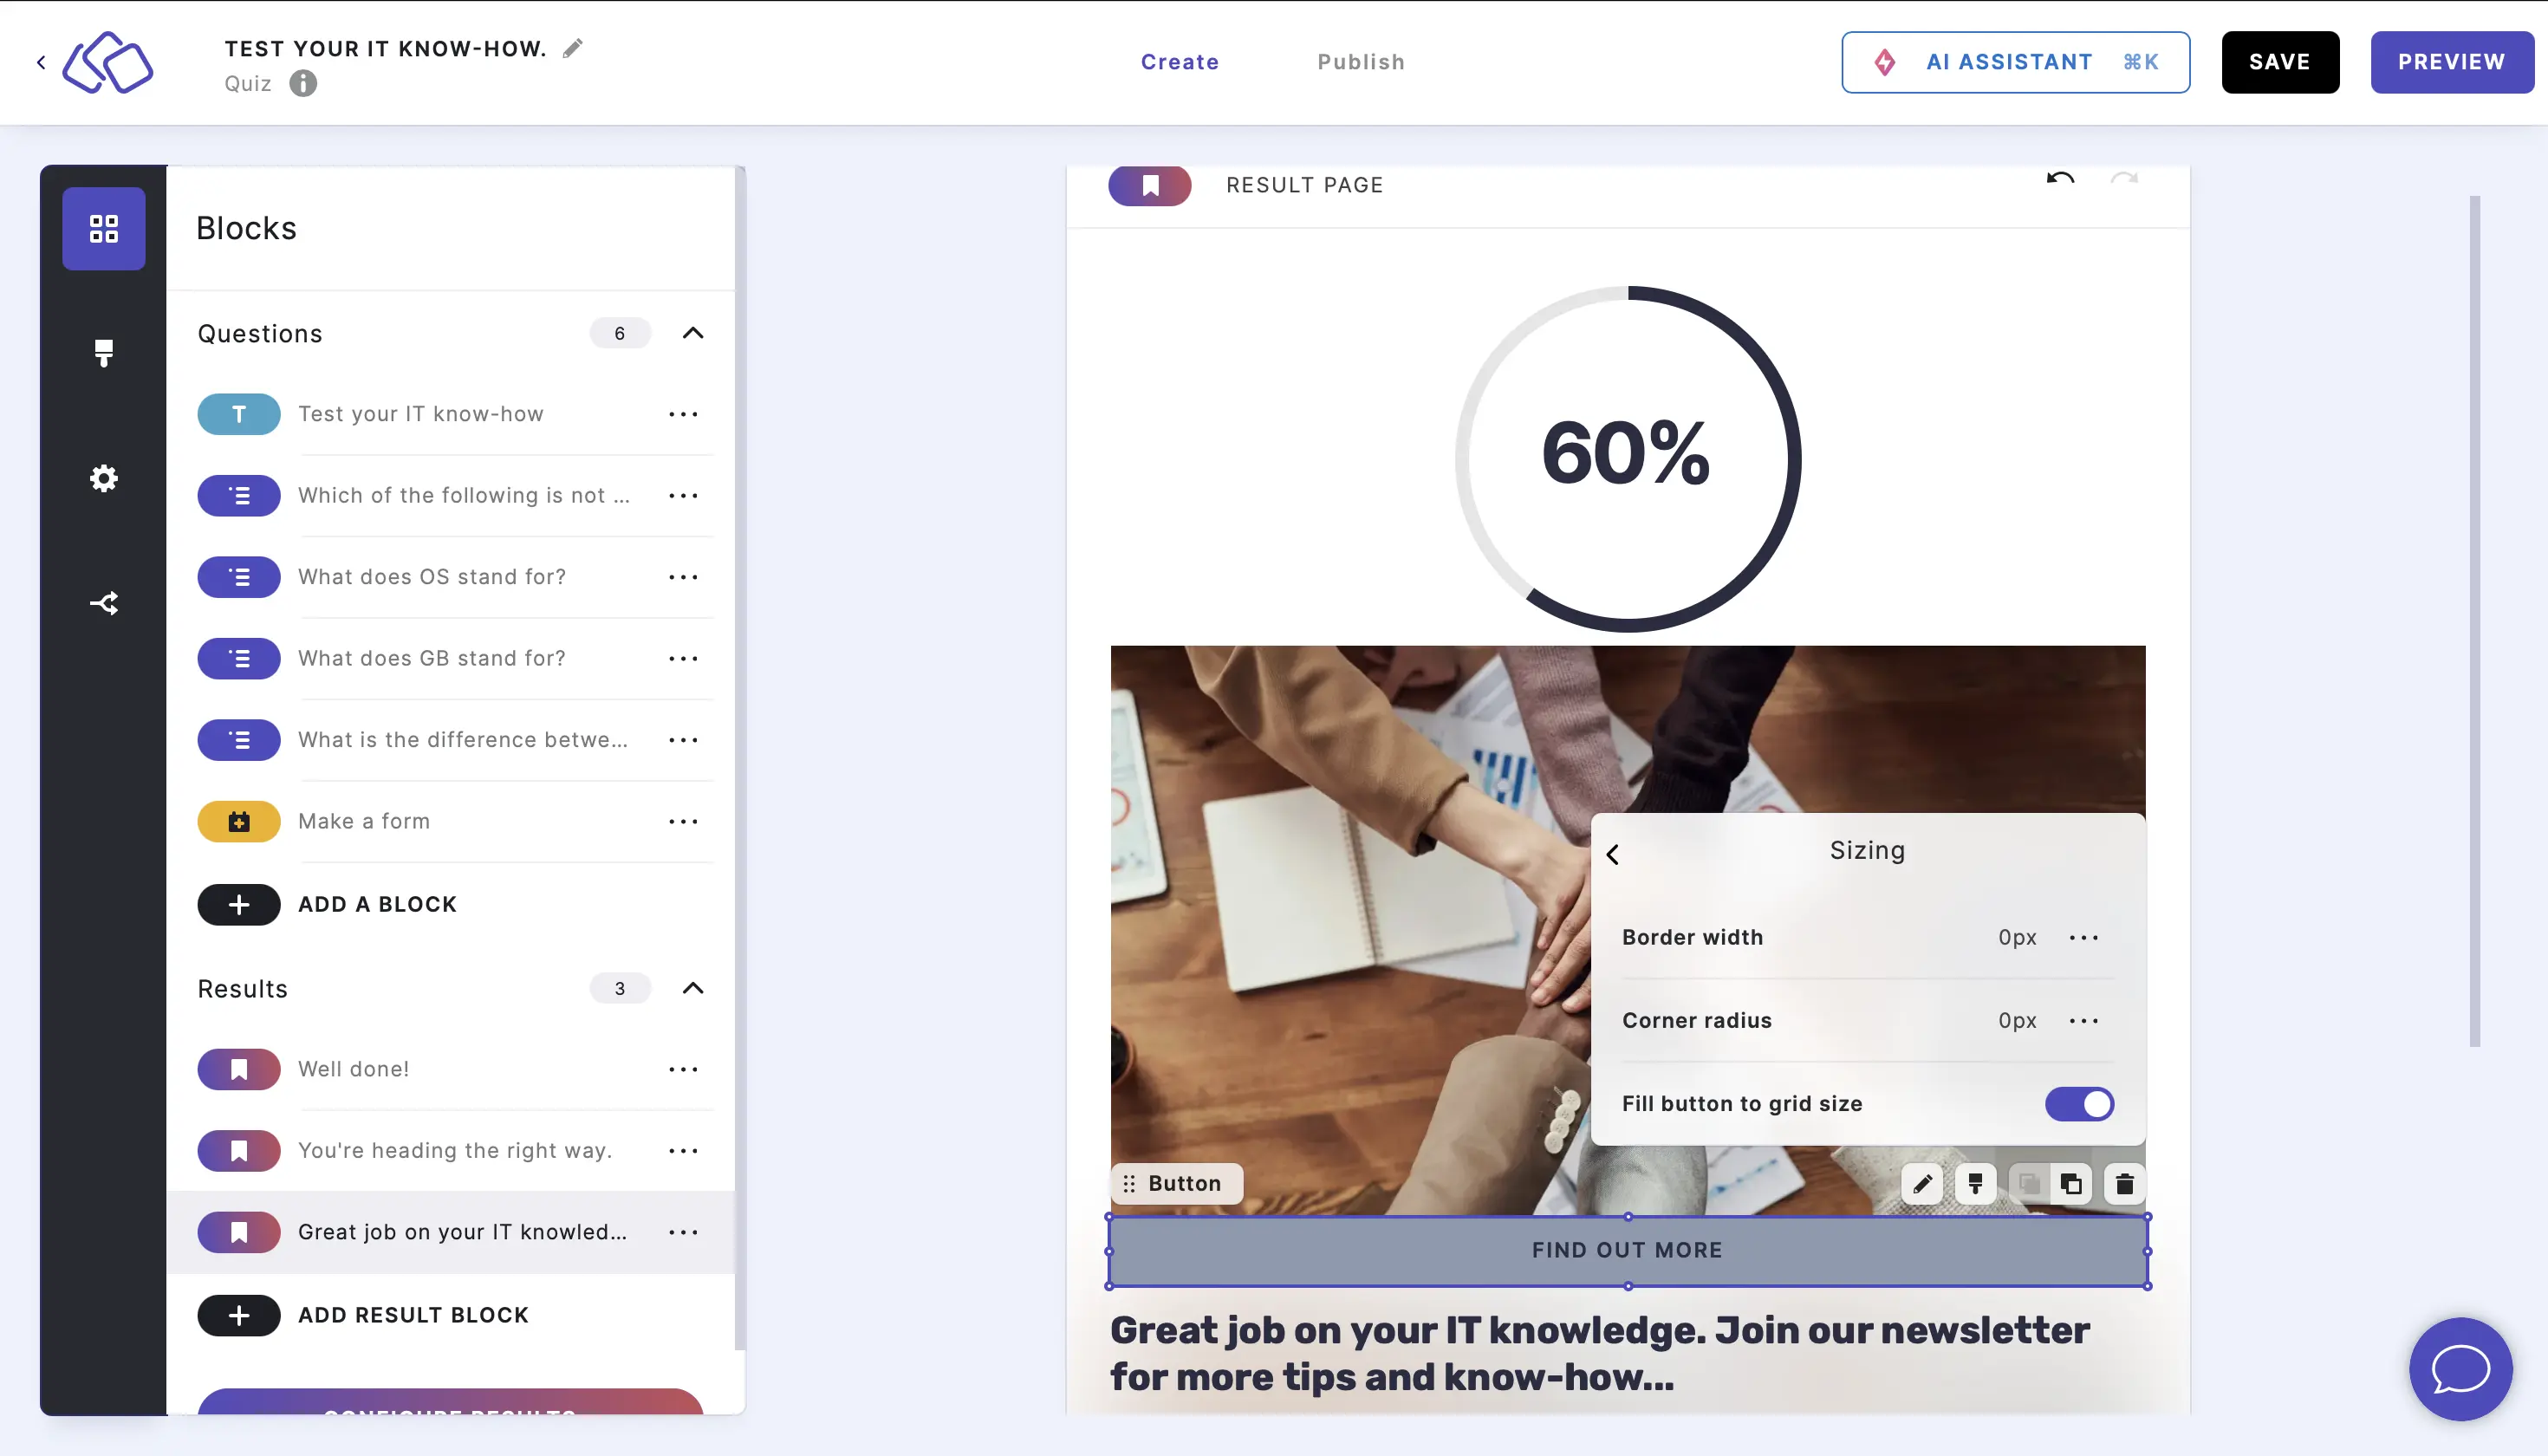
- Click on the CTA button and then on the Edit button style icon.
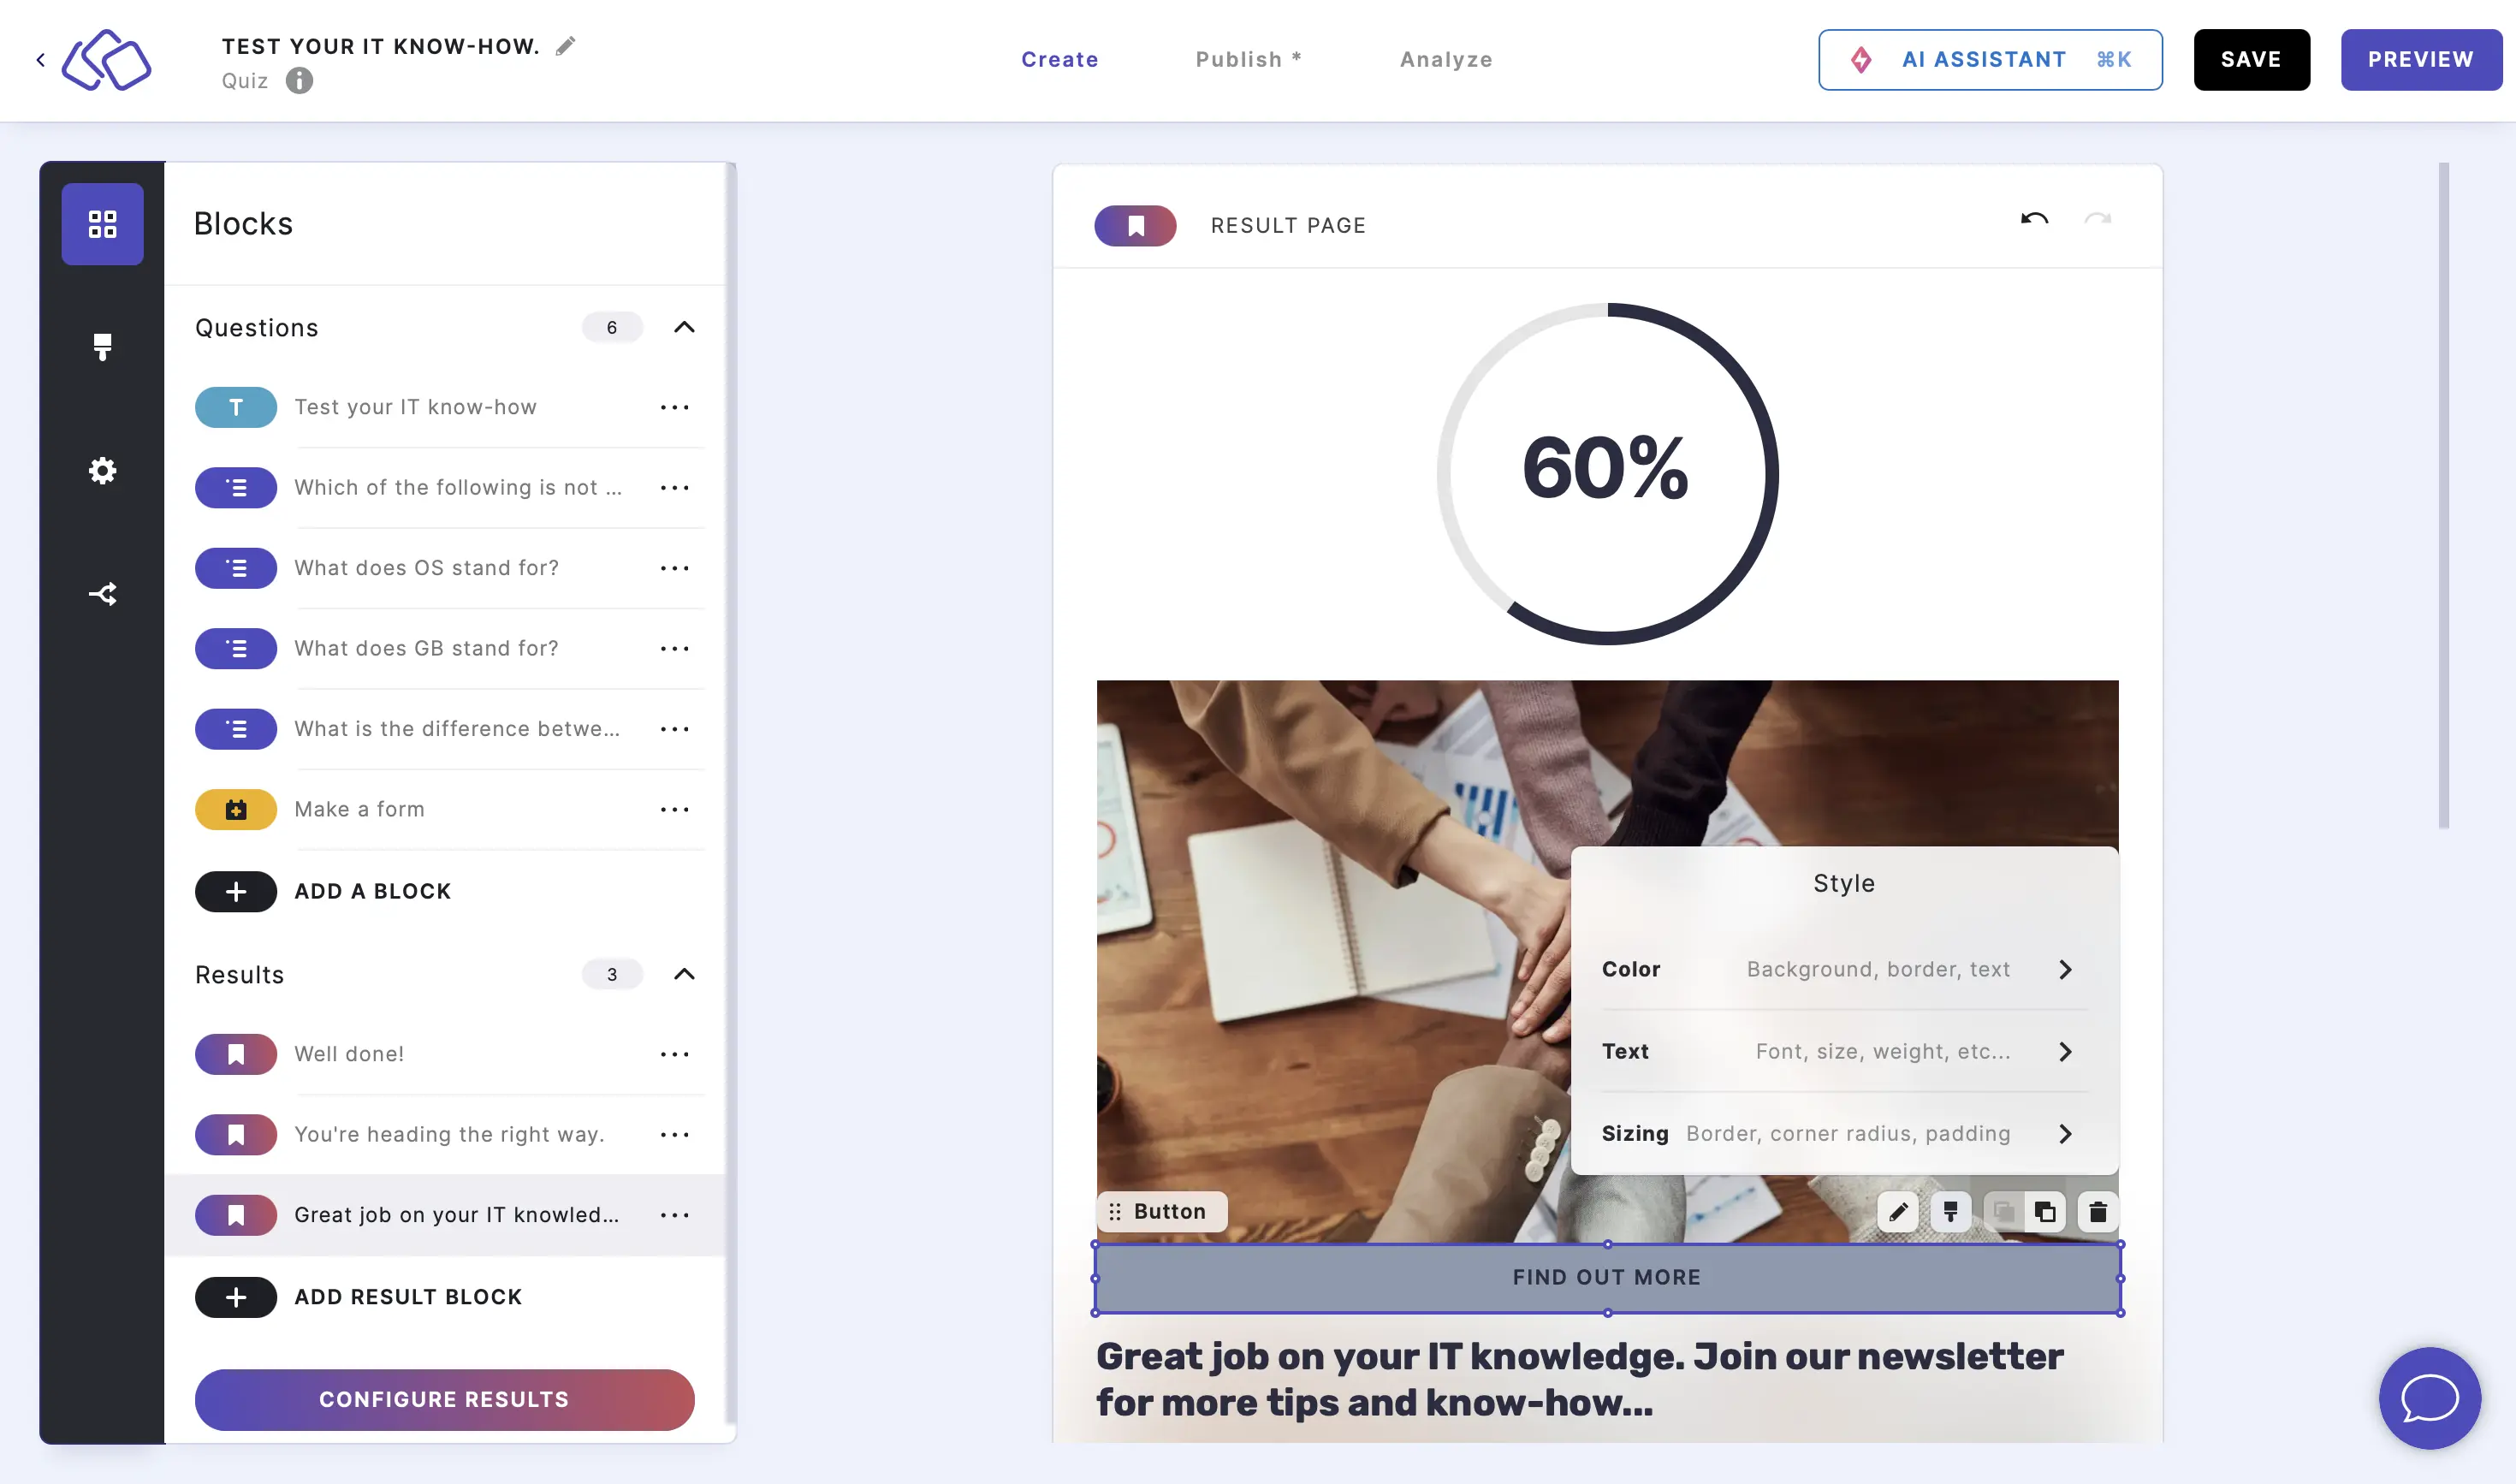
- Go to Color and then choose colors for each object.

- Go to Text and then select your preferences for font, capitalization, spacing, height, and alignment.
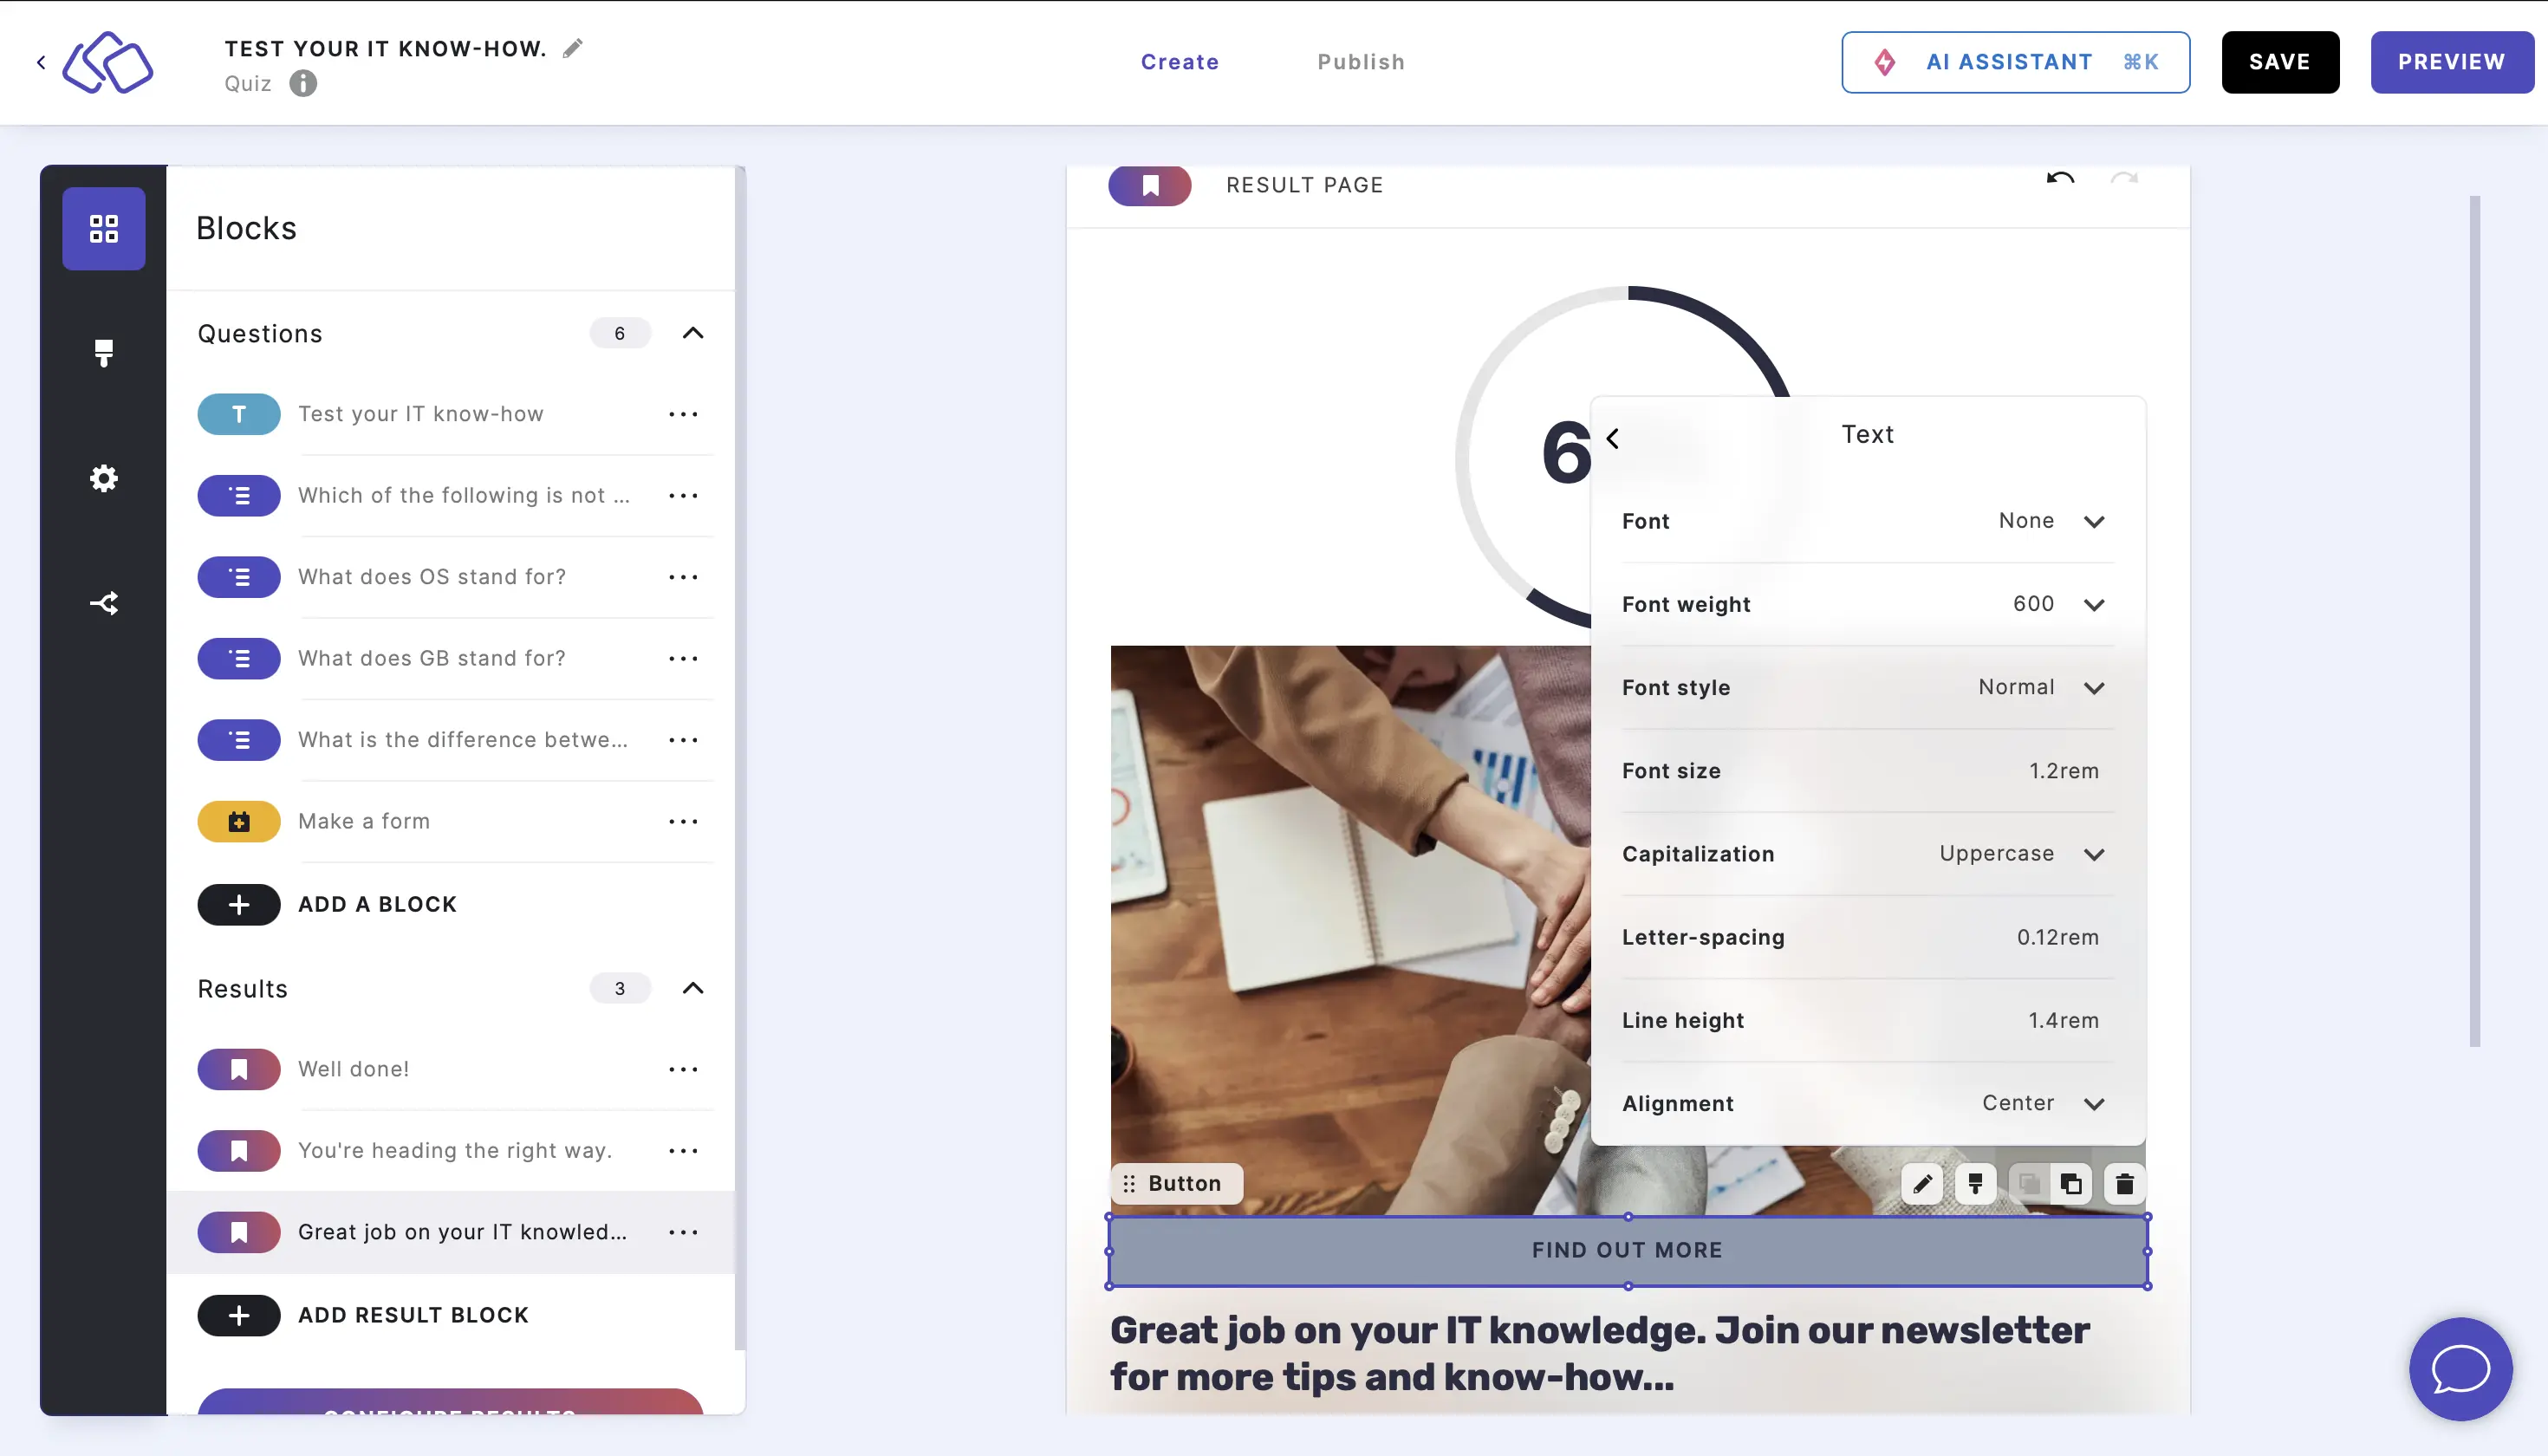
- Go to Sizing and then select your preferences for border width, corner radius, and choose whether to fill button to grid size.
- Go to Color and then choose colors for each object.
4. Add answered blocks
- Click on the ADD button under your result page and select Answered blocks.

Answered blocks will appear here. - Click on the Answered blocks element and then on the Edit icon.
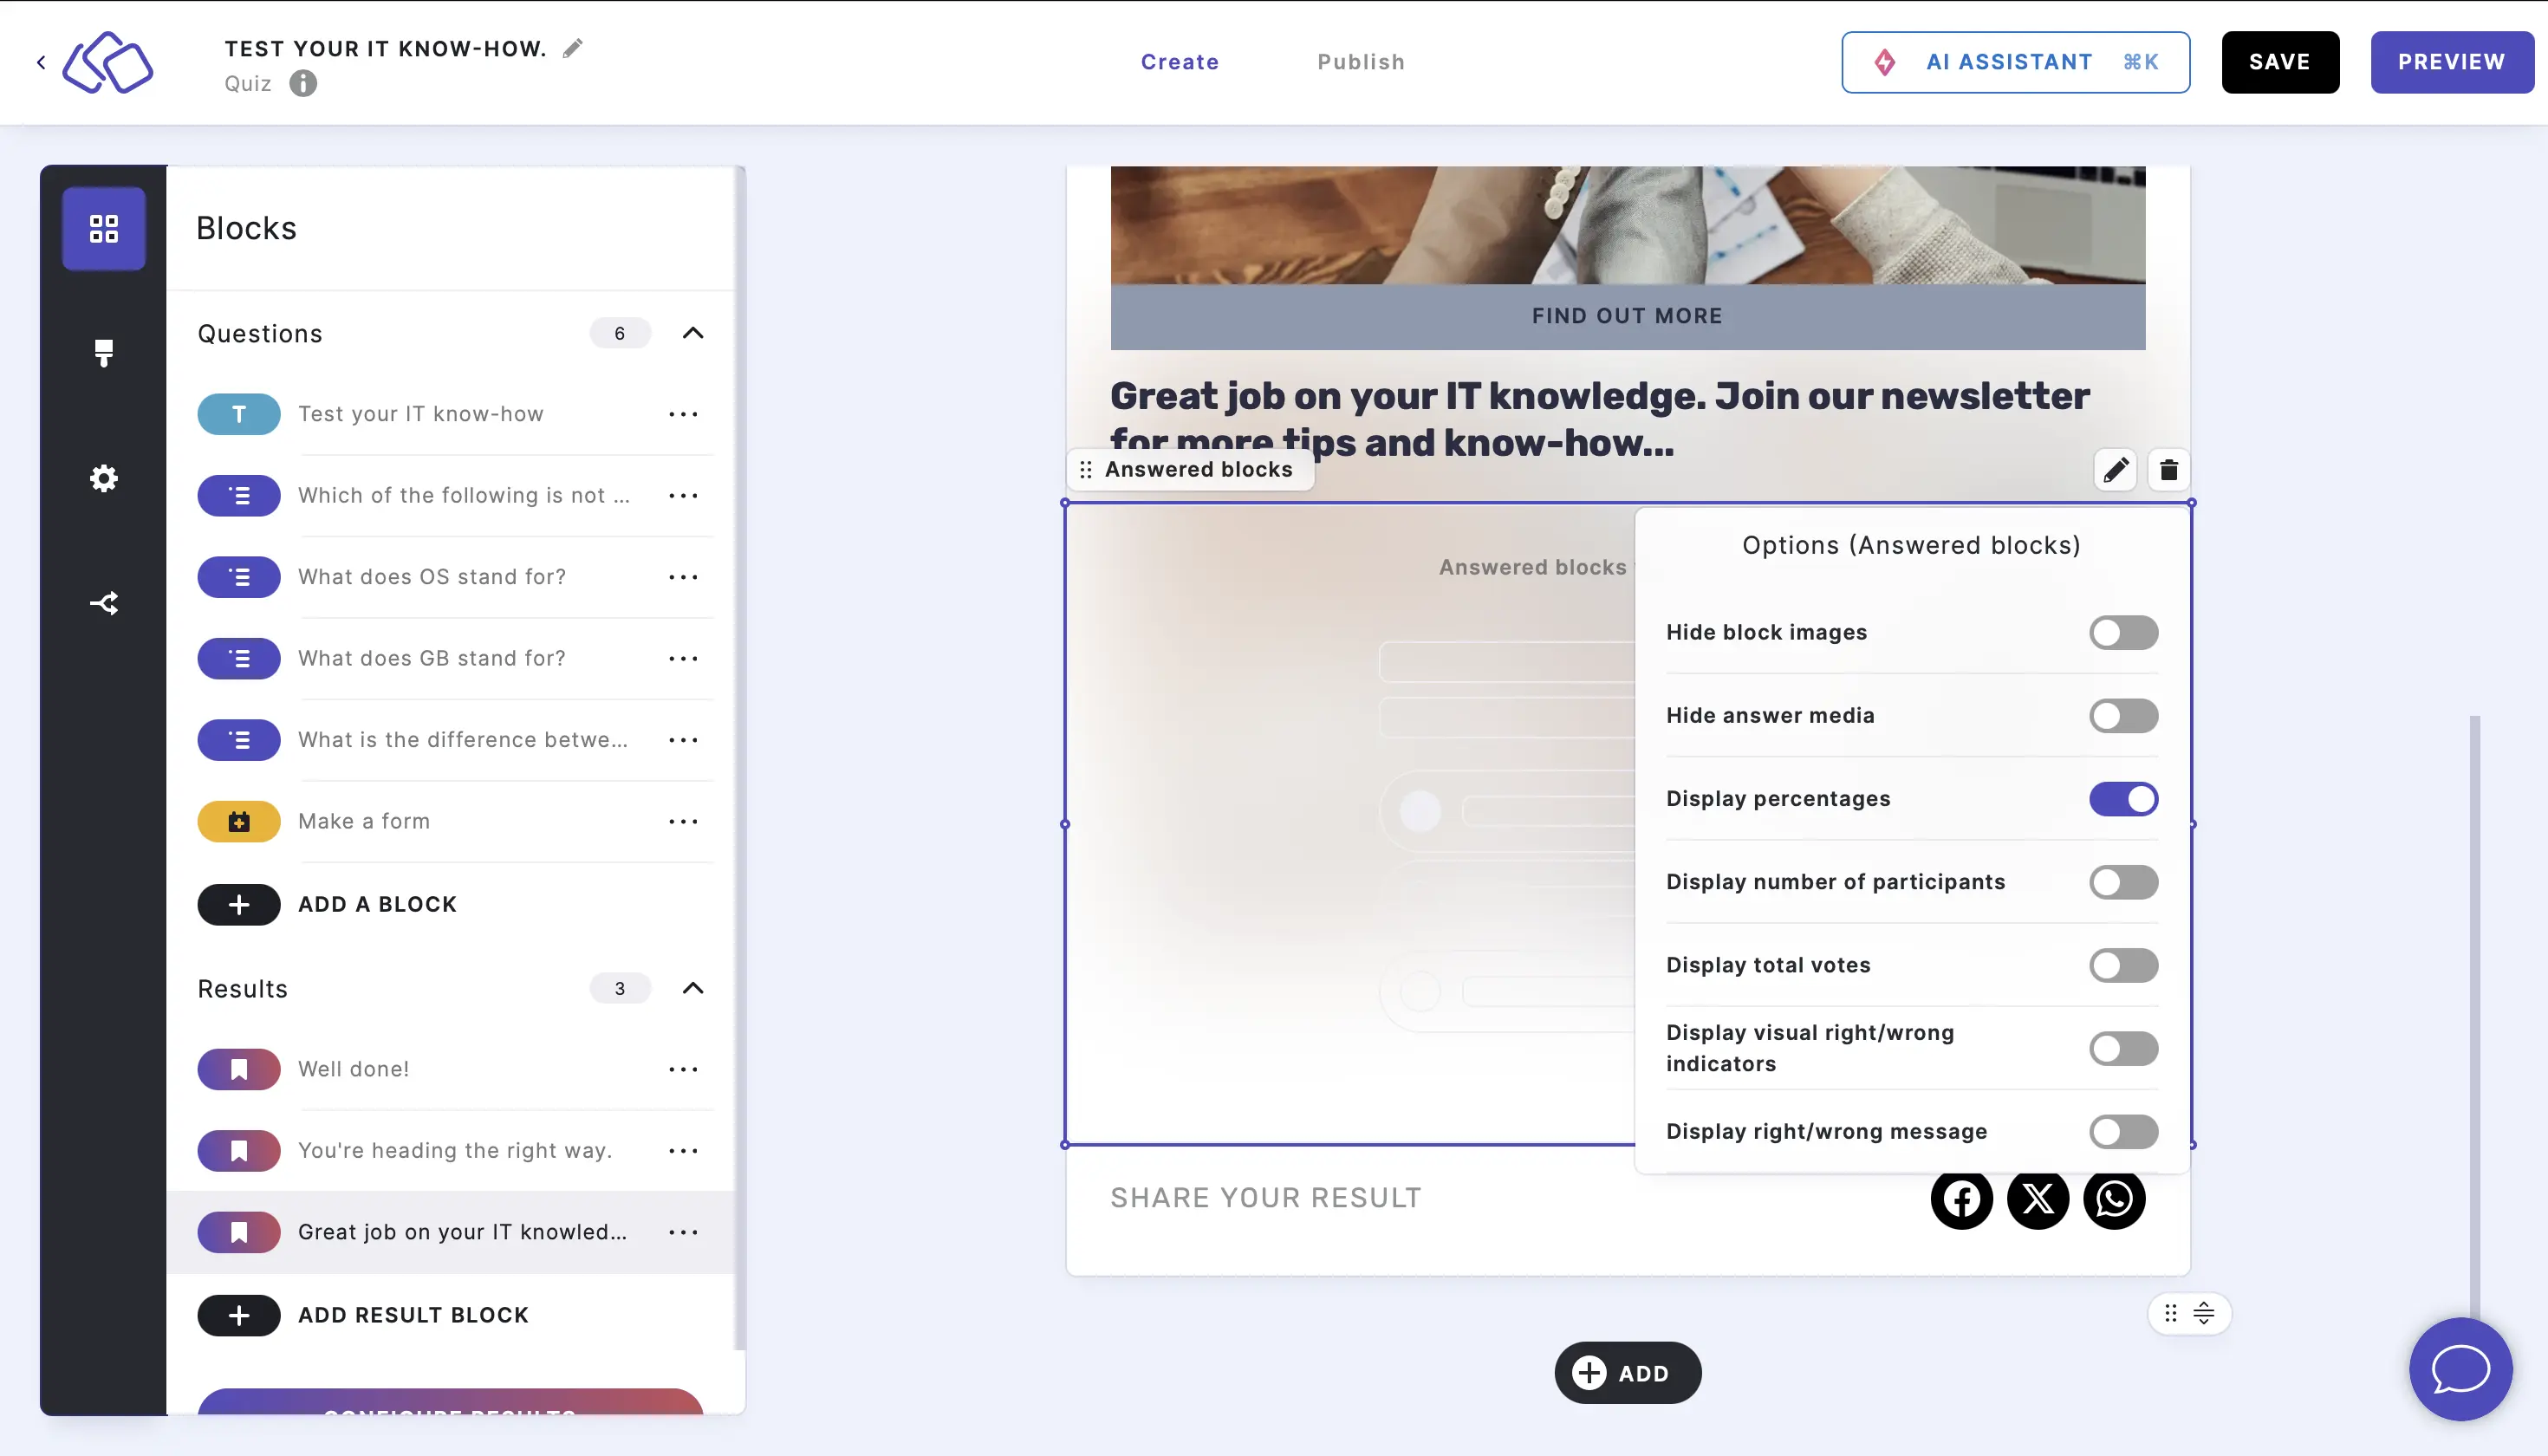
- Enable Hide block images to hide block images that you have inserted into your Riddle but do not want your audience to see right now.
- Enable Hide answer media to hide the answer media that you have inserted into your Riddle but you do not want your audience to see right now.
- Enable Display percentages for the audience to see these results as percentages. This is enabled by default.
- Enable Display number of participants for the audience to see the number of participants that have taken part so far.
- Enable Display total votes for the audience to see the total number of votes so far.
- Enable Display visual right/wrong indicators for the audience to see a tick/cross next to each right/wrong answer respectively.
- Enable Display right/wrong message for the audience to see a right/wrong message next to each right/wrong answer respectively.
5. Add share buttons
- Click on the ADD button under your result page and select Share buttons.
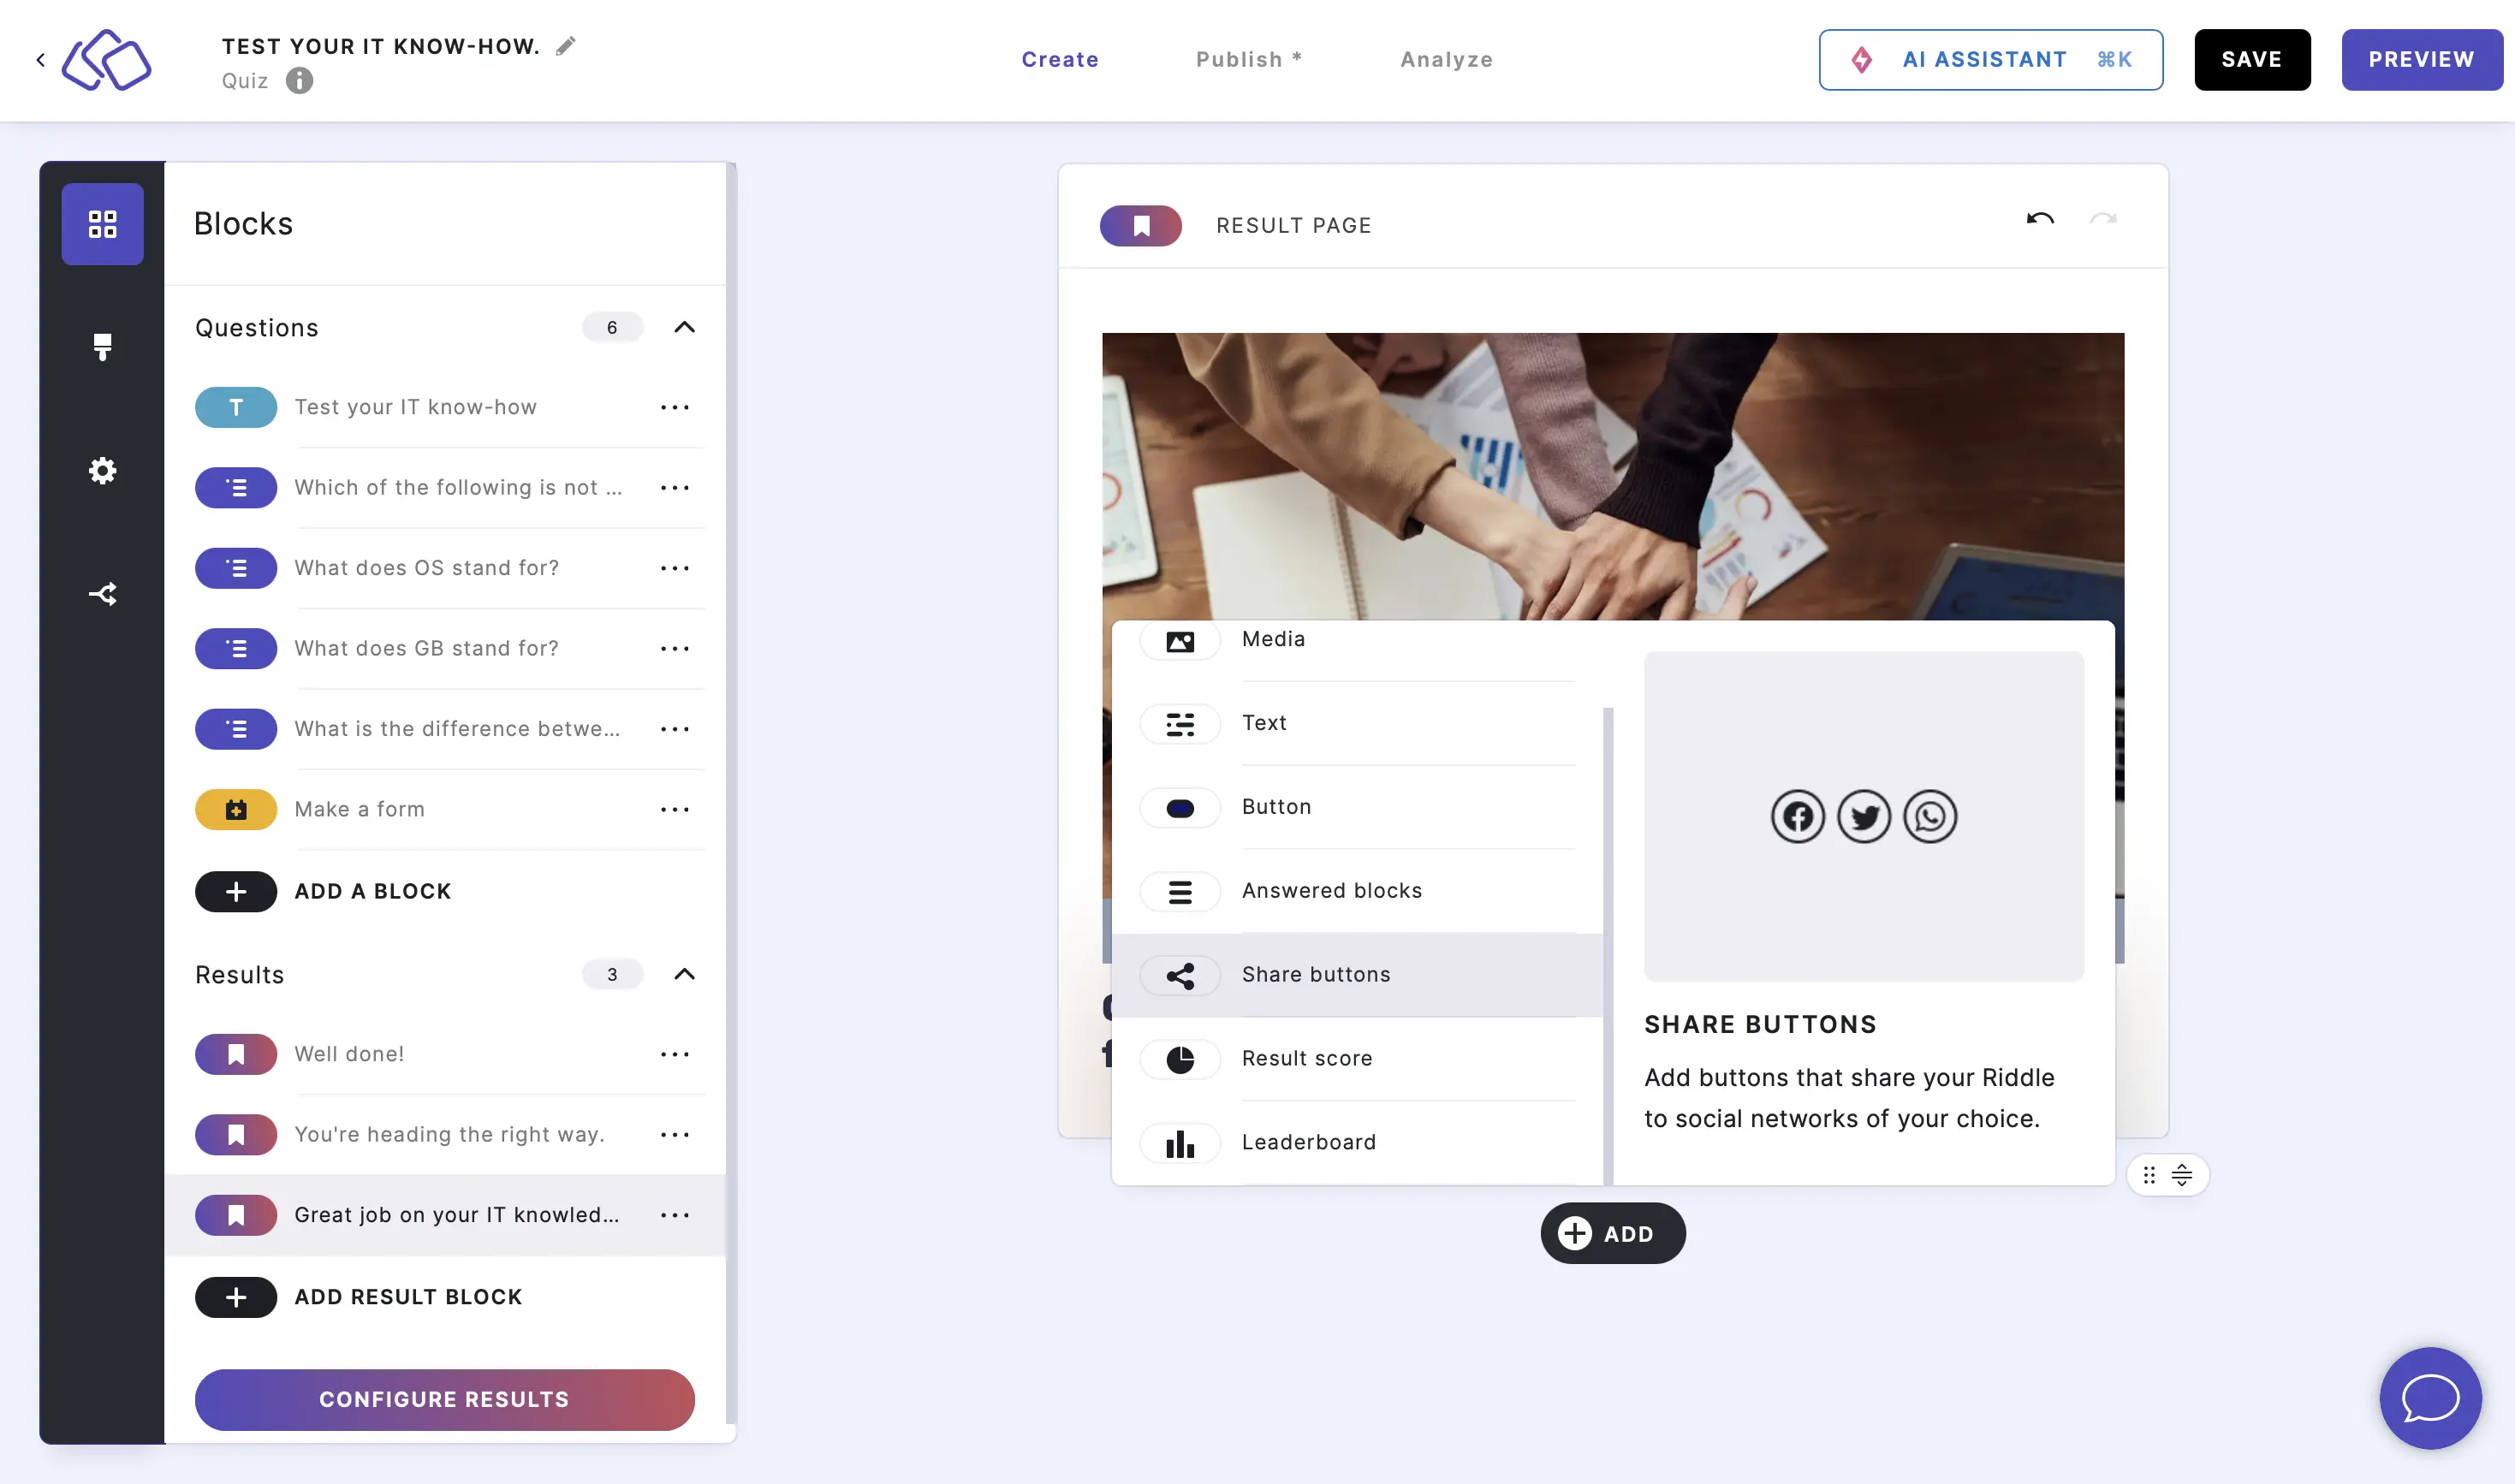
- Facebook, X, and WhatsApp are the default share buttons and ready to use without any other change.
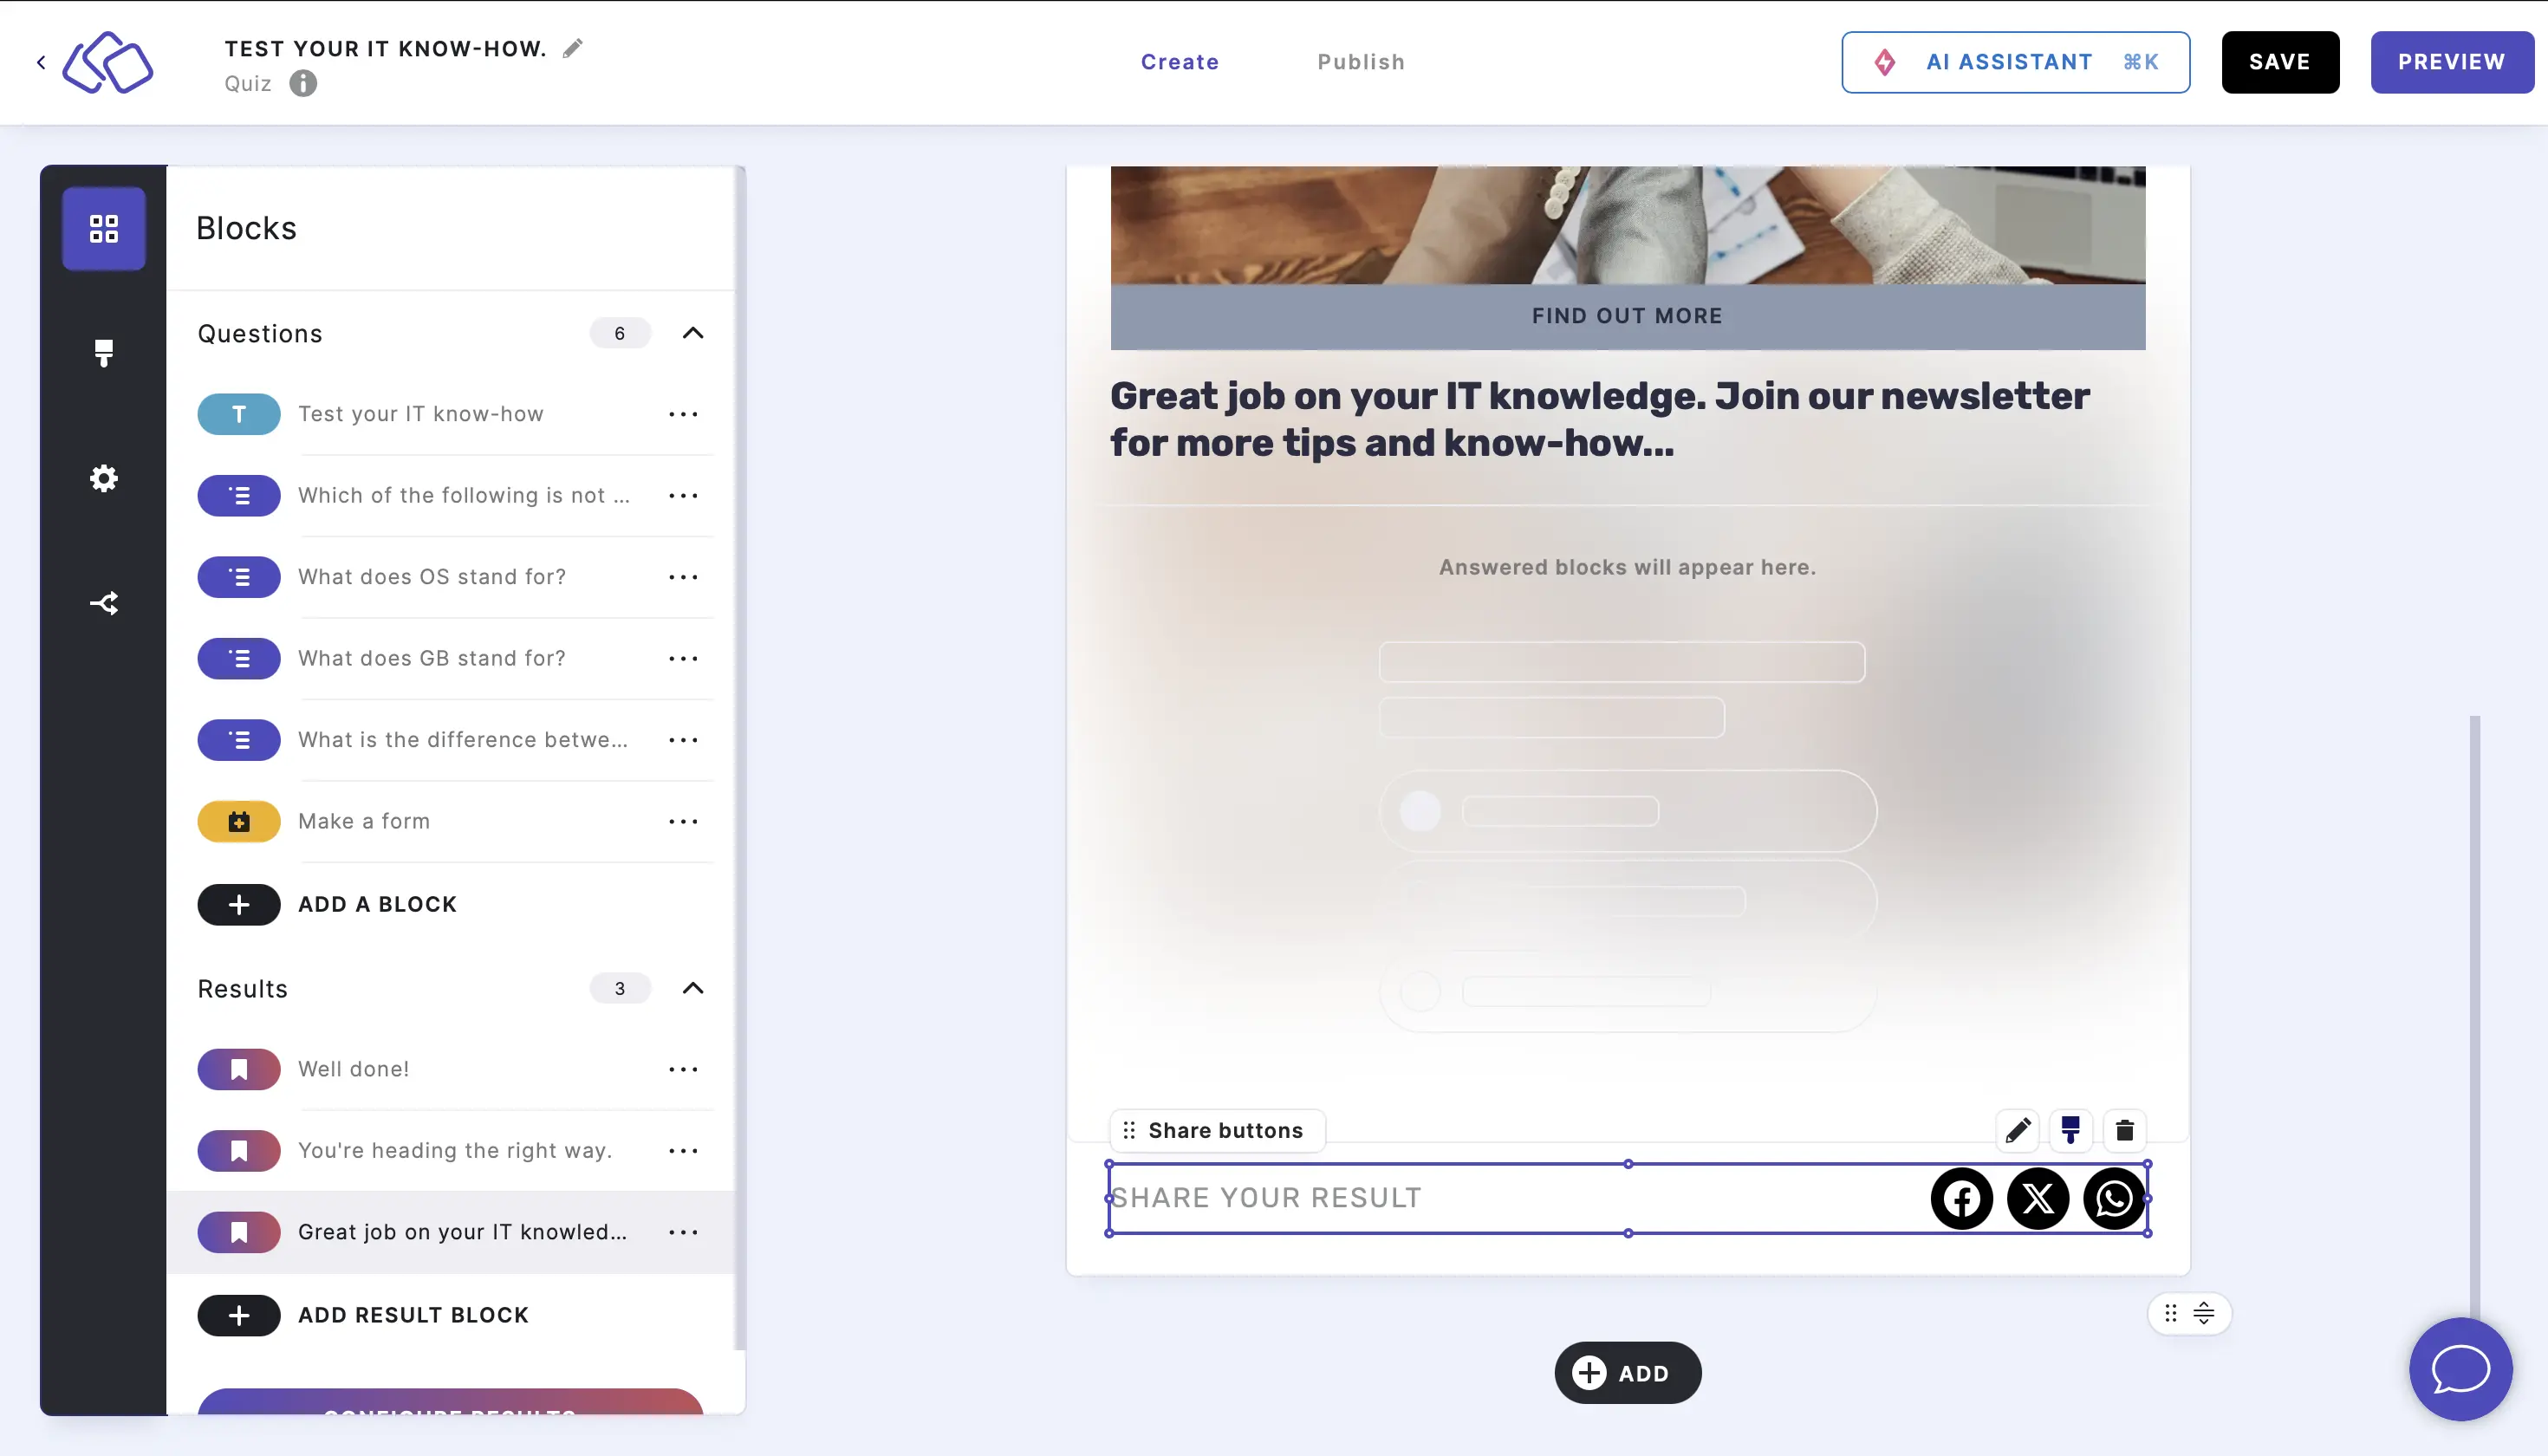
- Click on the sharing button and then on the Edit button icon.
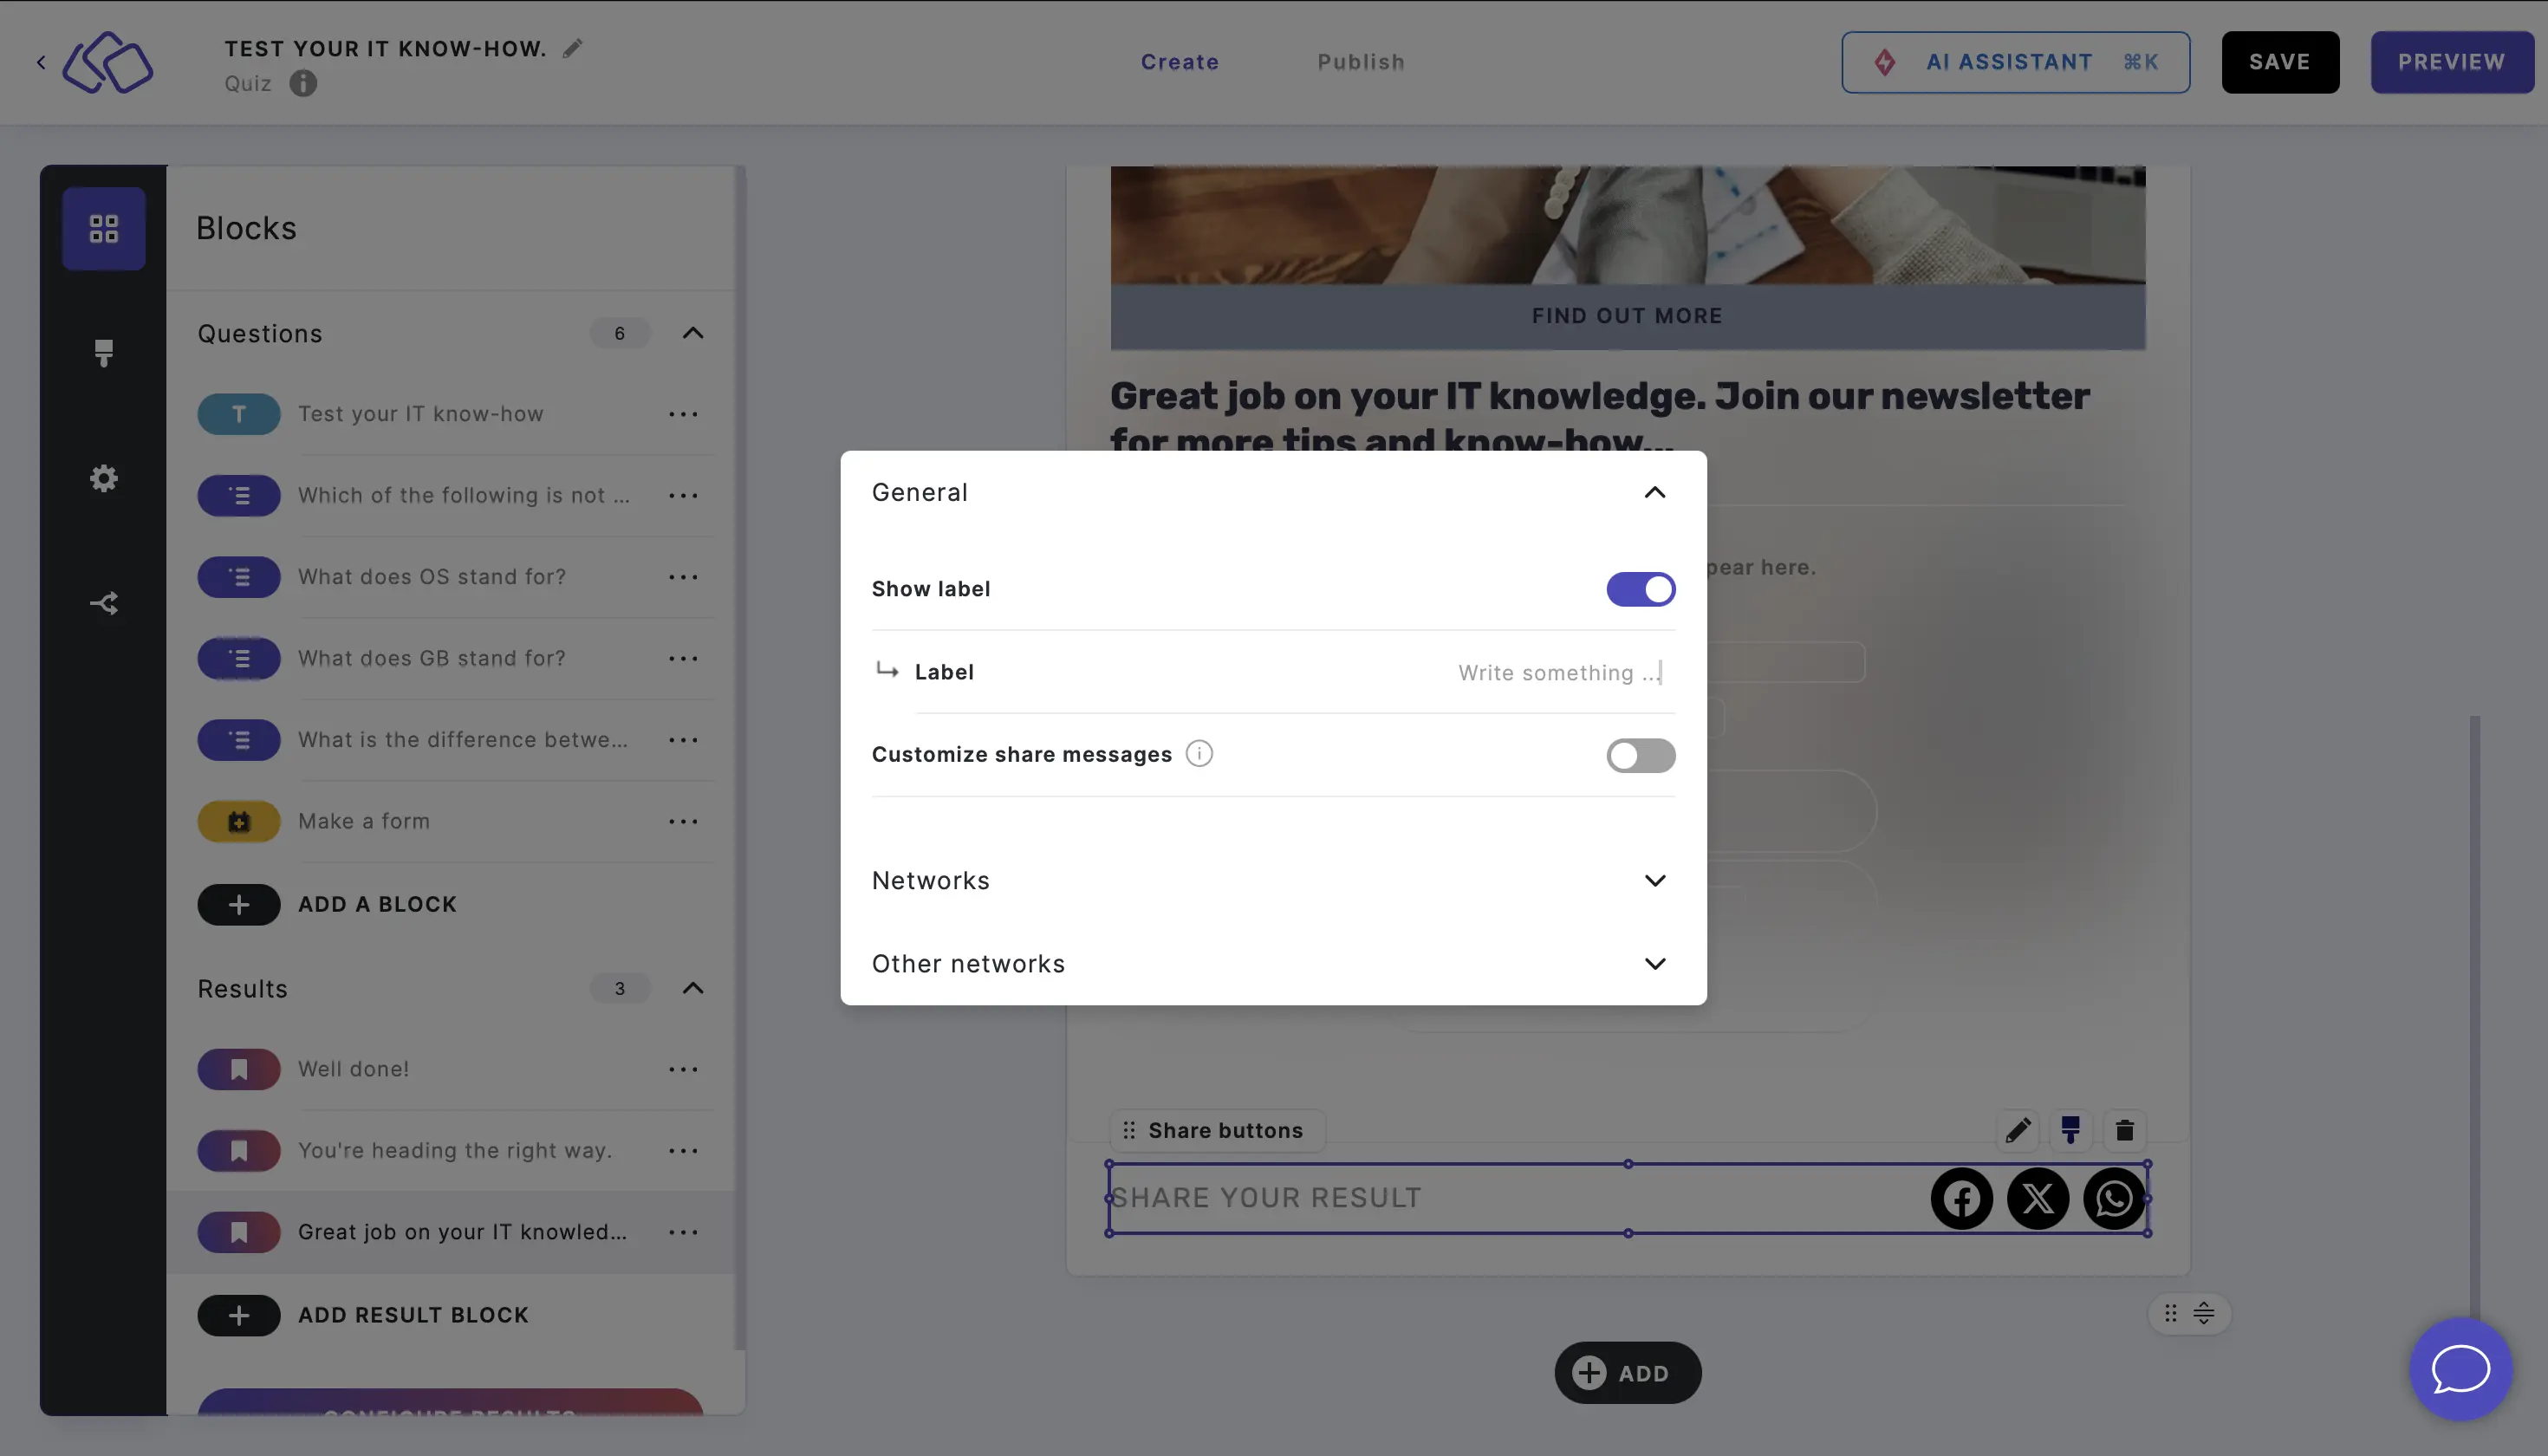
- Decide whether to enable or disable the label.
- Edit the text in Label.
- Enable Customize share messages under the General section and fill out every field, and add an optional image.
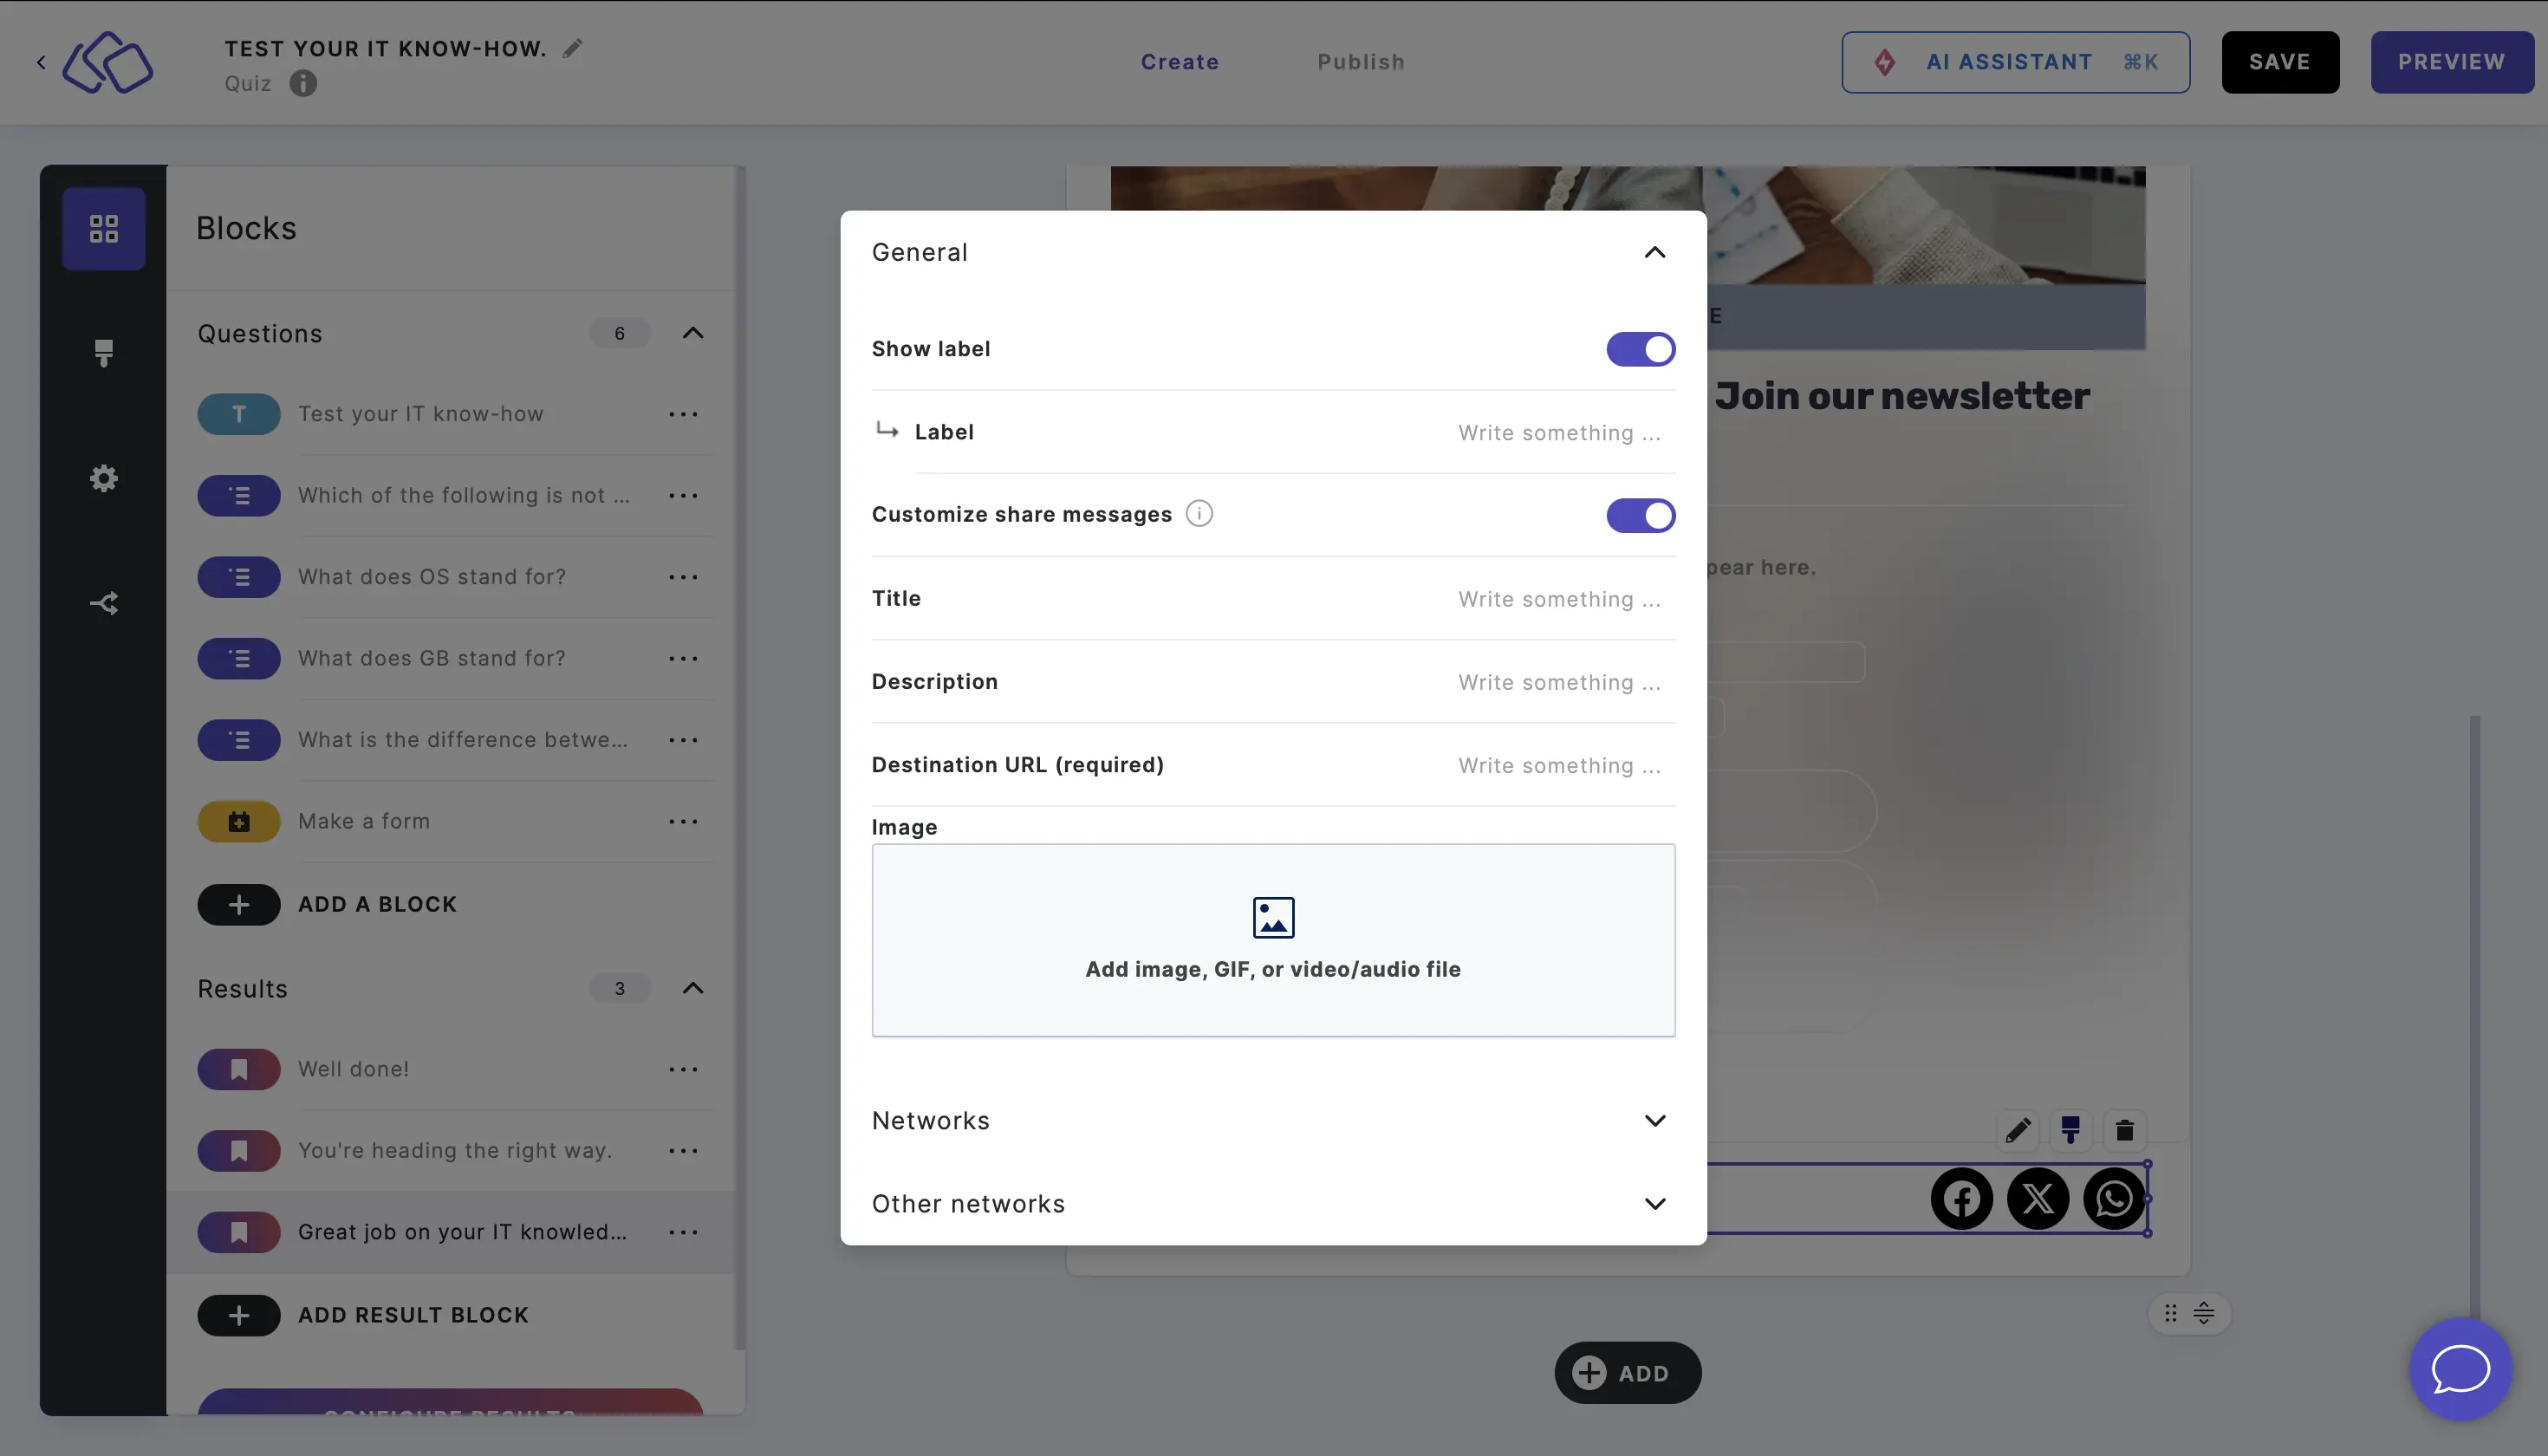
- Select the network(s) you would like under Networks, enable Customize share messages for any of your selected networks, and fill out every field/add an optional image.

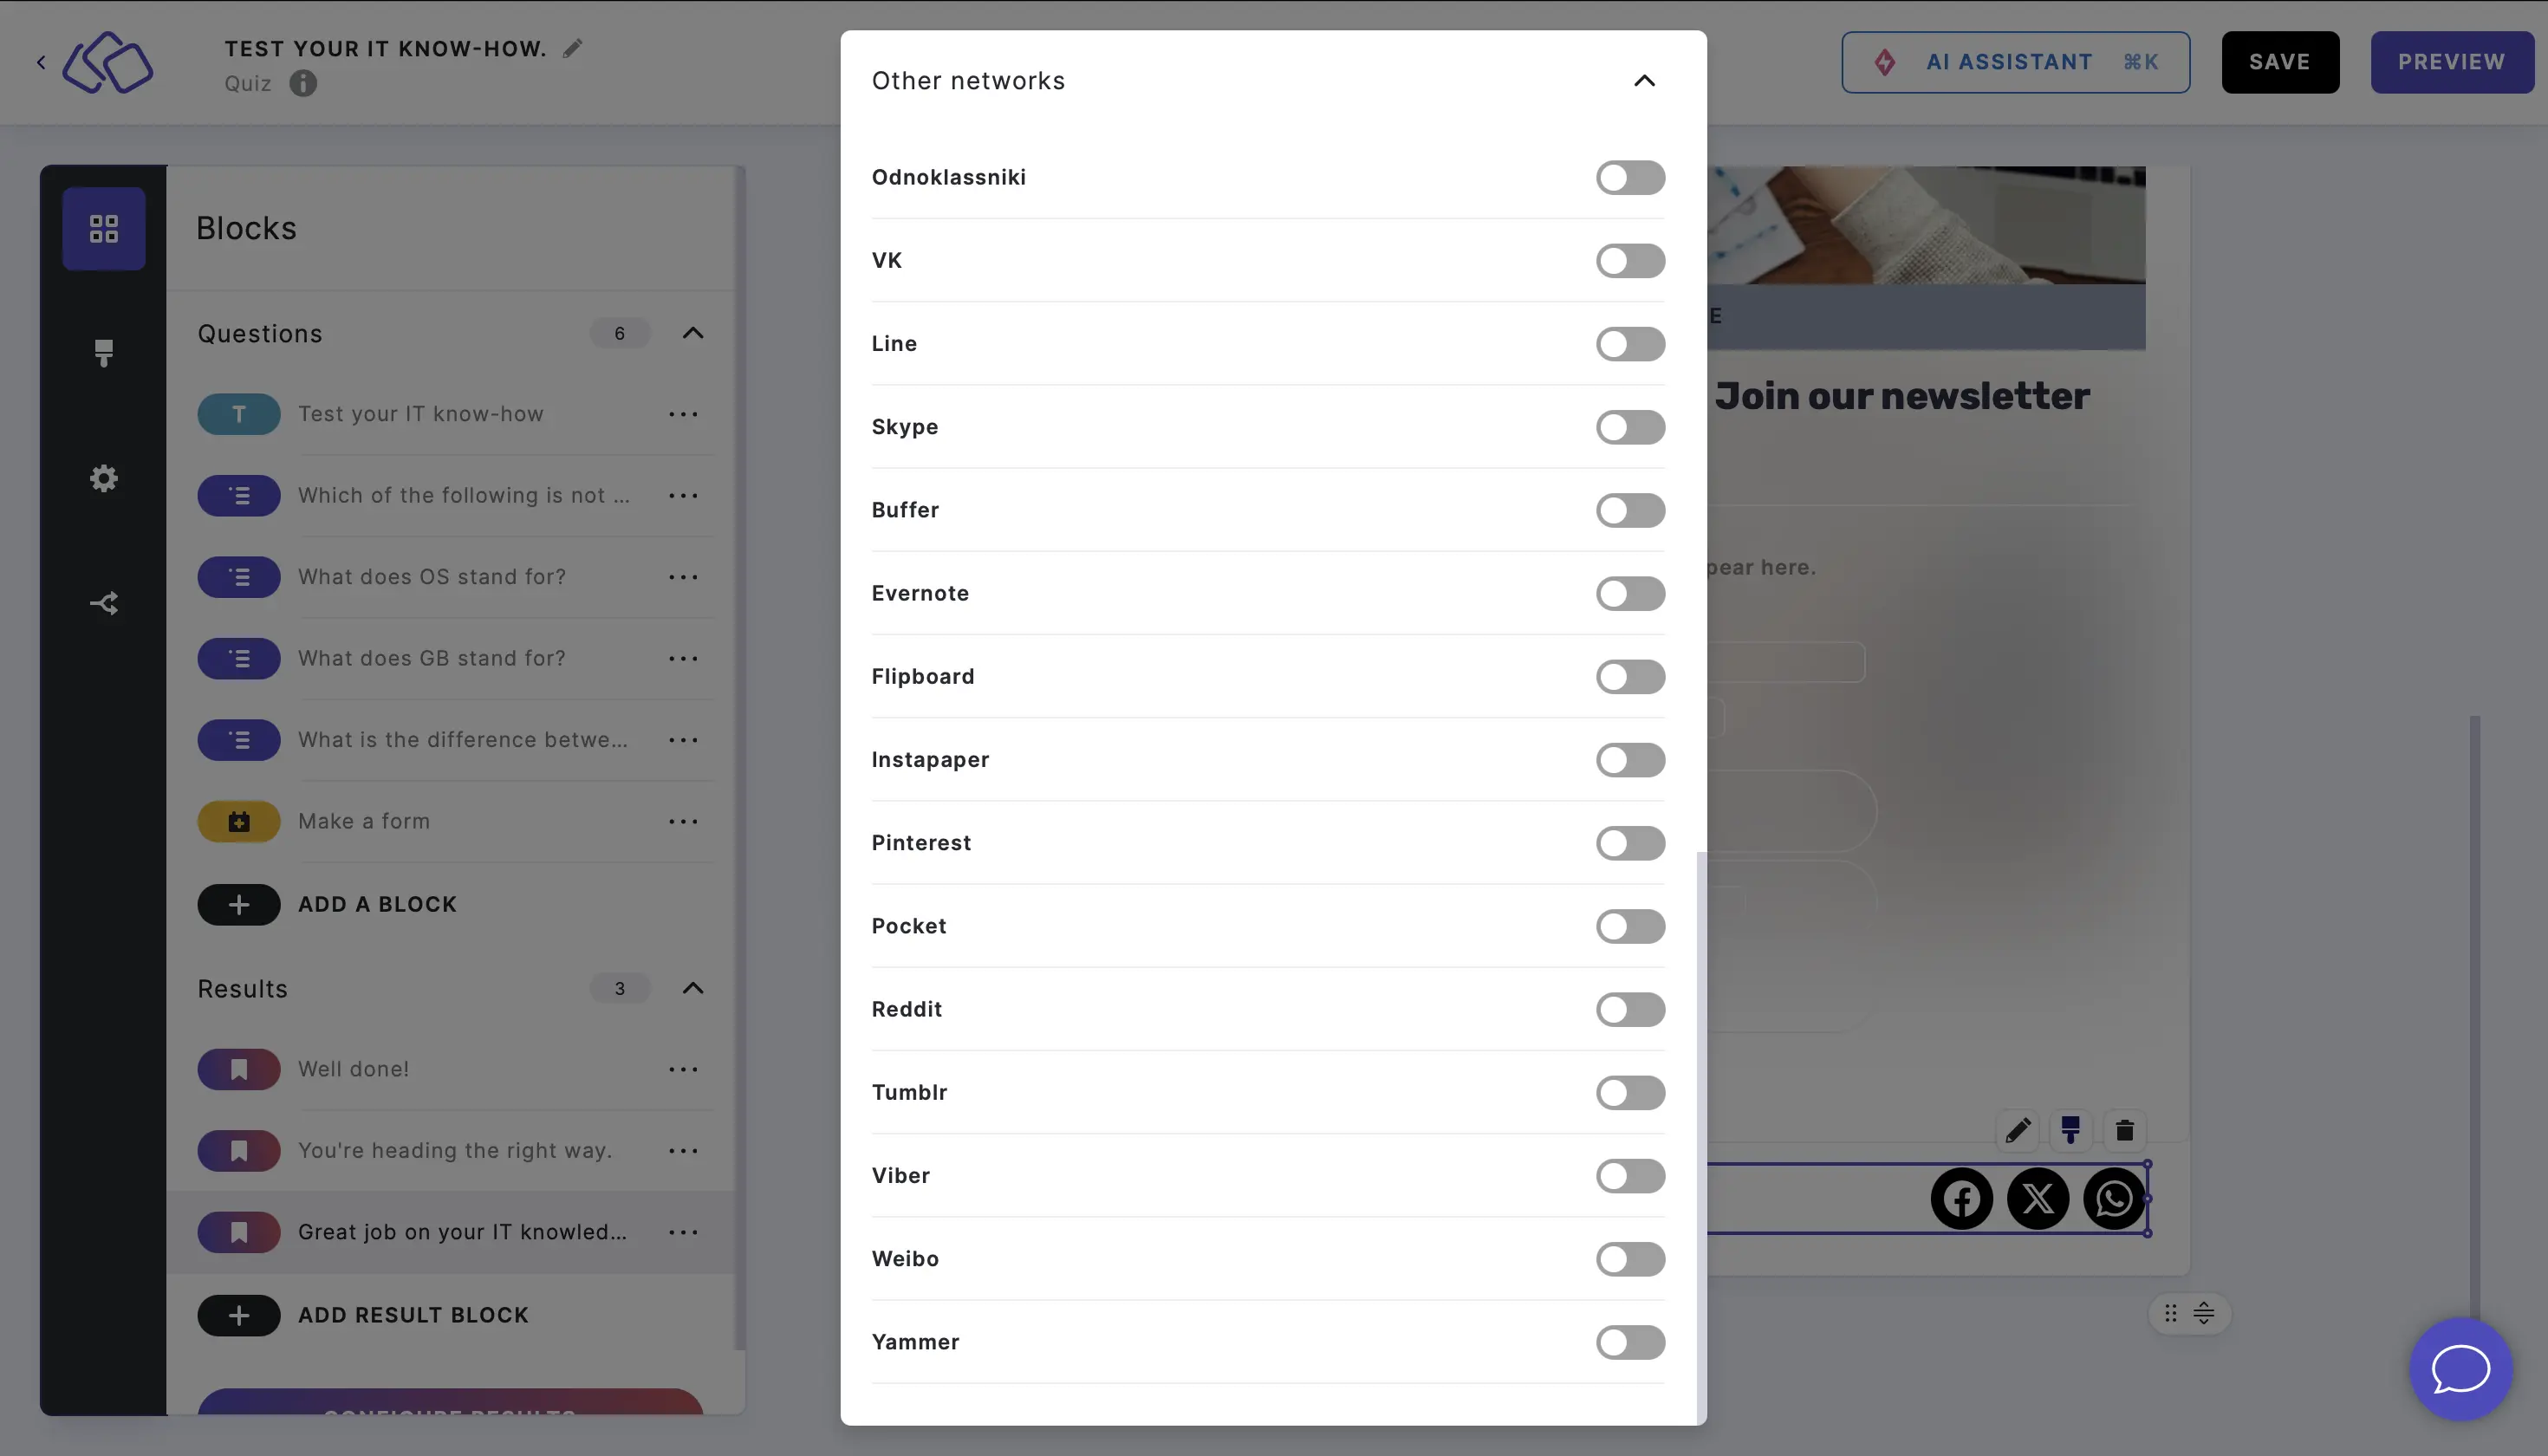
- For further networks, scroll down and click on Other networks.
- Click on the sharing button and then on the Edit button style icon.
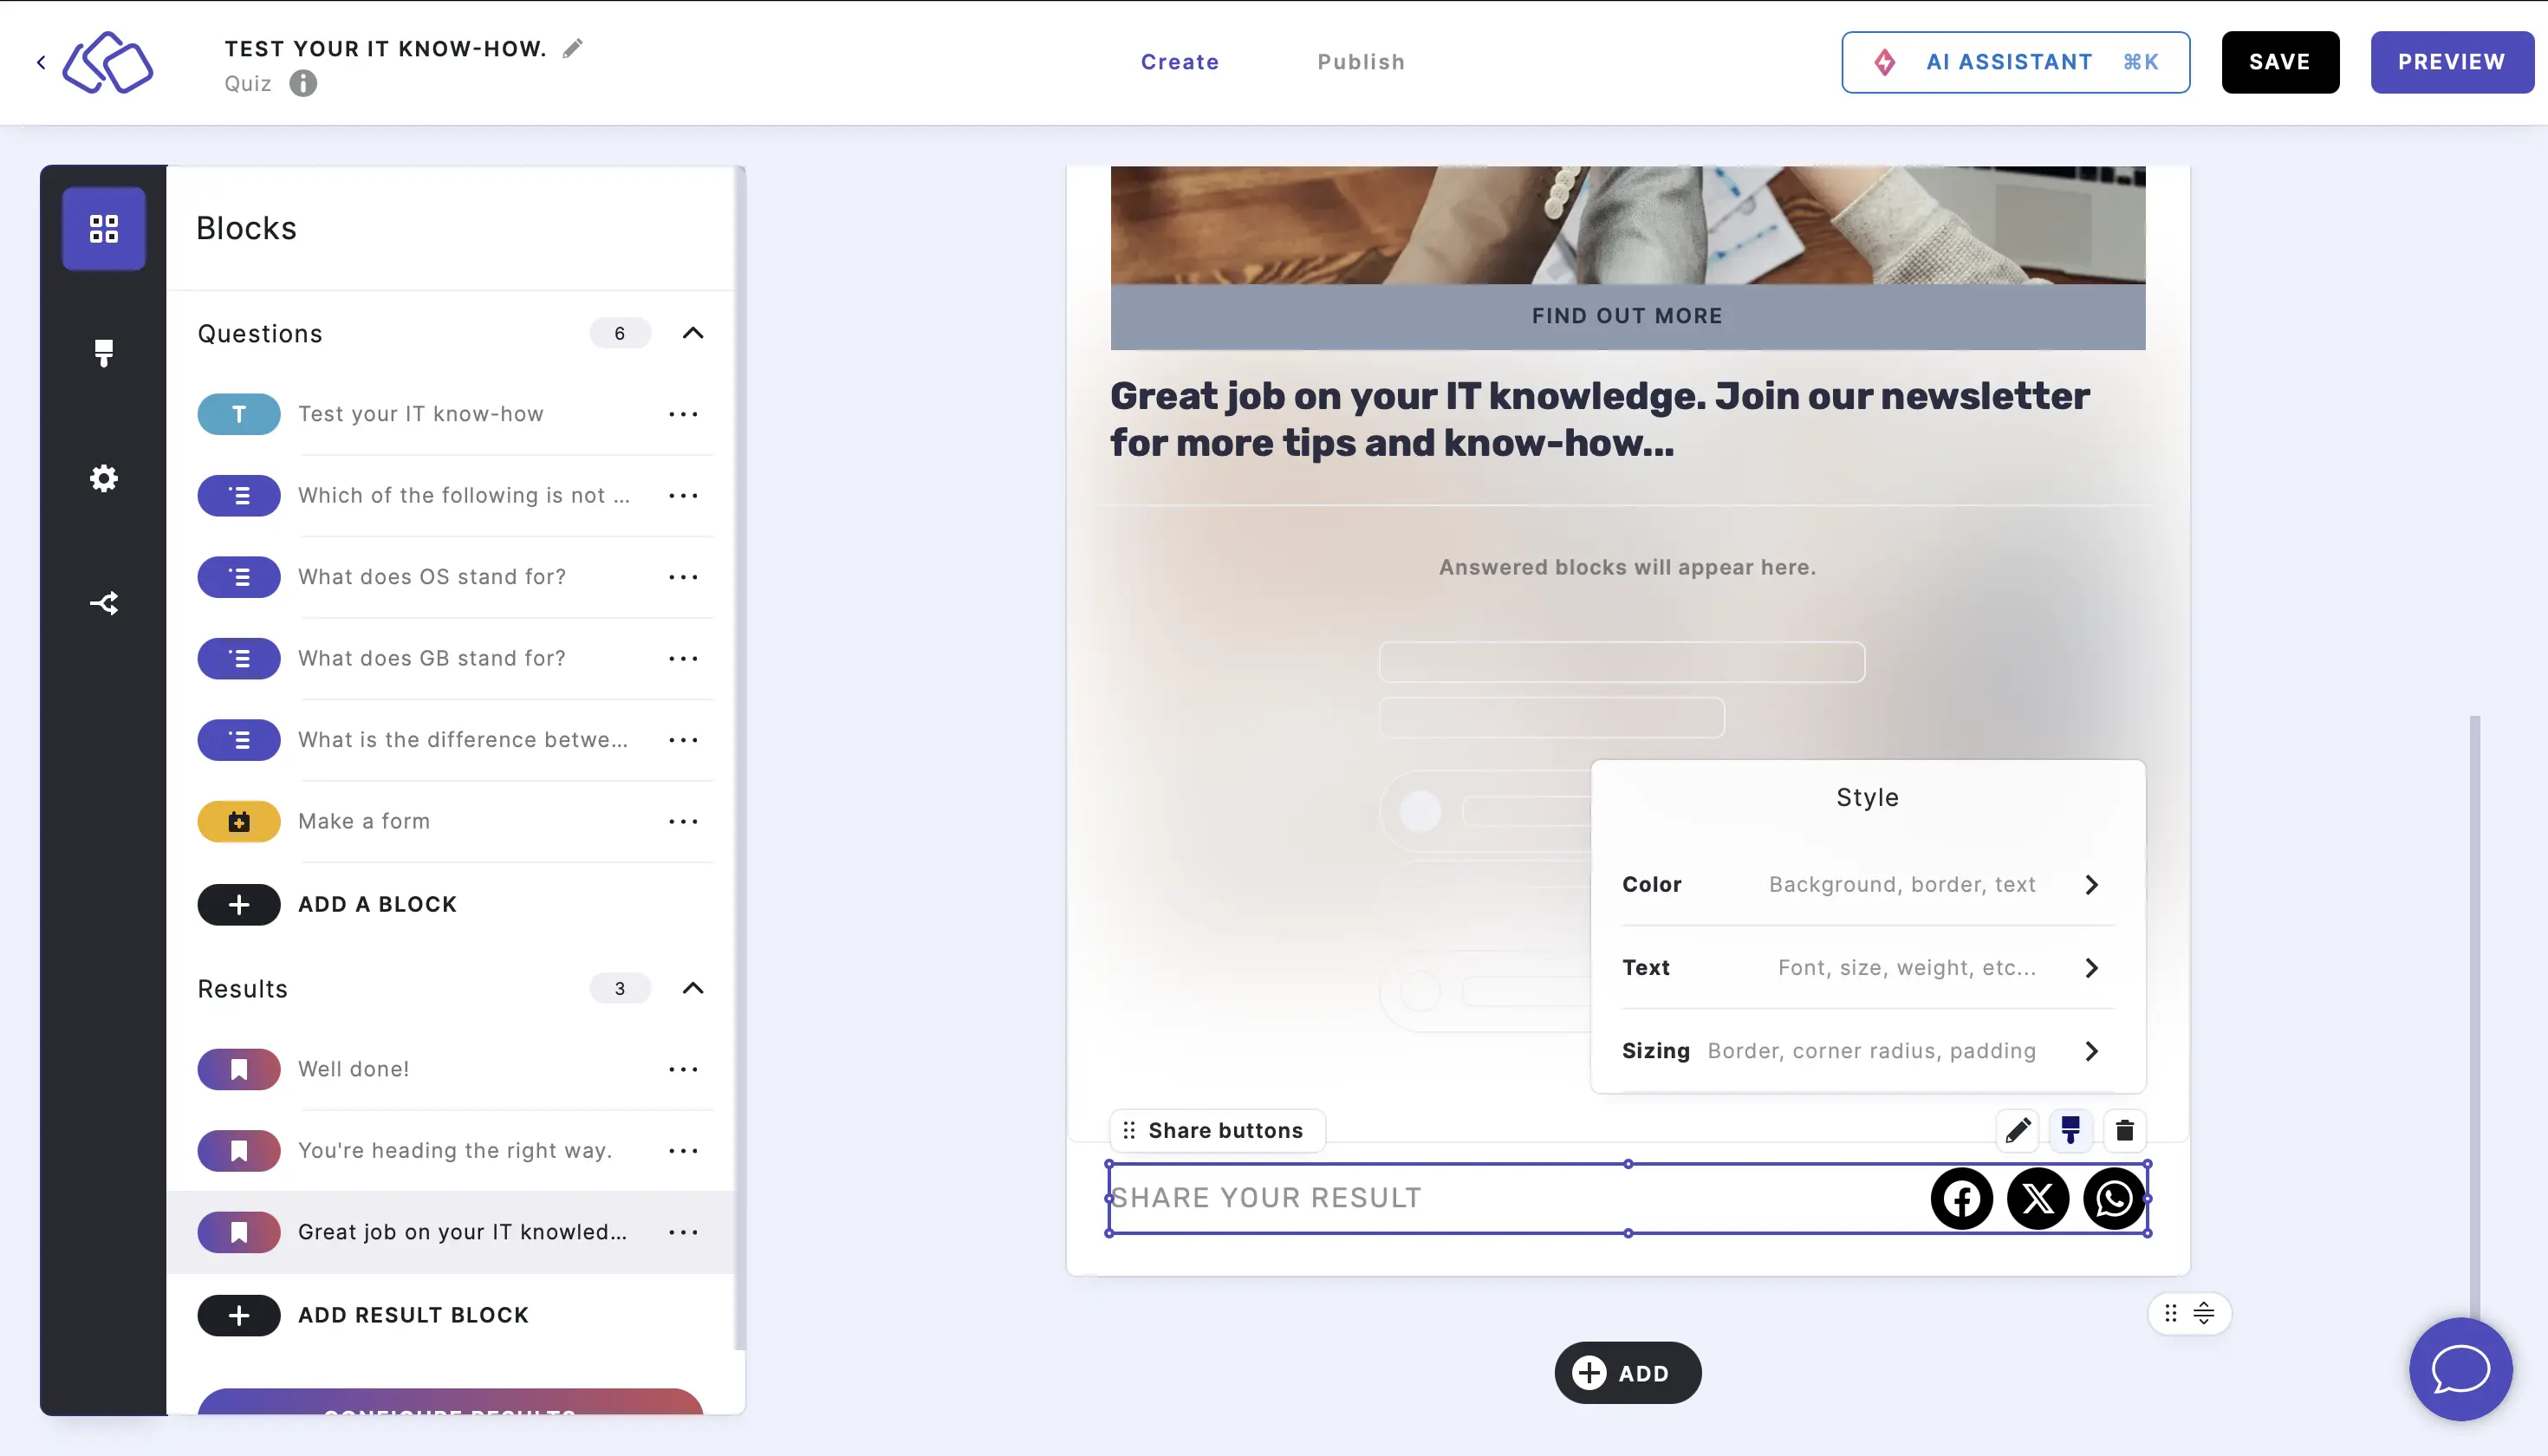
- Go to Color and then choose colors for each object.

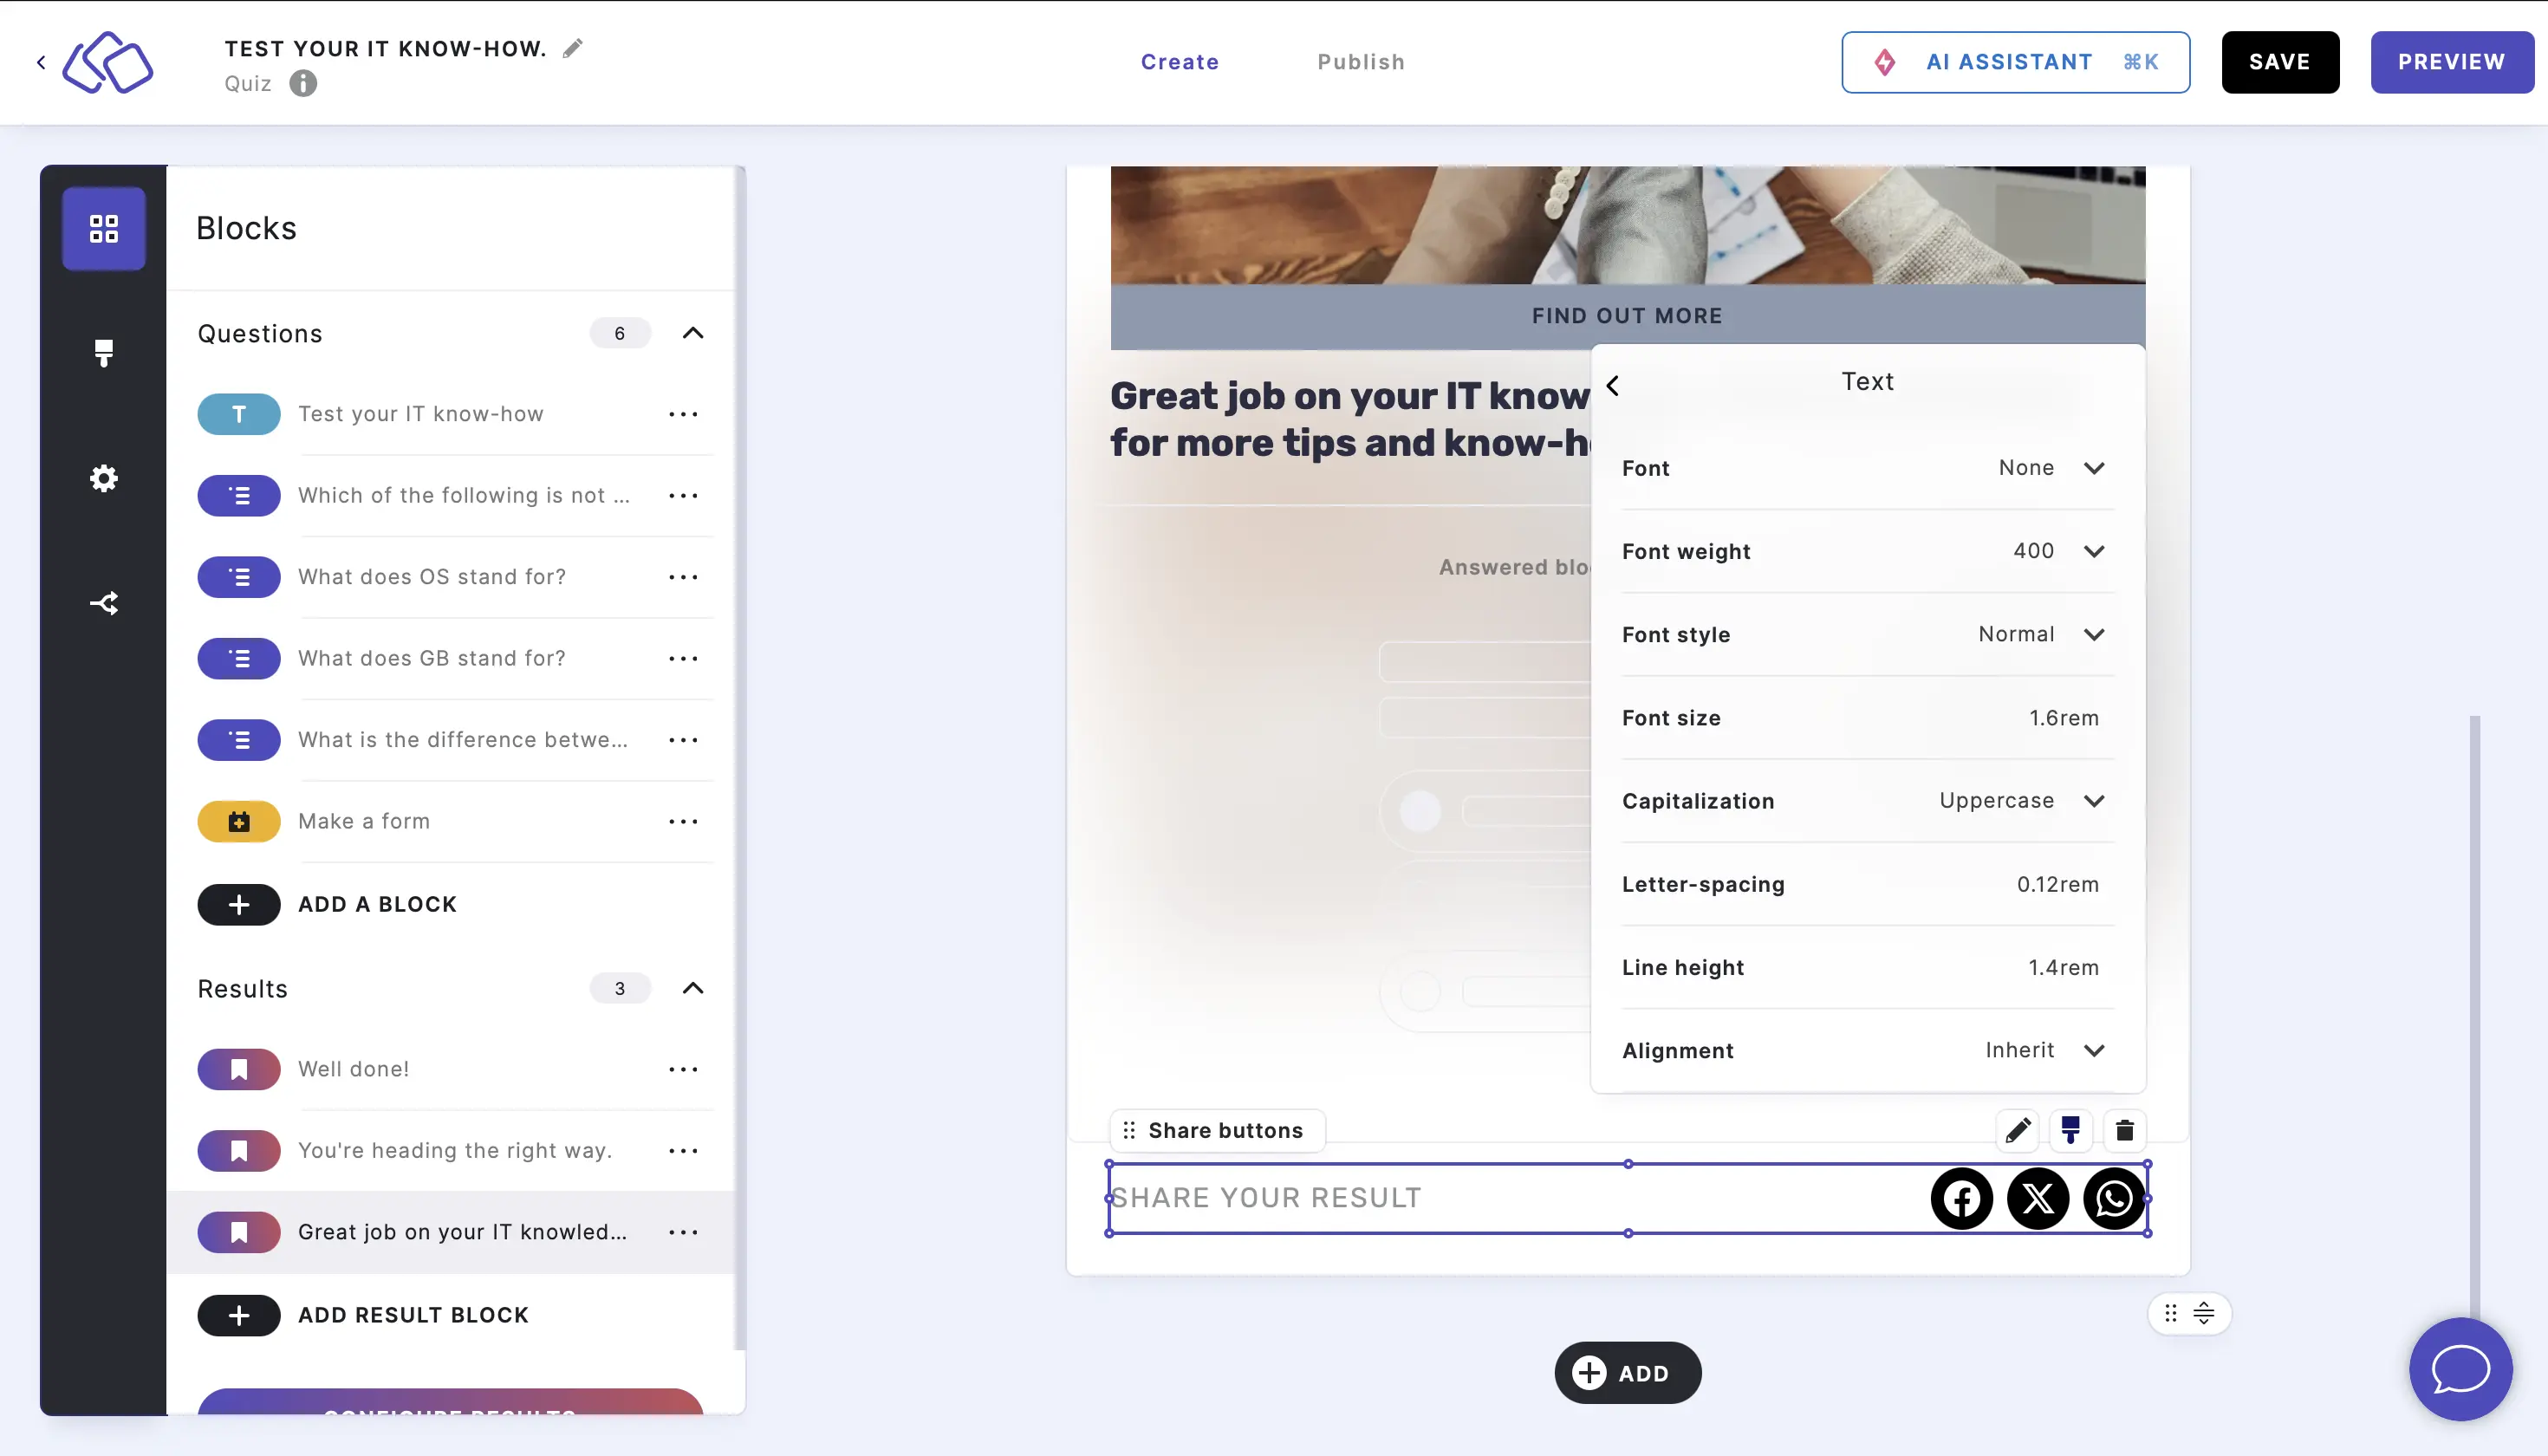
- Go to Go to Text and then select your preferences for font, capitalization, spacing, height, and alignment.
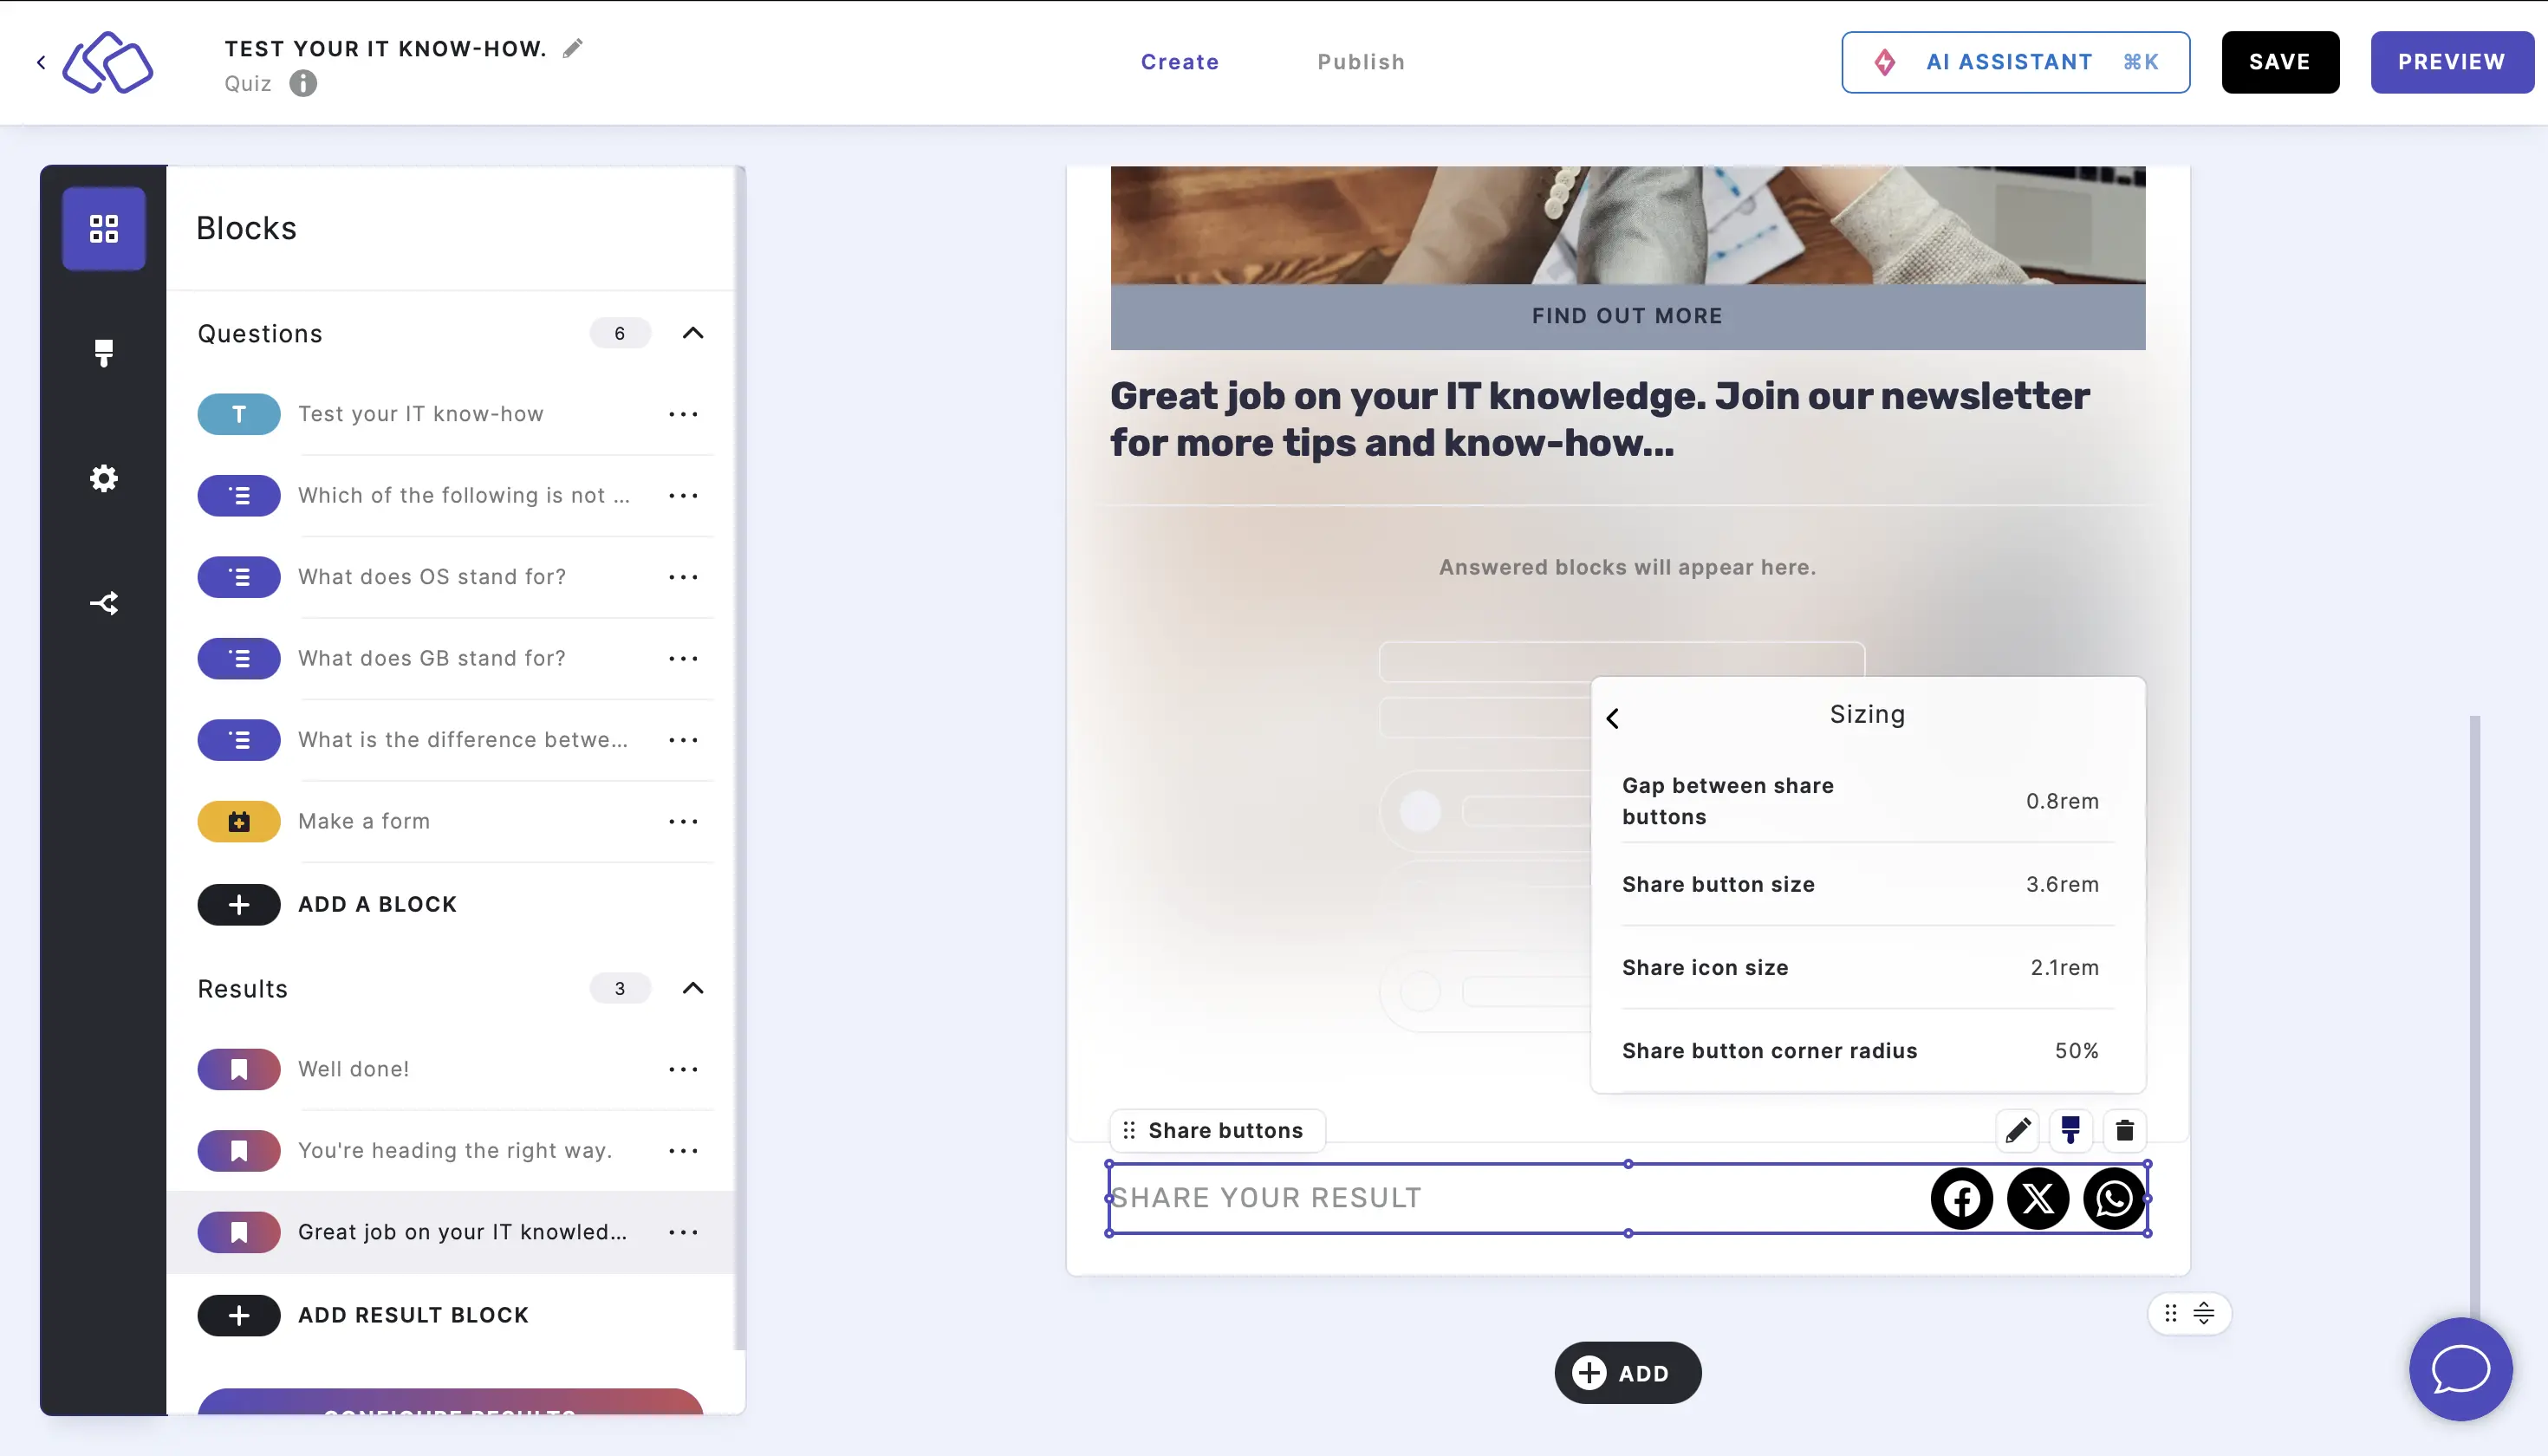
- Go to Sizing to adjust the size, measured in rem, for each aspect of the share button, as well as the corner radius, measured in percent.
- Go to Color and then choose colors for each object.
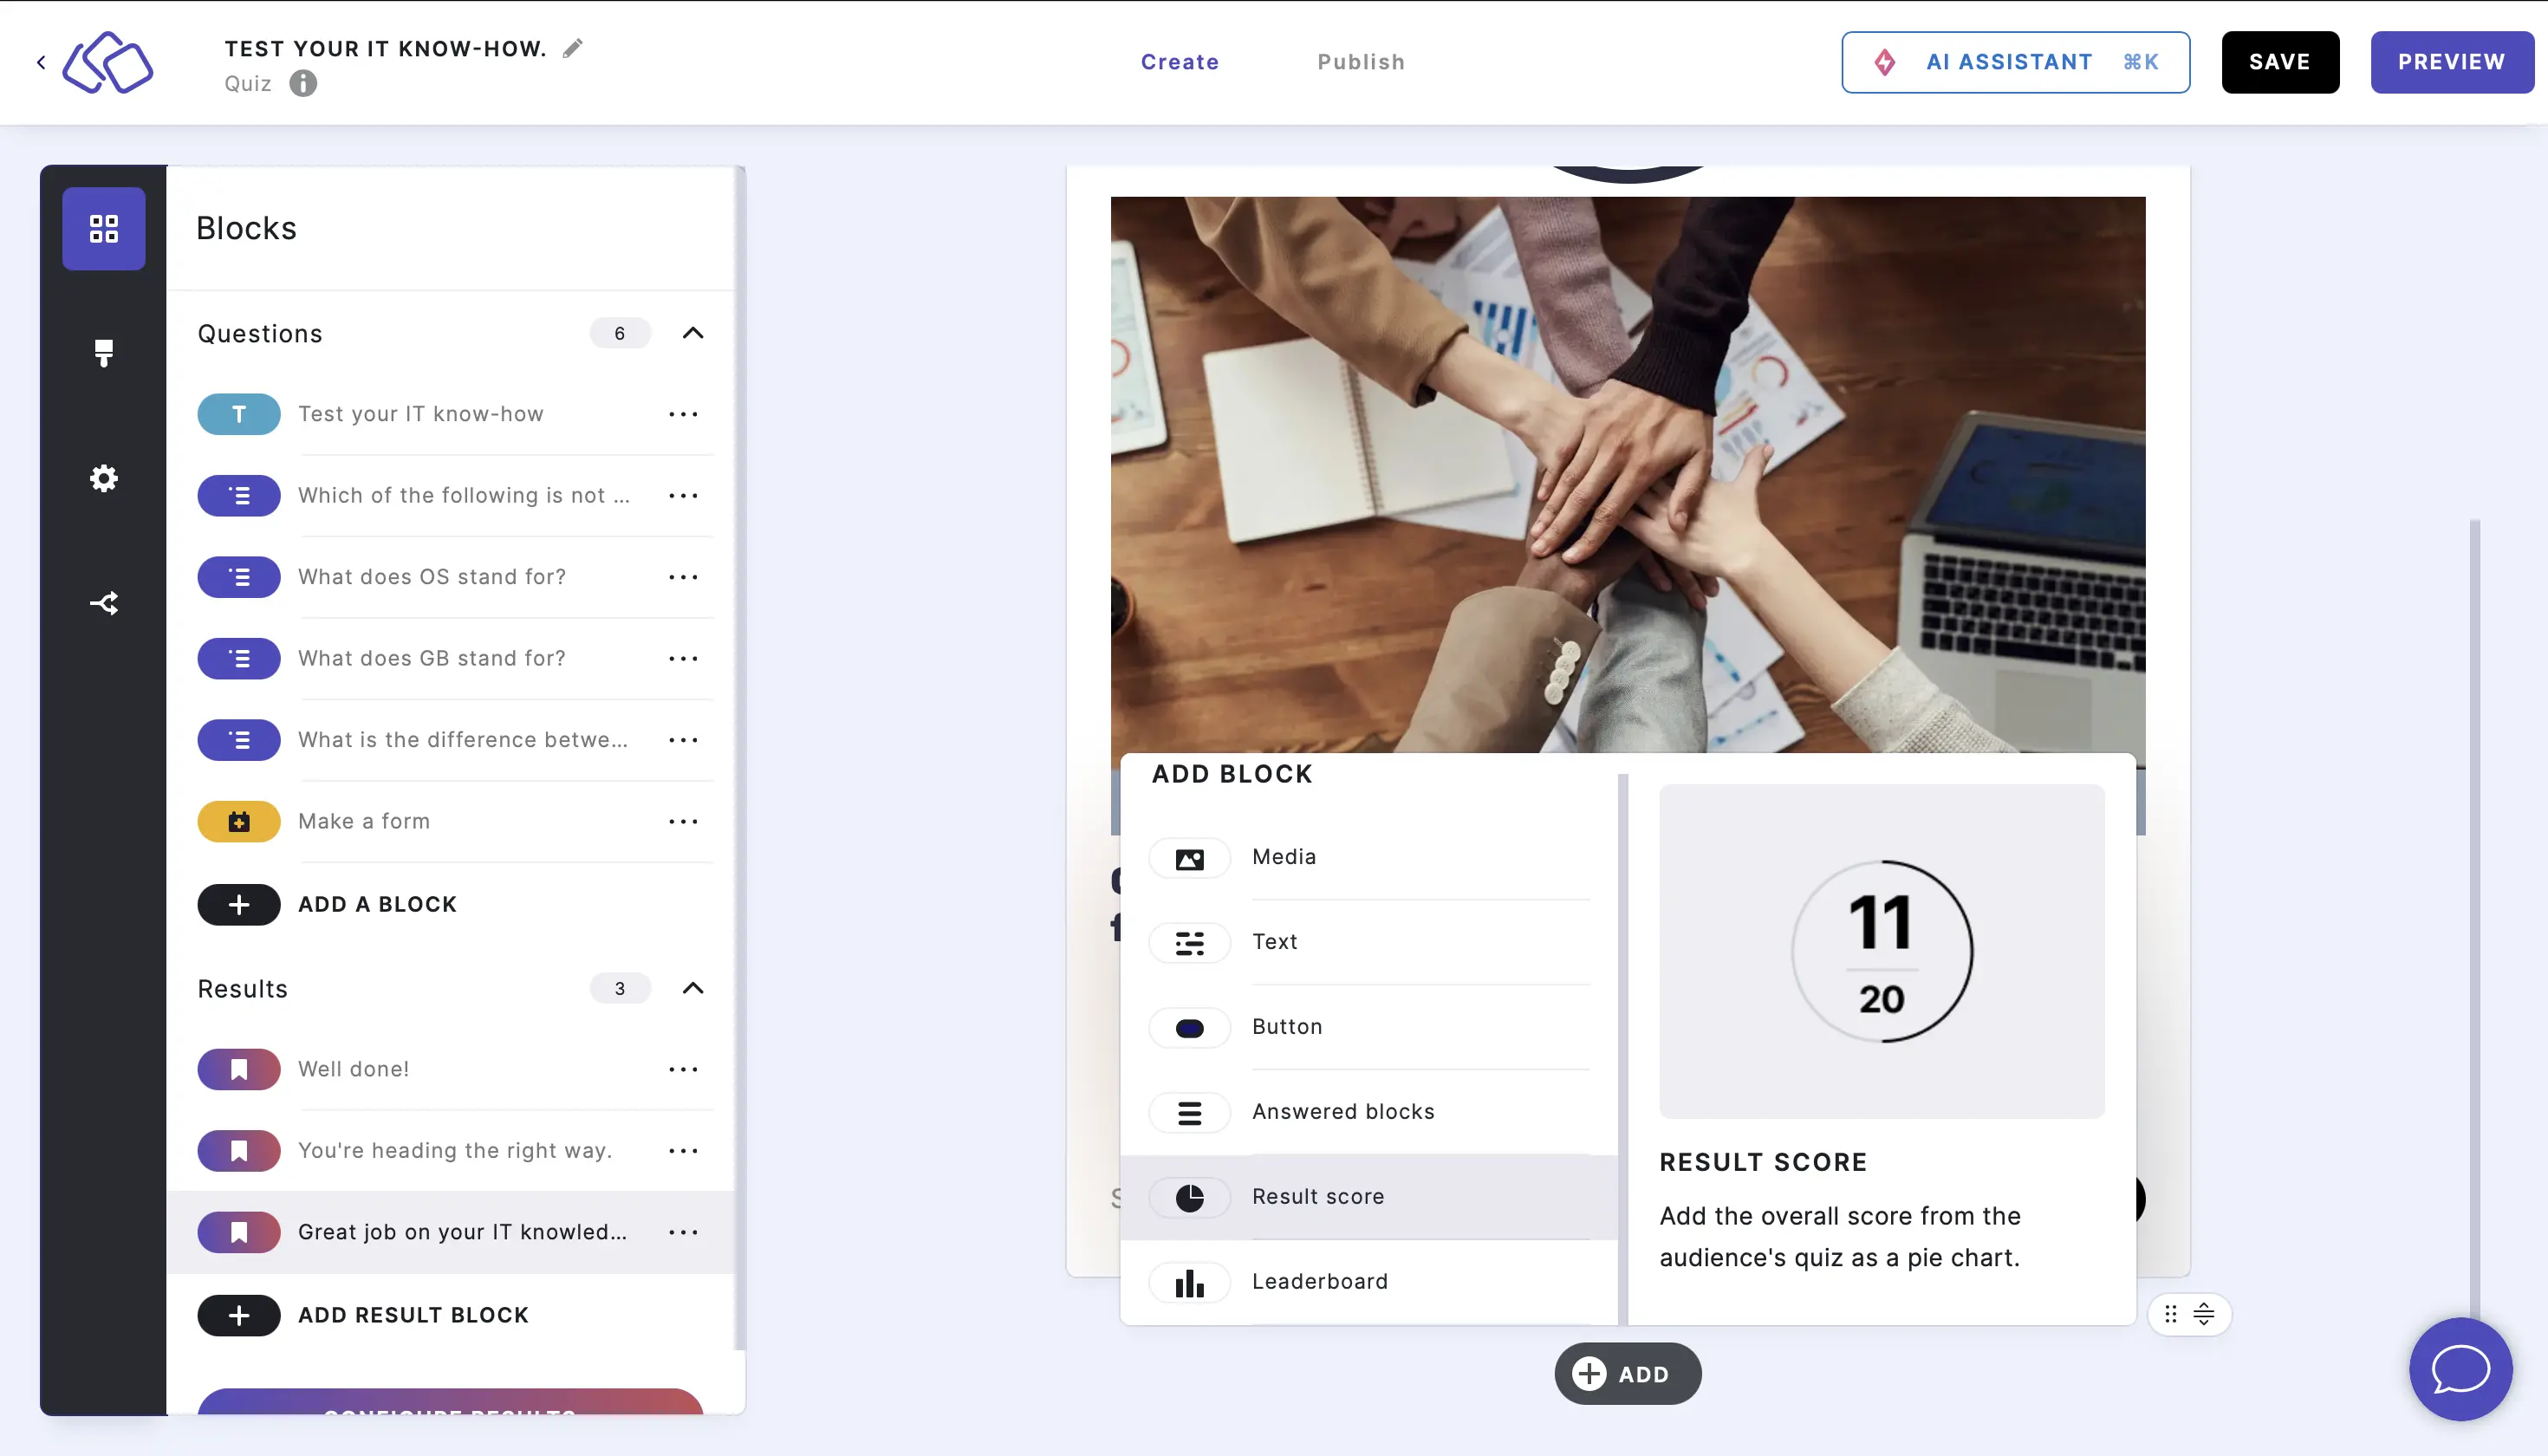
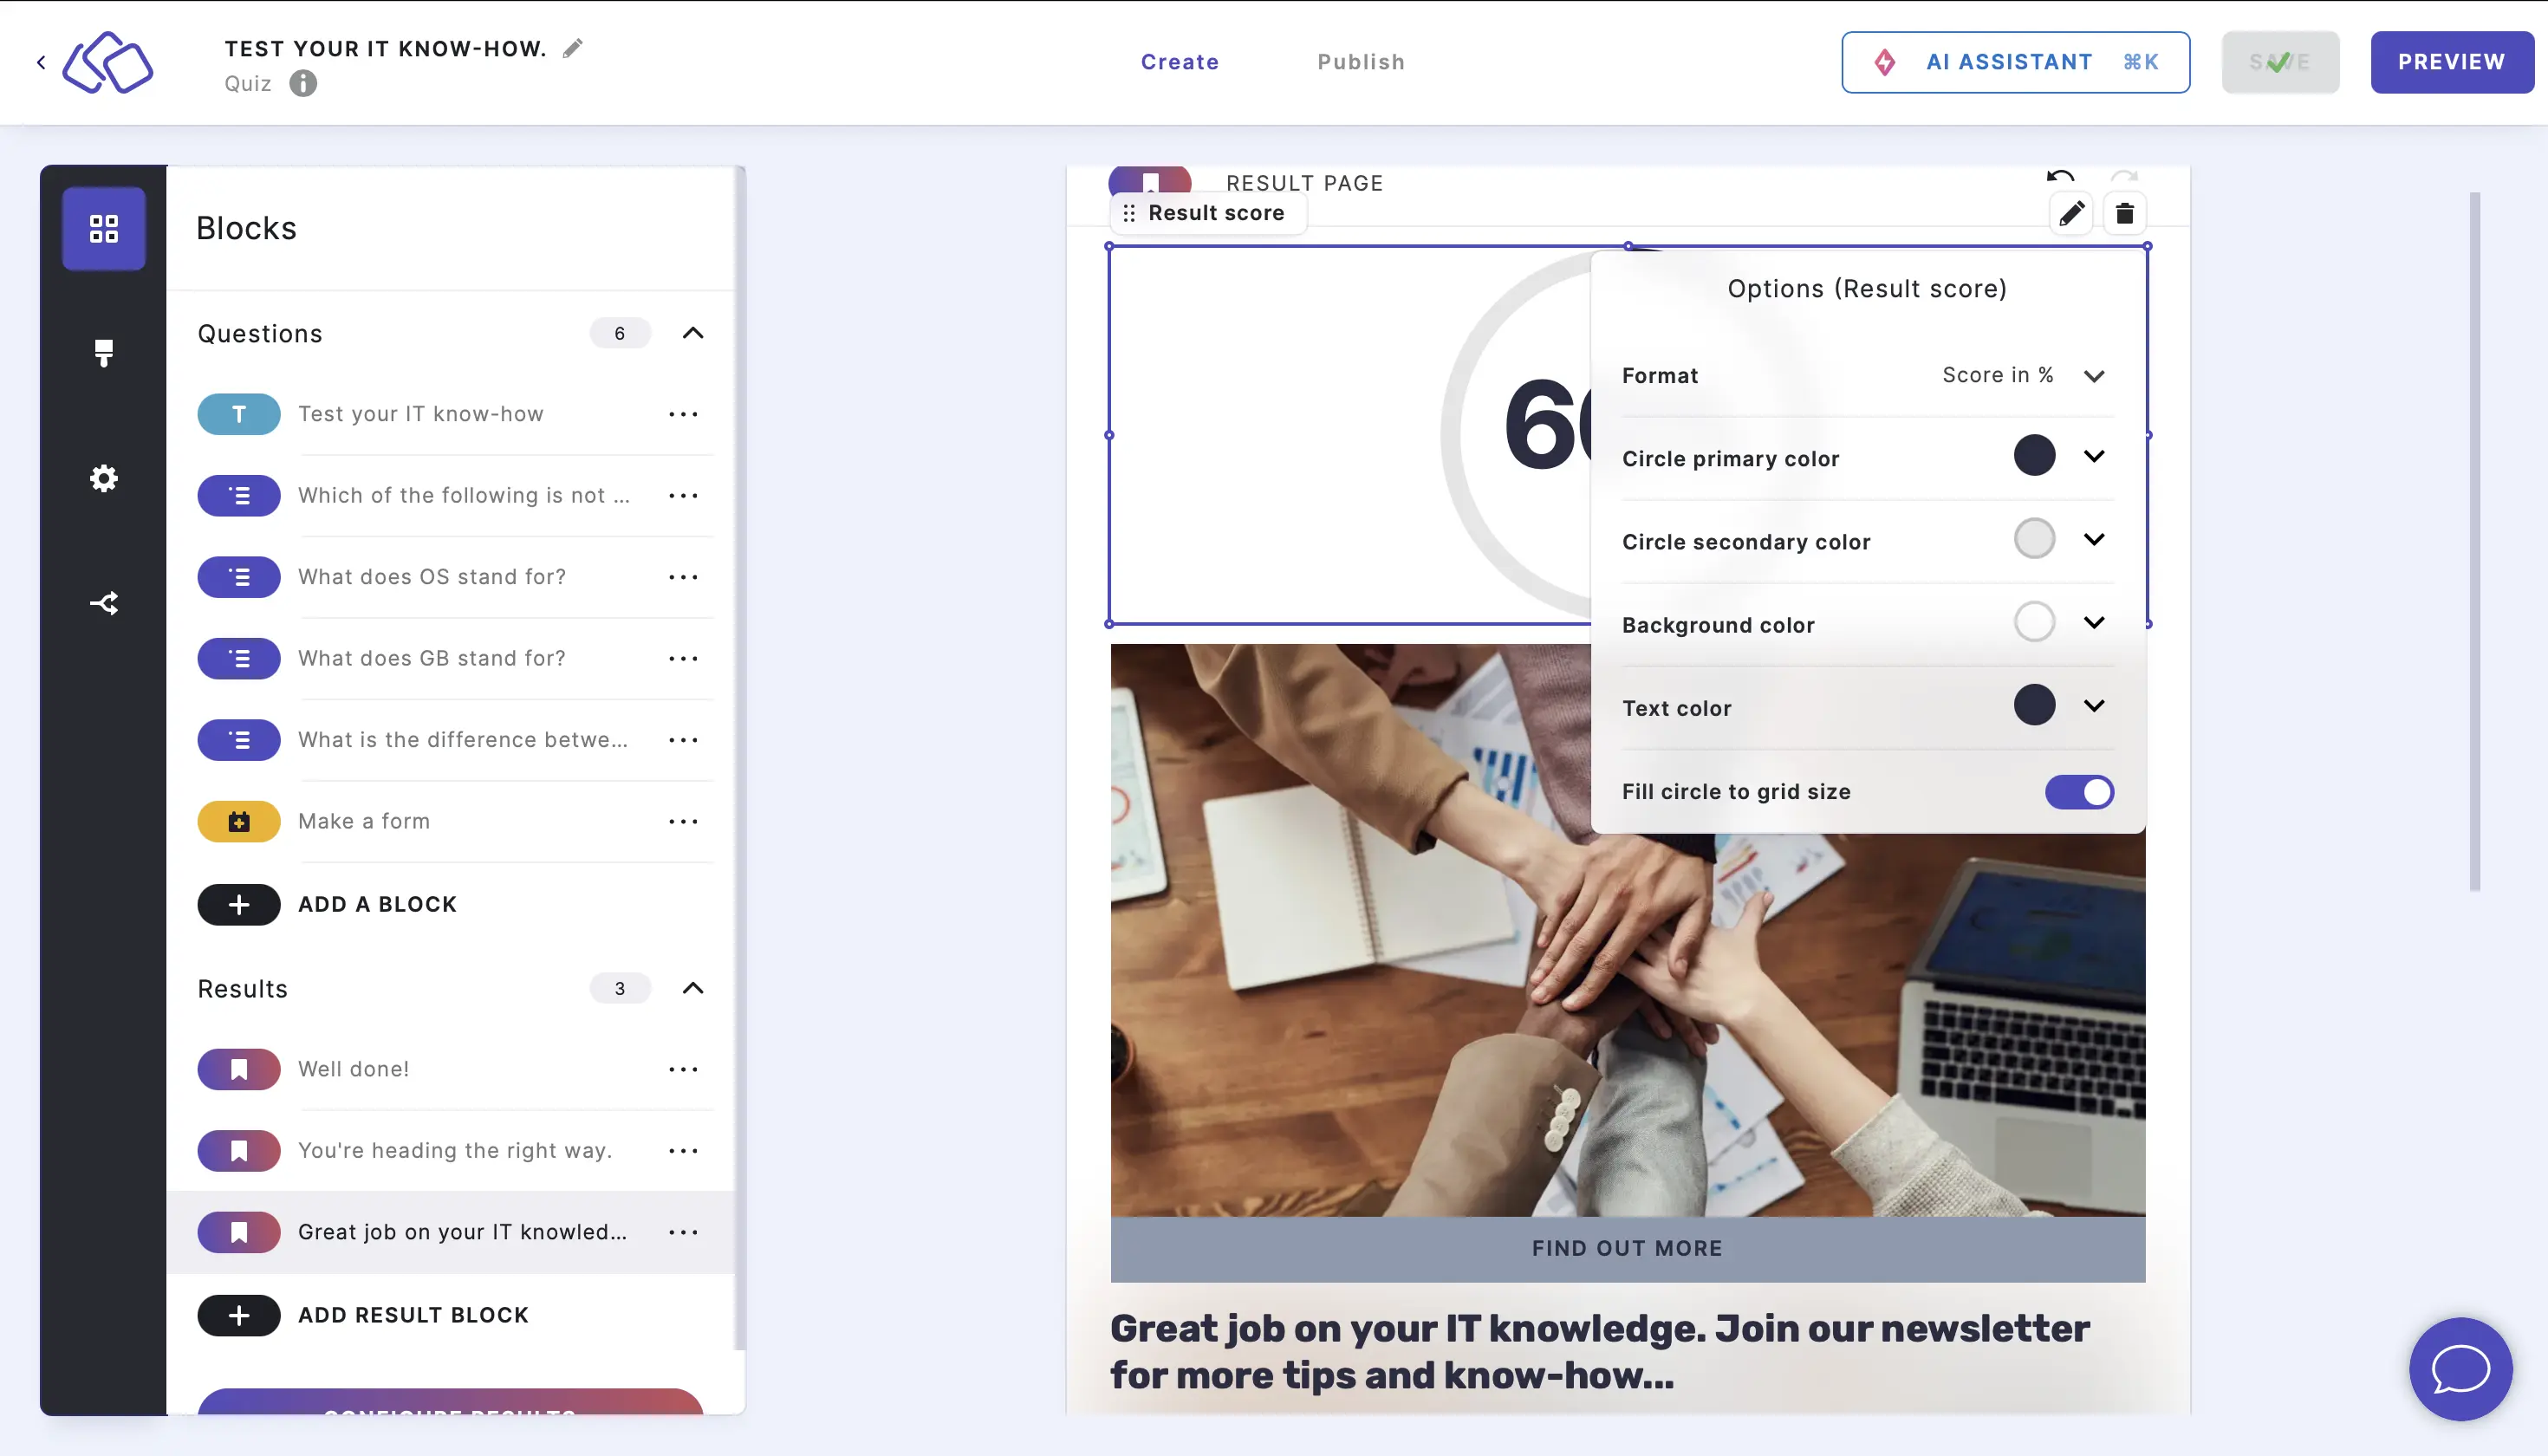
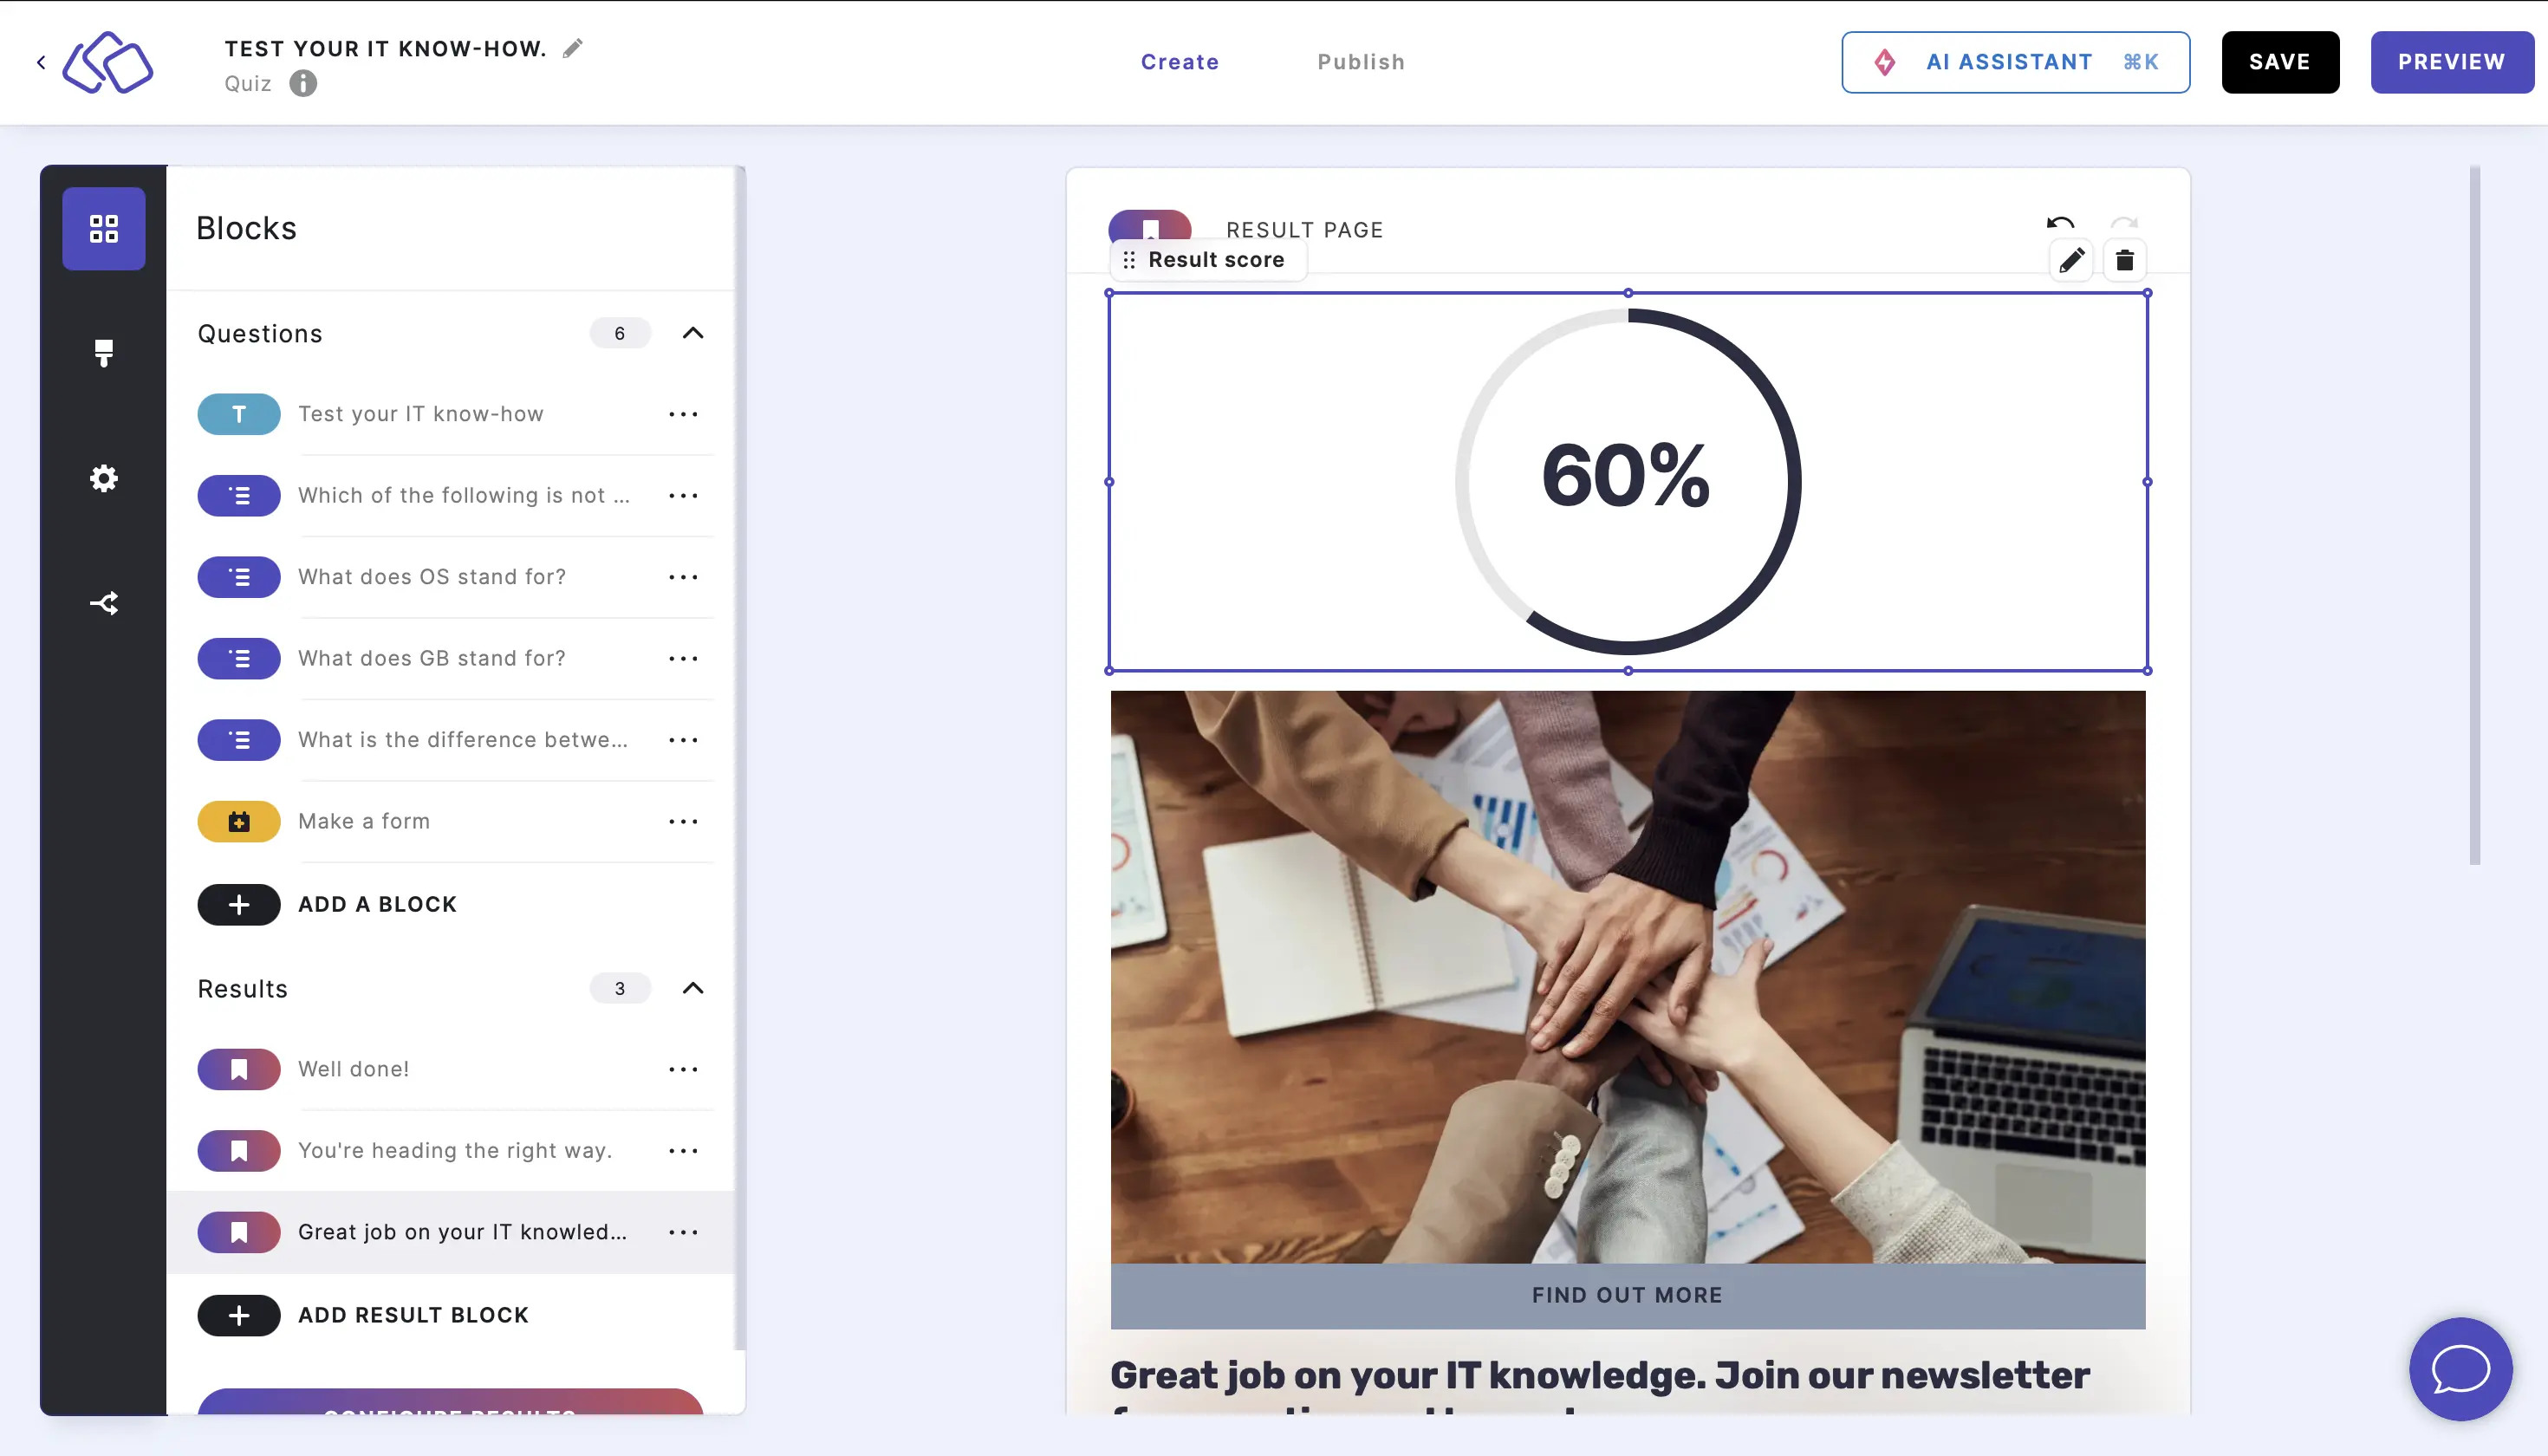
6. Add result score
- The default result score element is on the result page by default, ready to use without any changes. If you don't yet have a score on your result page, click on the ADD button under your result page and select Result score.
- To edit, double click on the score and click on the Edit icon.
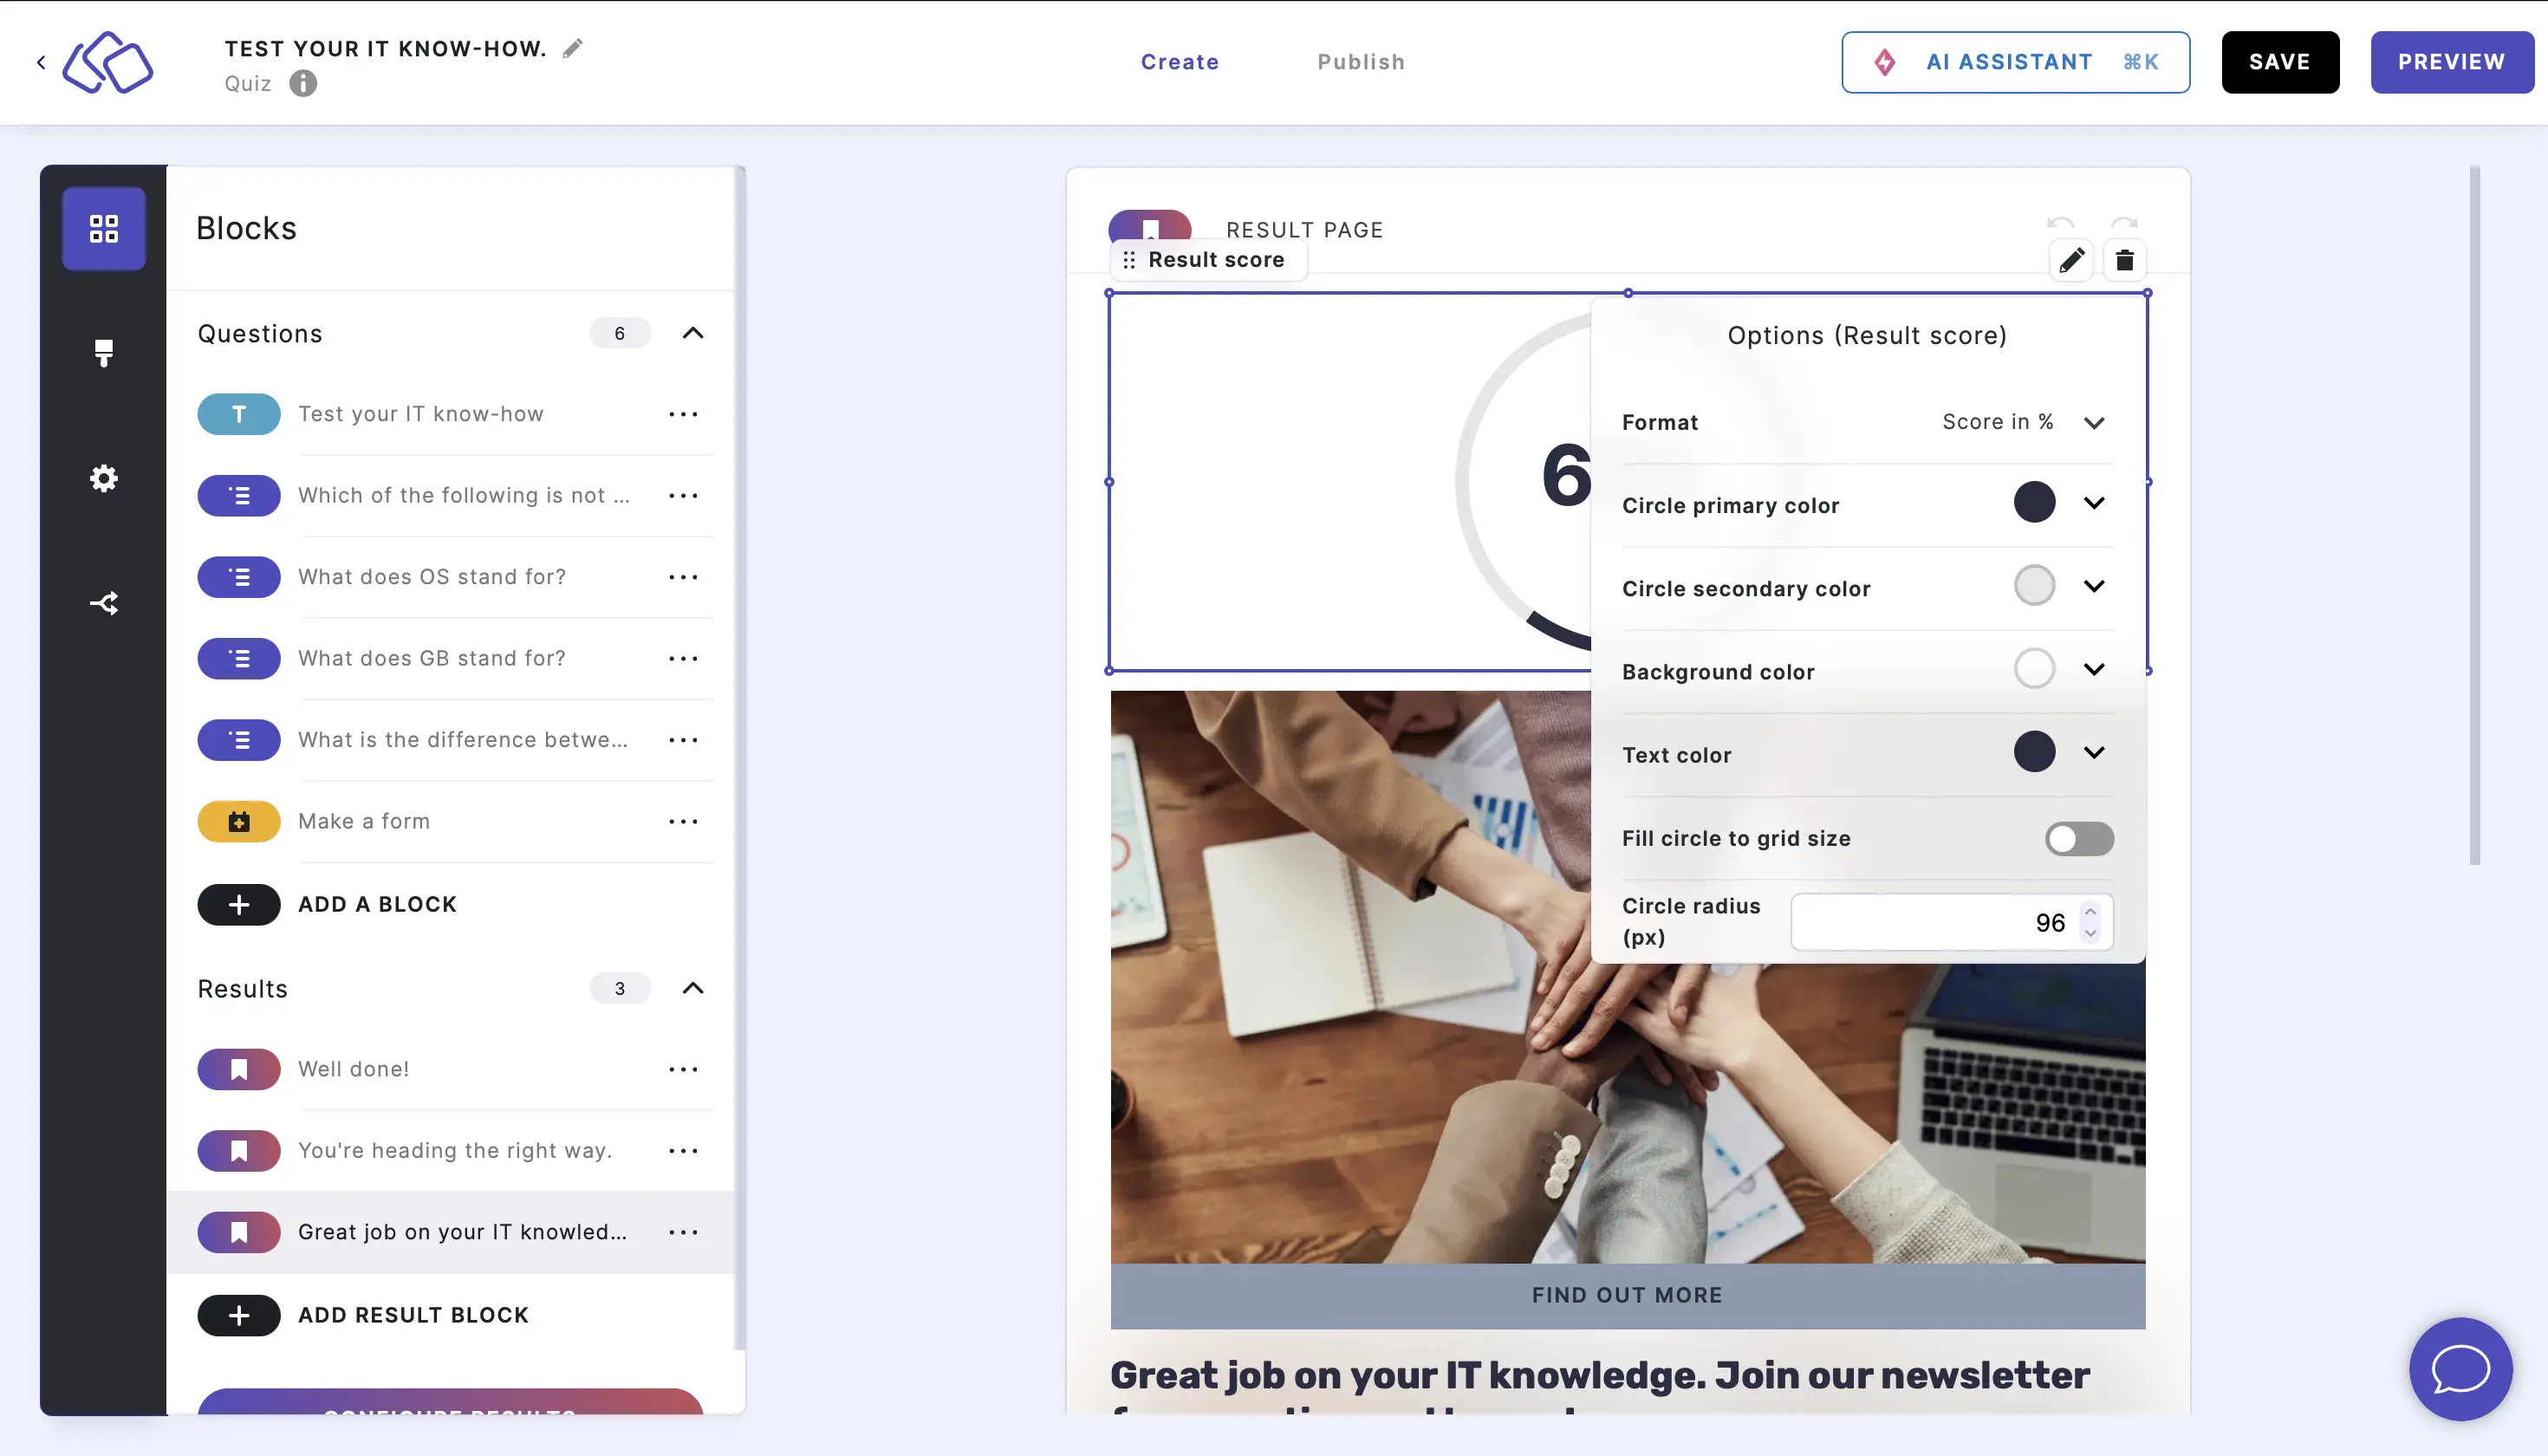
- Select a format.
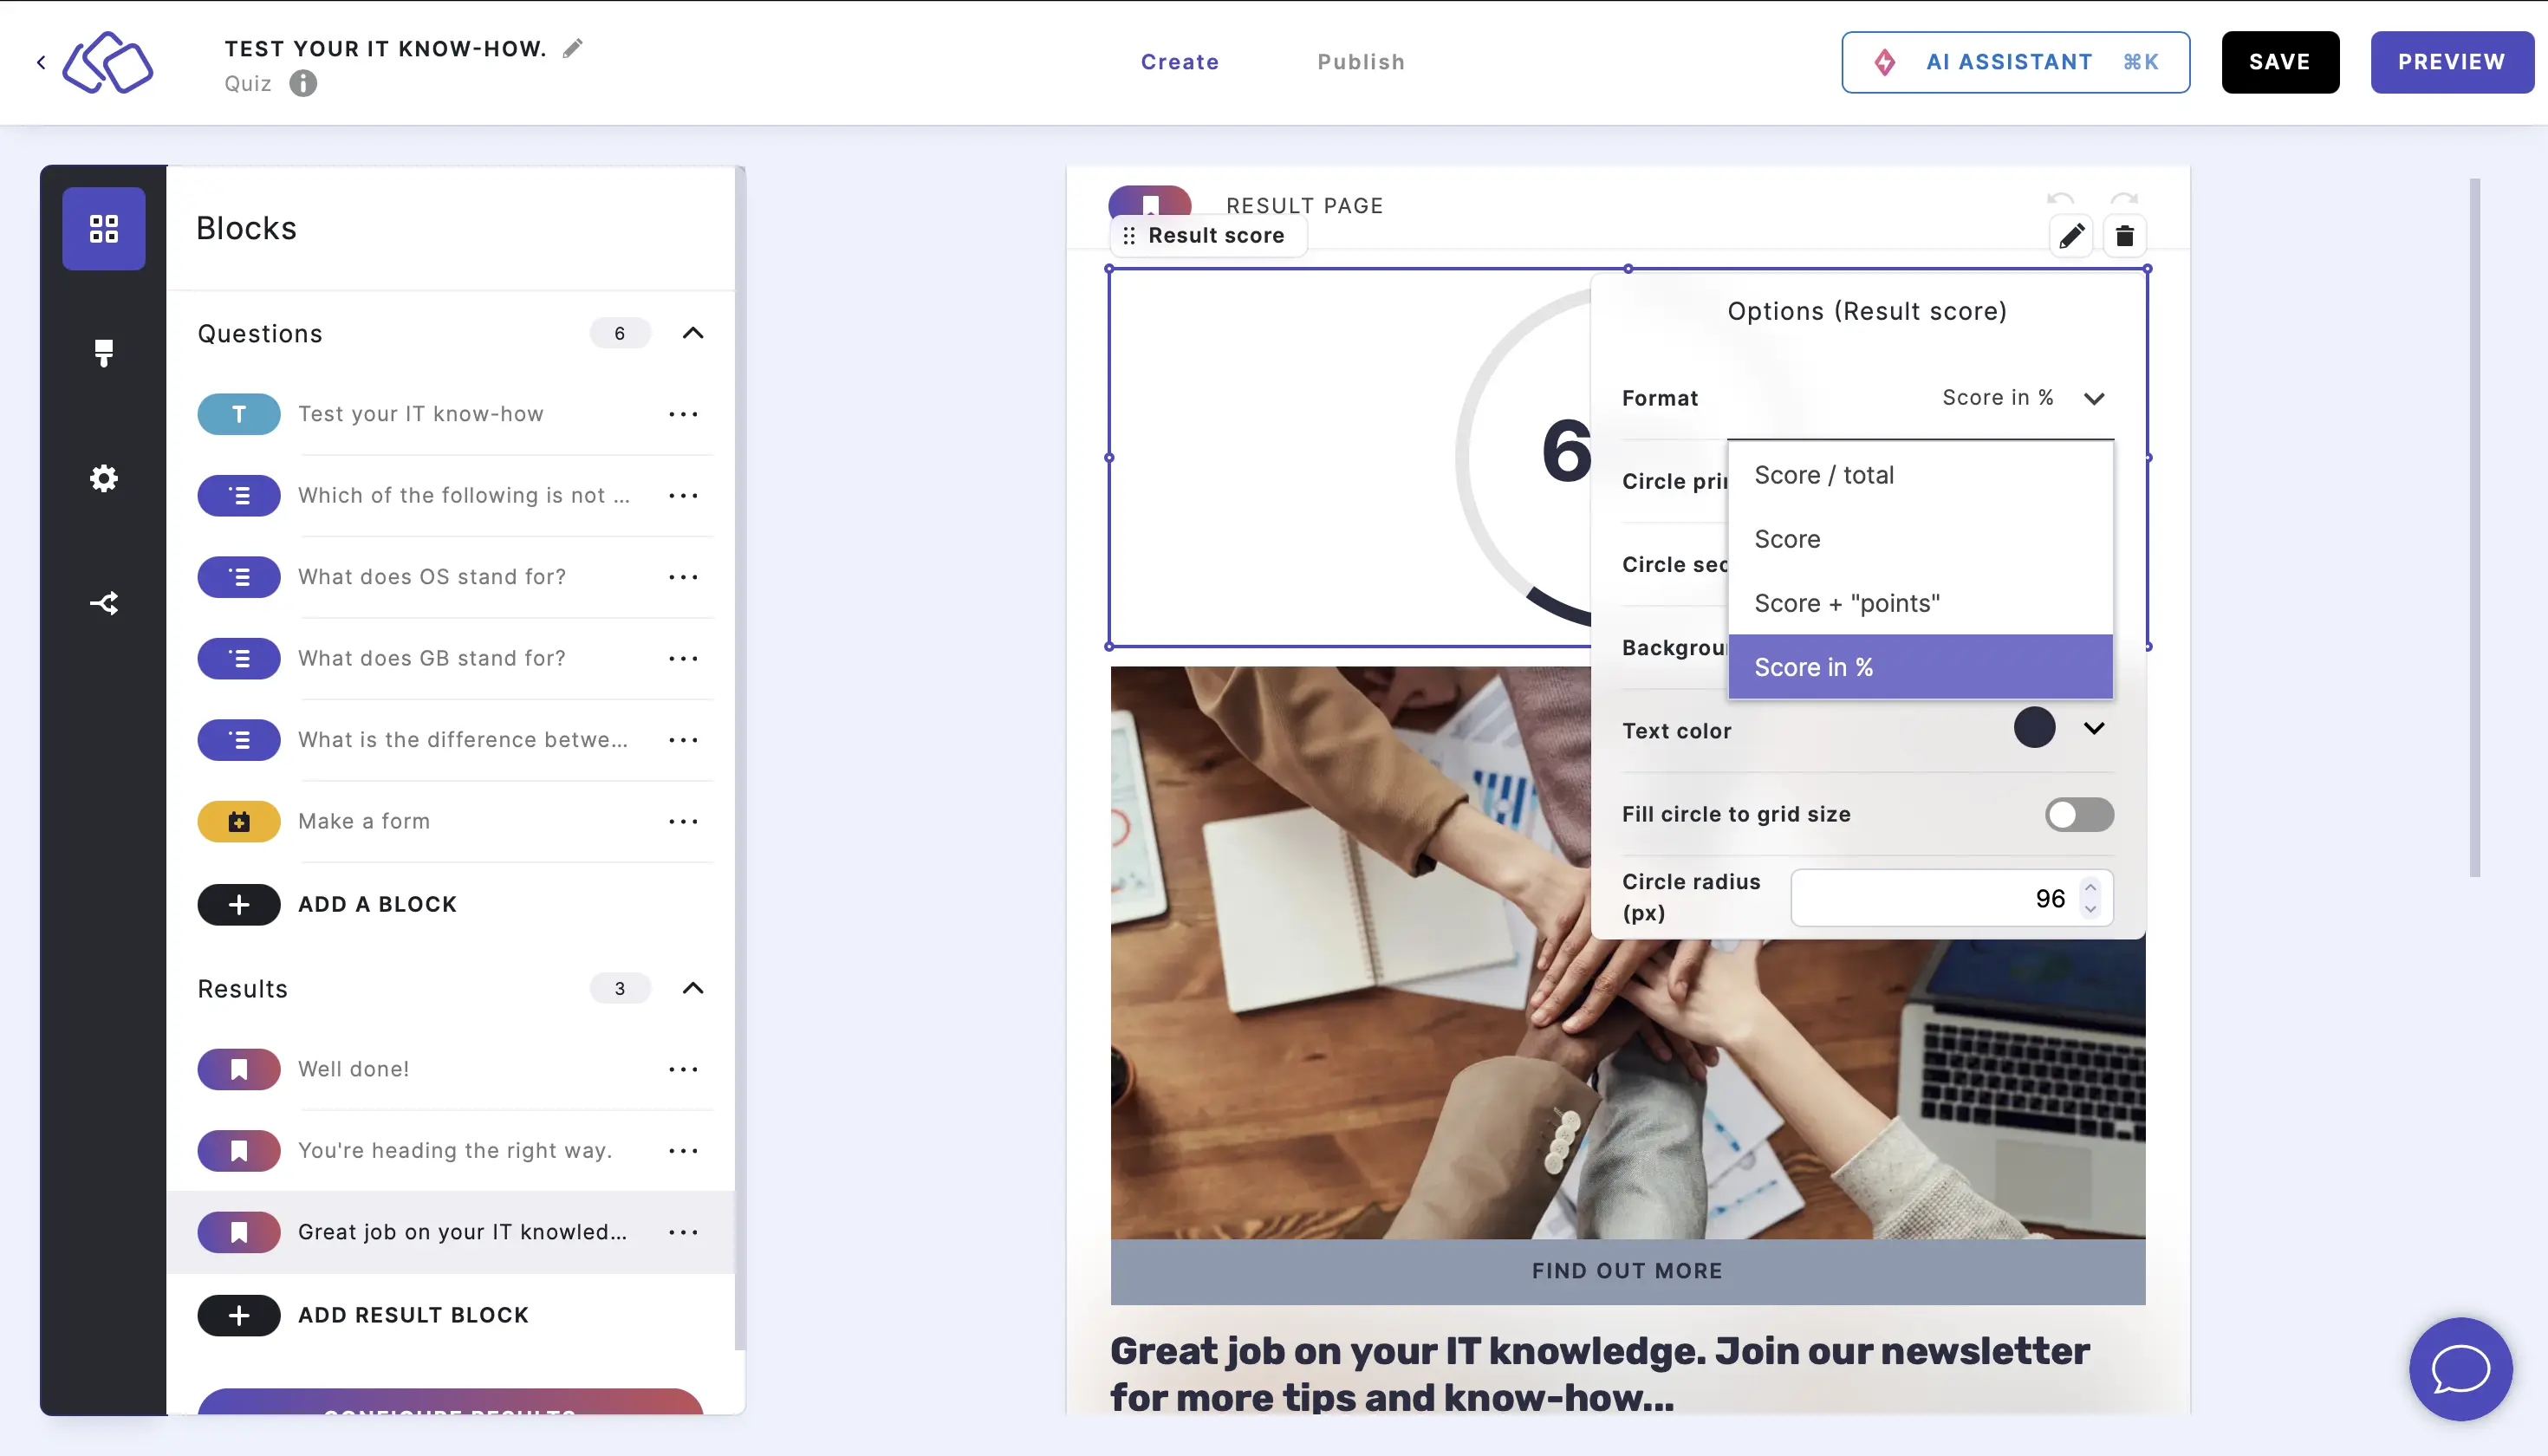
- Select colors for the circle, background, and text.
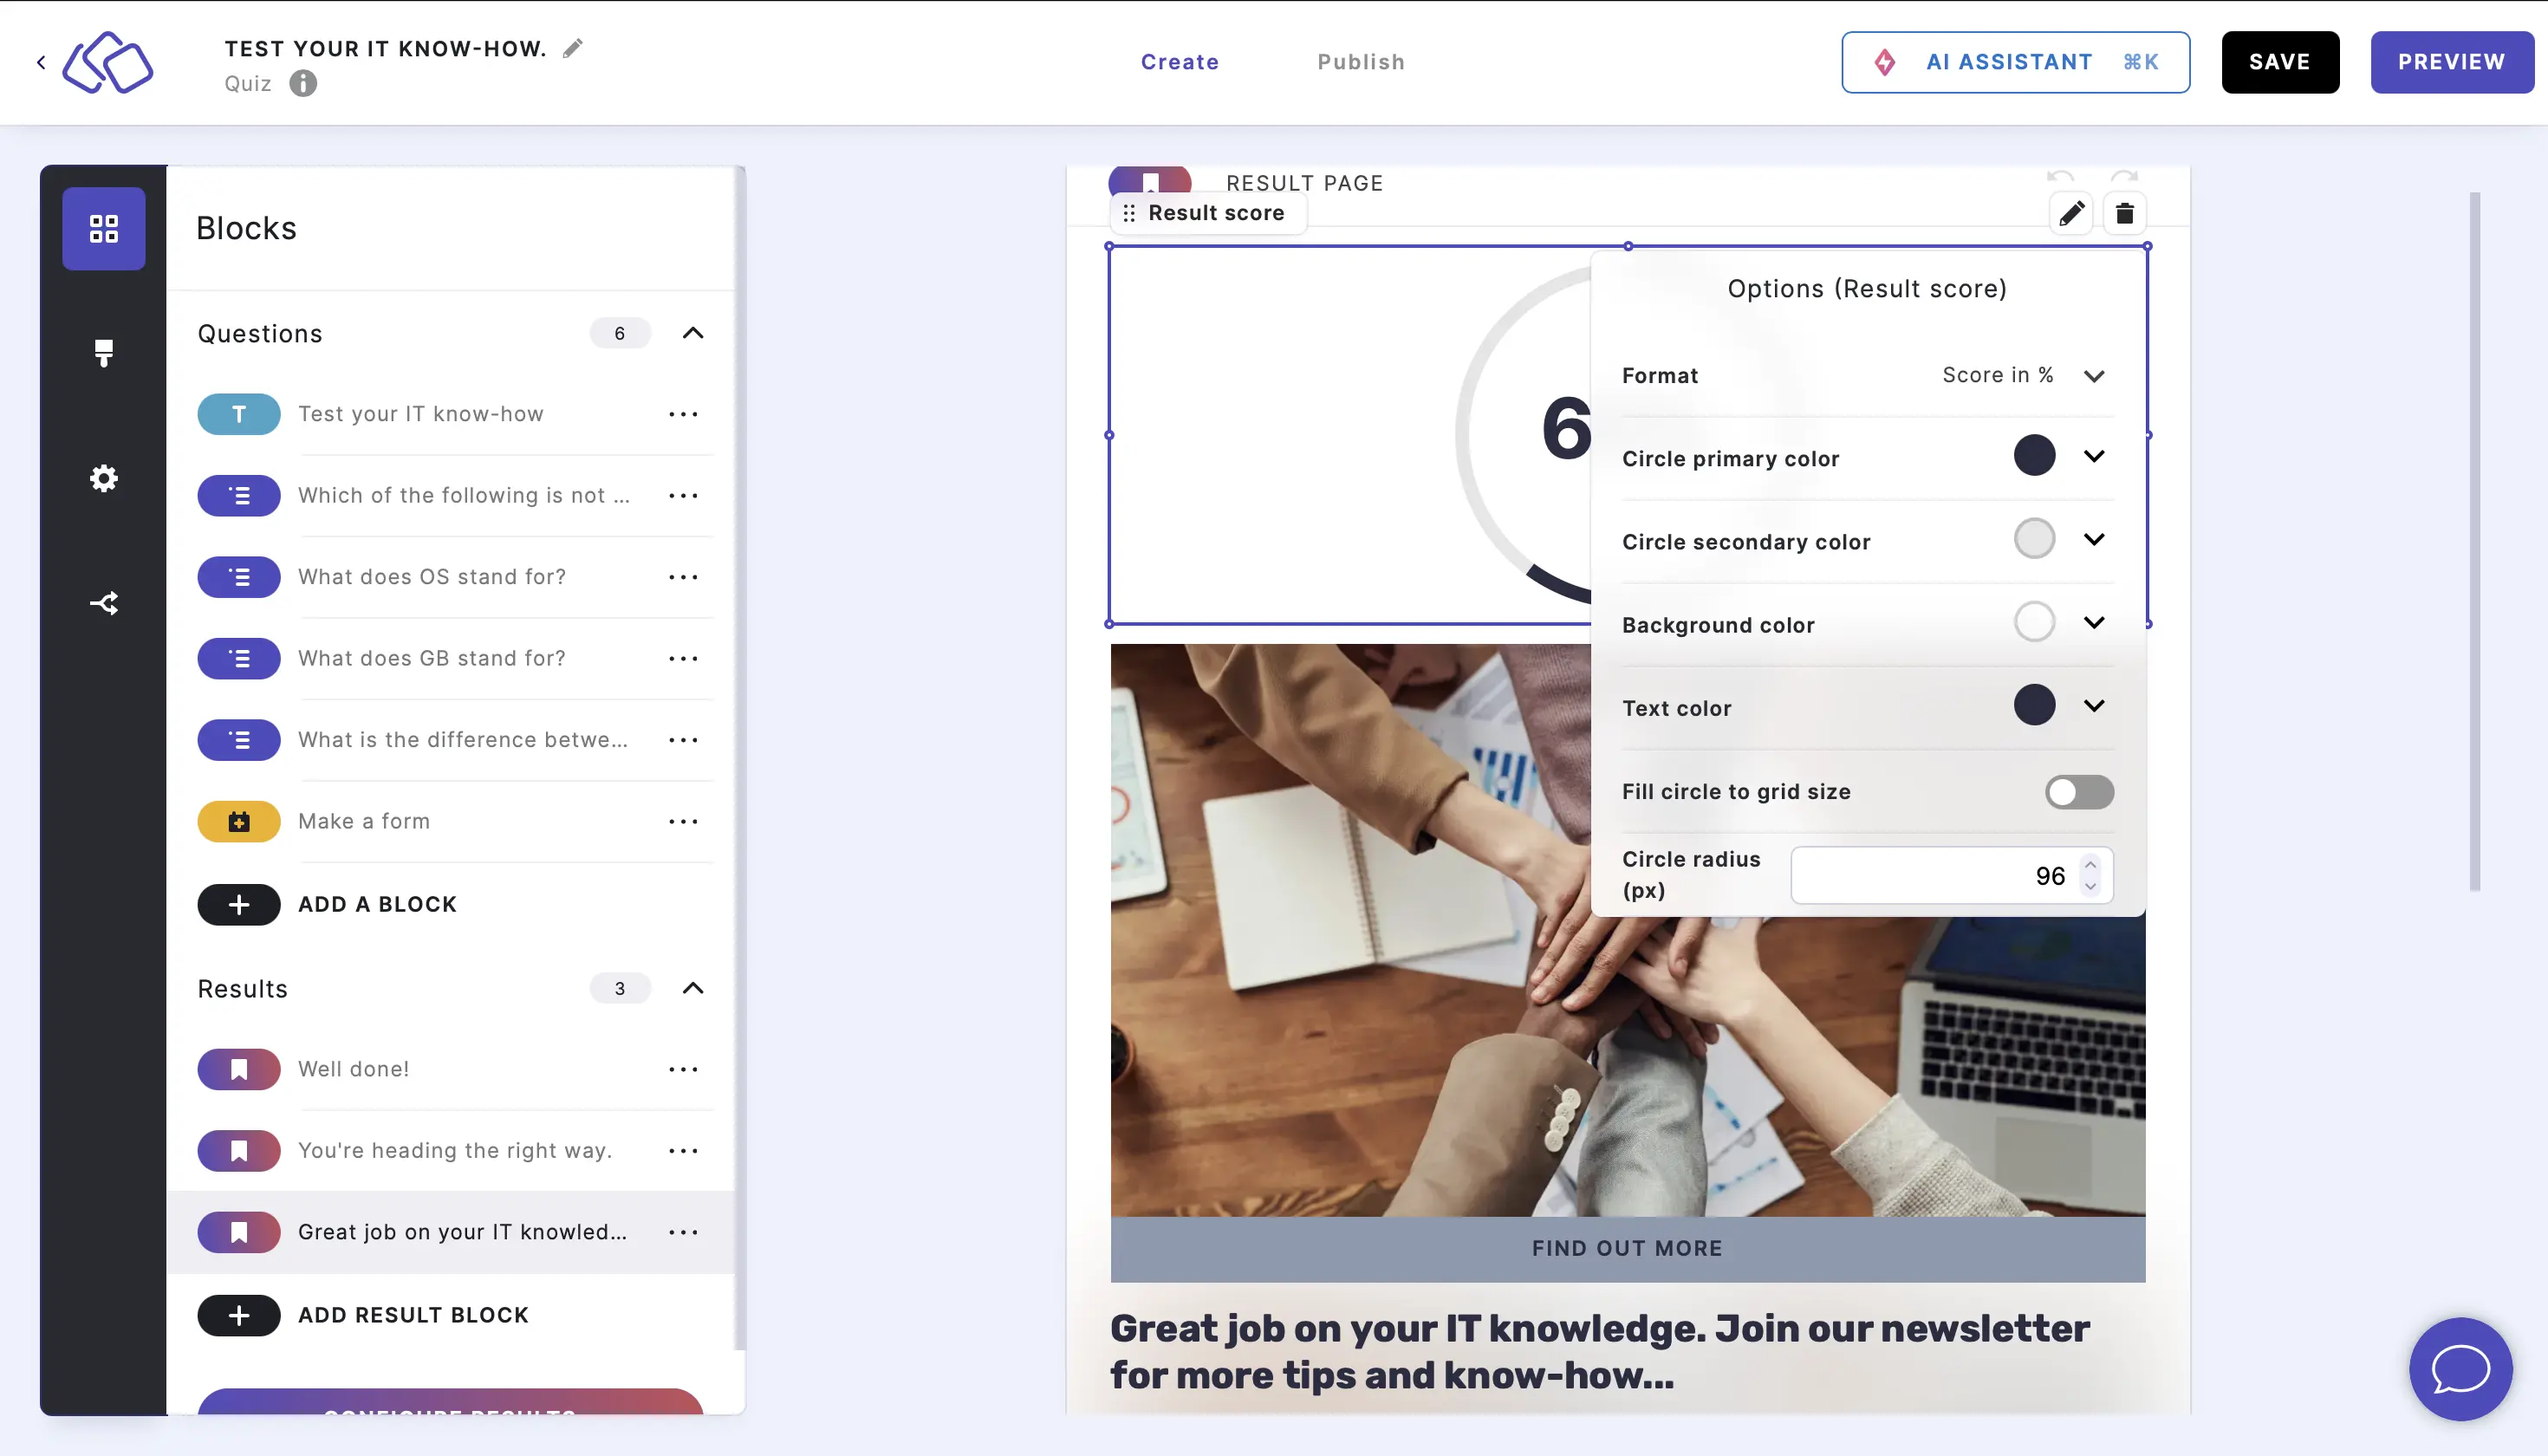
- Disable Fill circle to grid size to manually input the circle radius.
- Select a format.
7. Add leaderboard
- Create a leaderboard.
- Click on the ADD button under your result page and select Leaderboard.
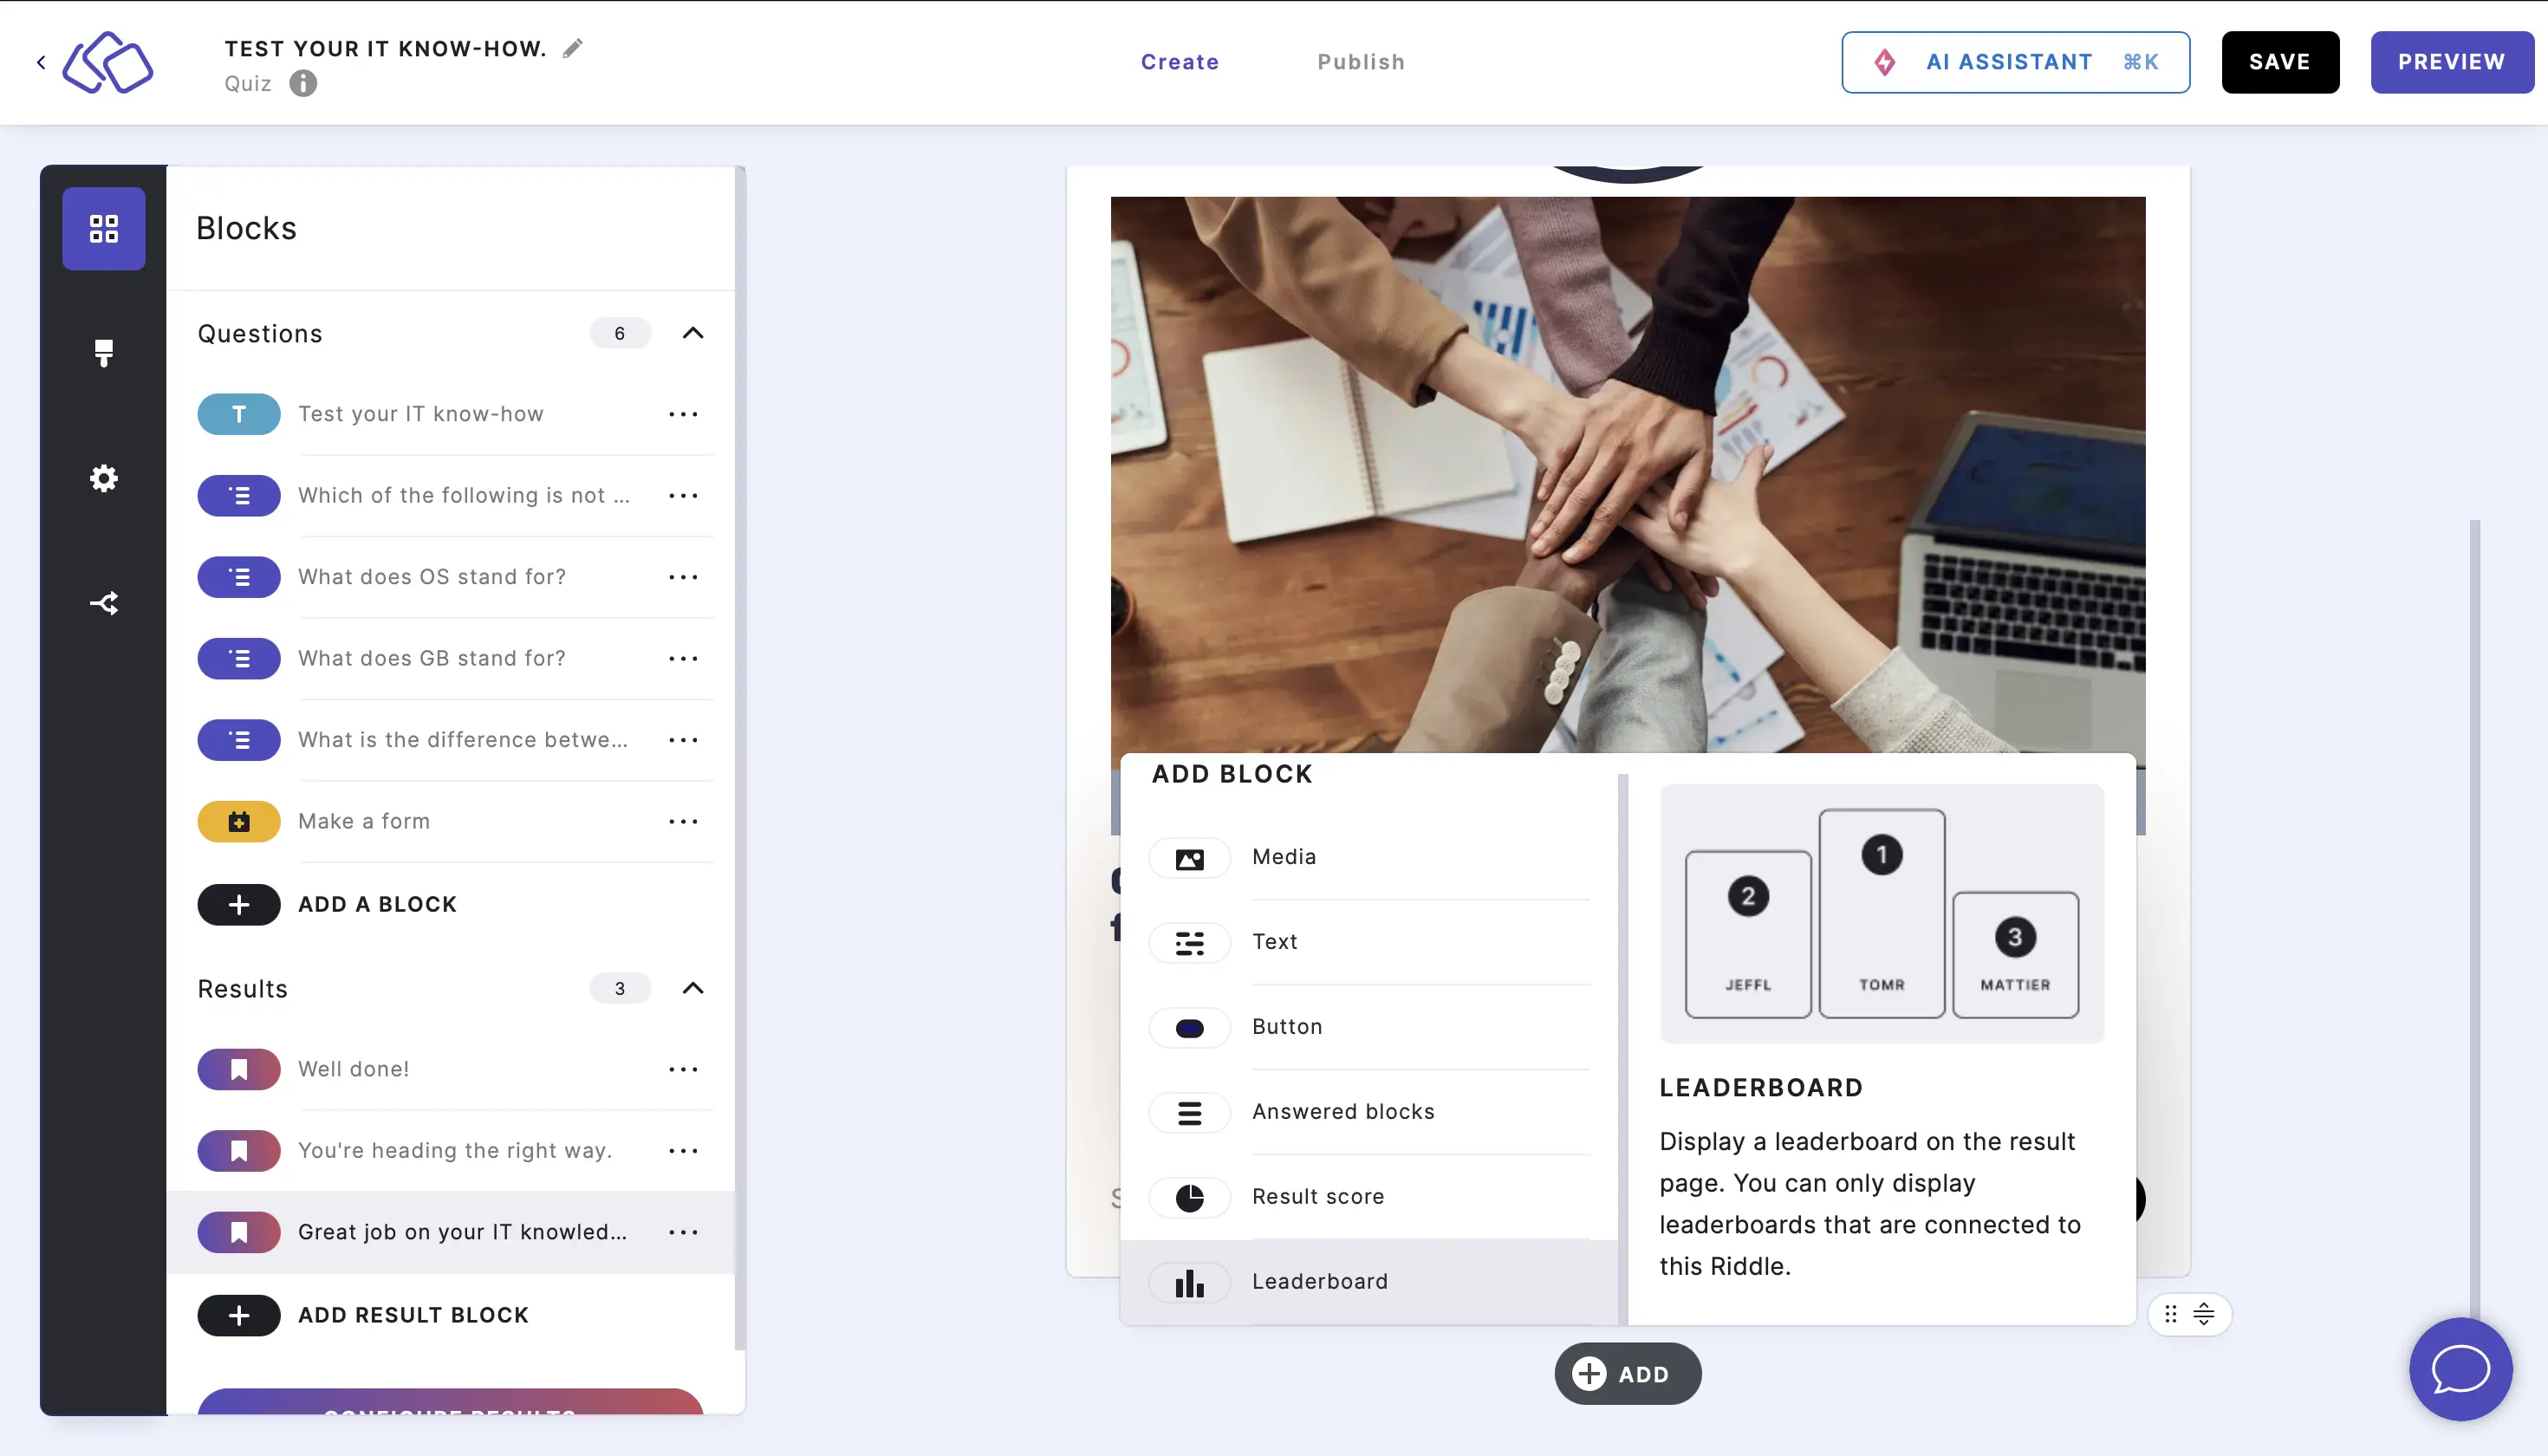
- A leaderboard is pre-selected by default. To change the leaderboard, click on the leaderboard element and select the leaderboard title from the dropdown list.
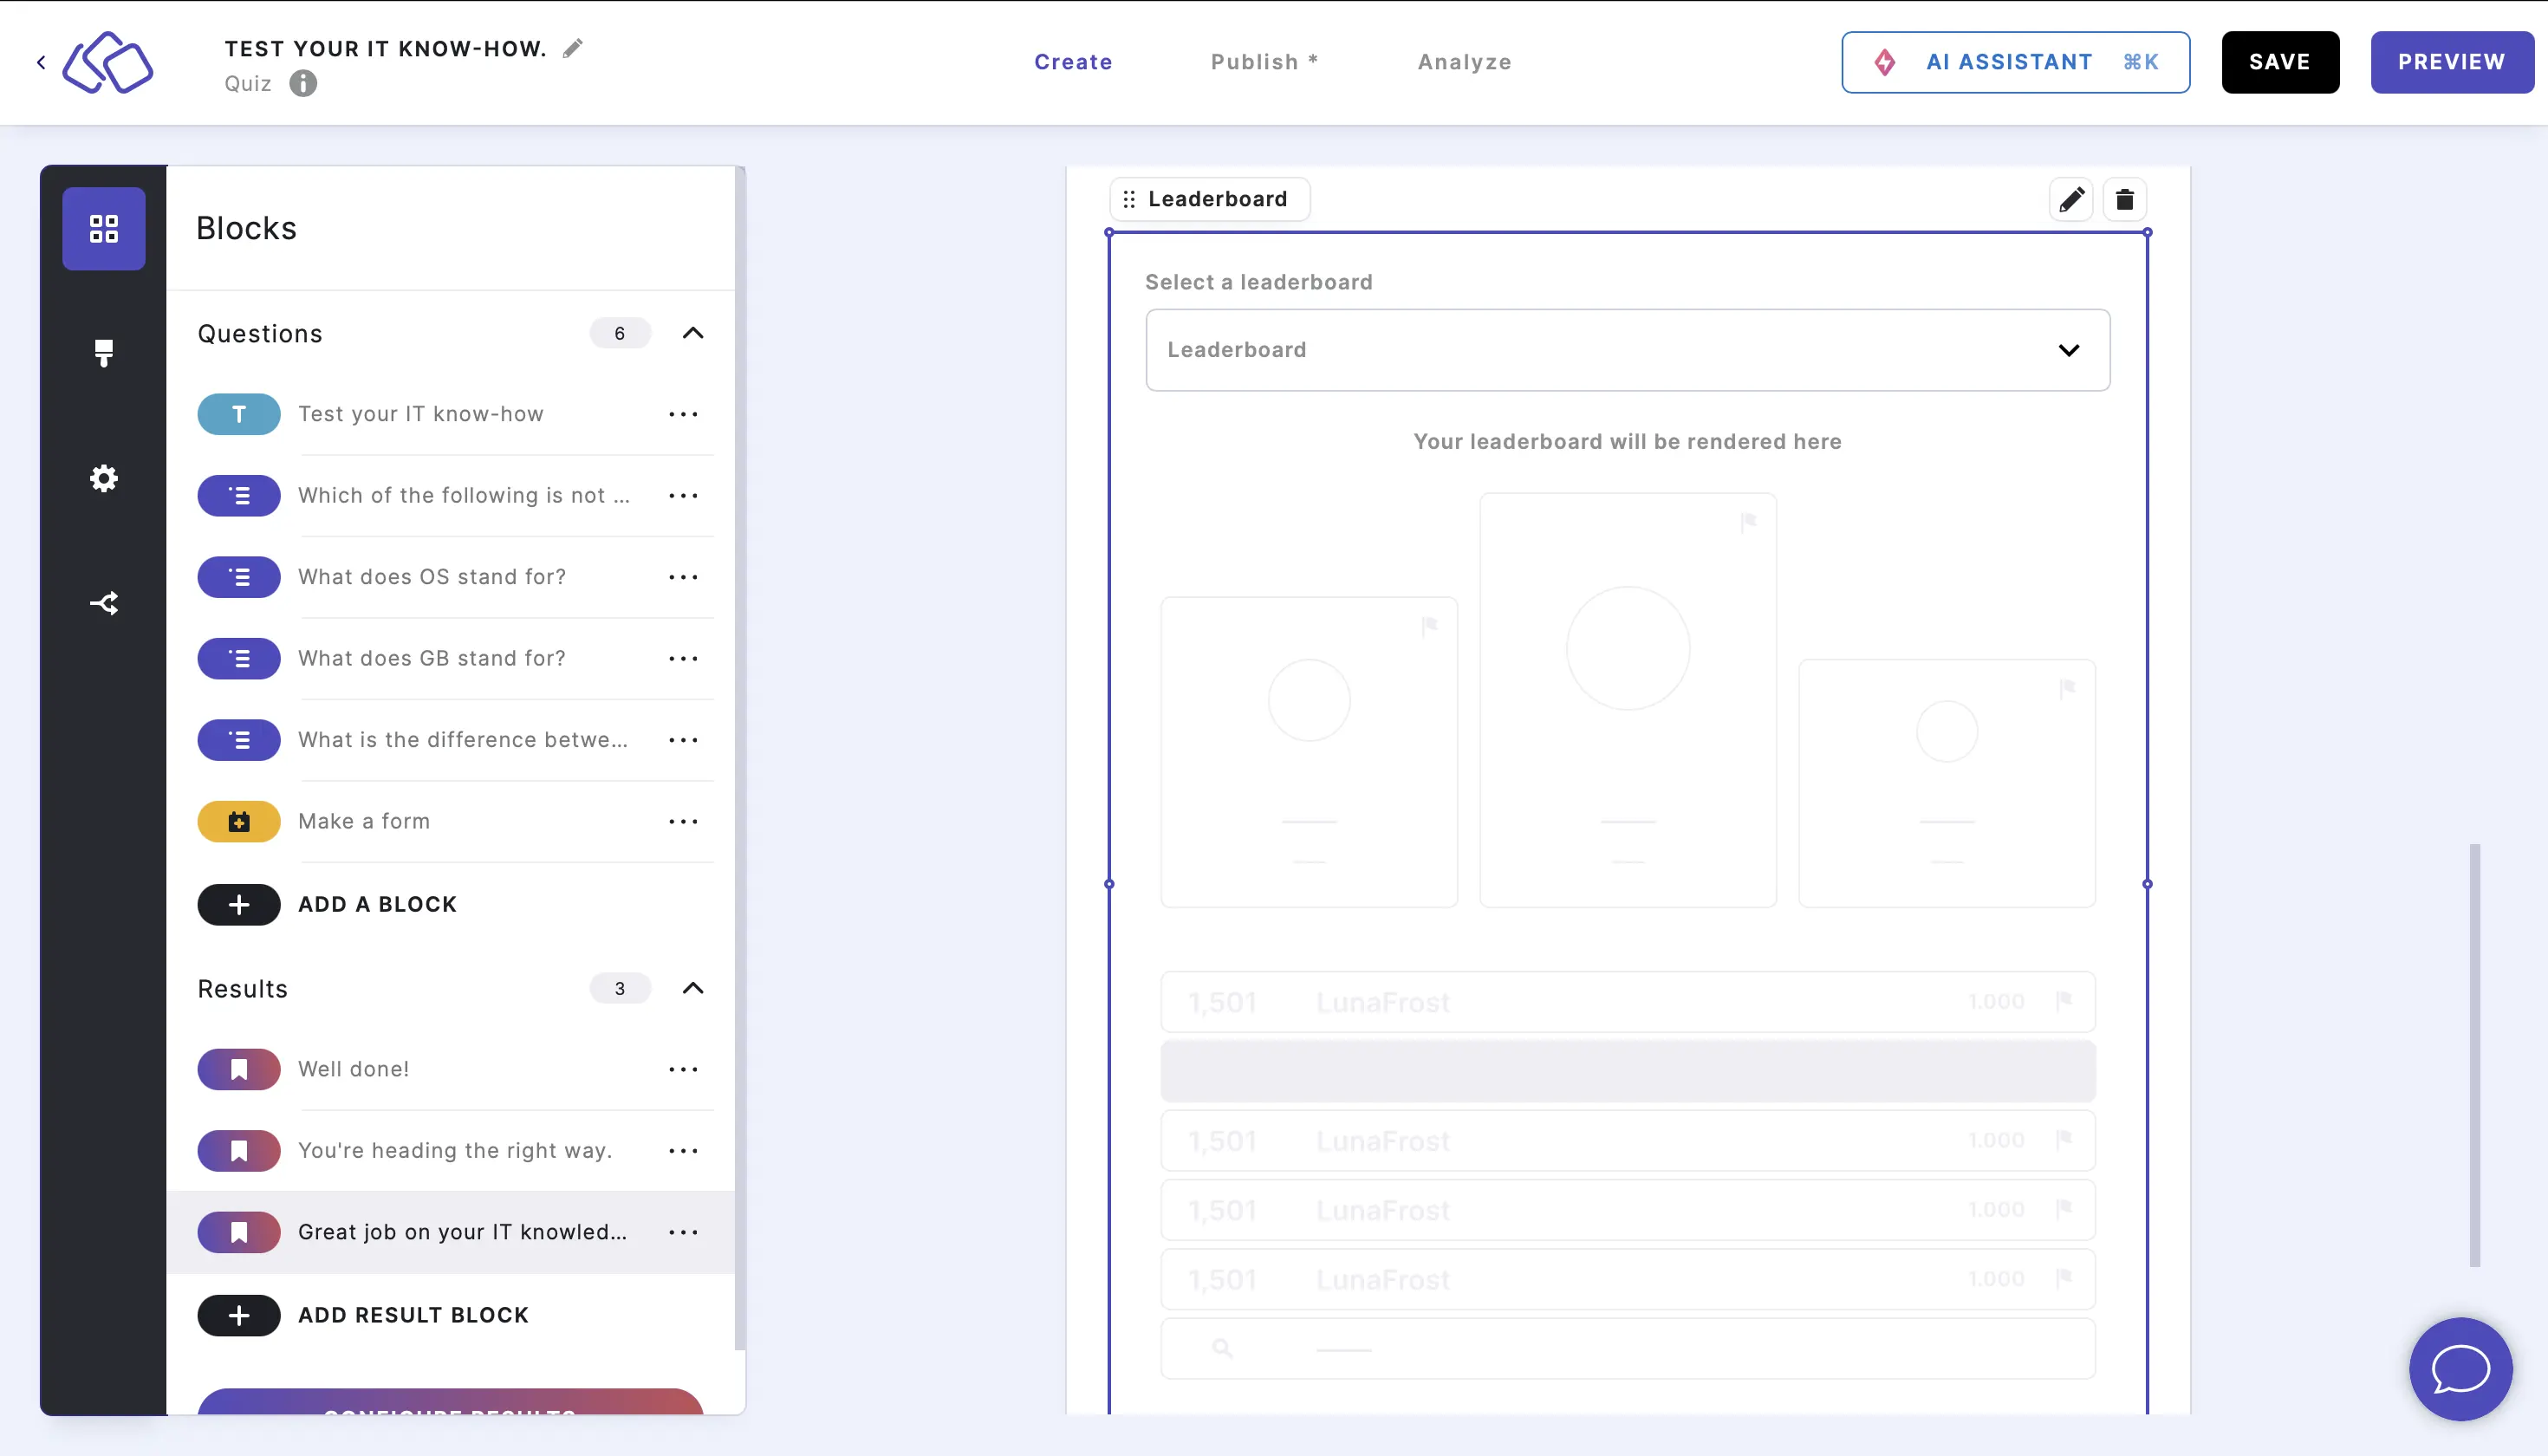
- The default leaderboard is ready to use without any other change. To edit, double click on the leaderboard element and click on the Edit icon.
- Enable or Disable Display title.
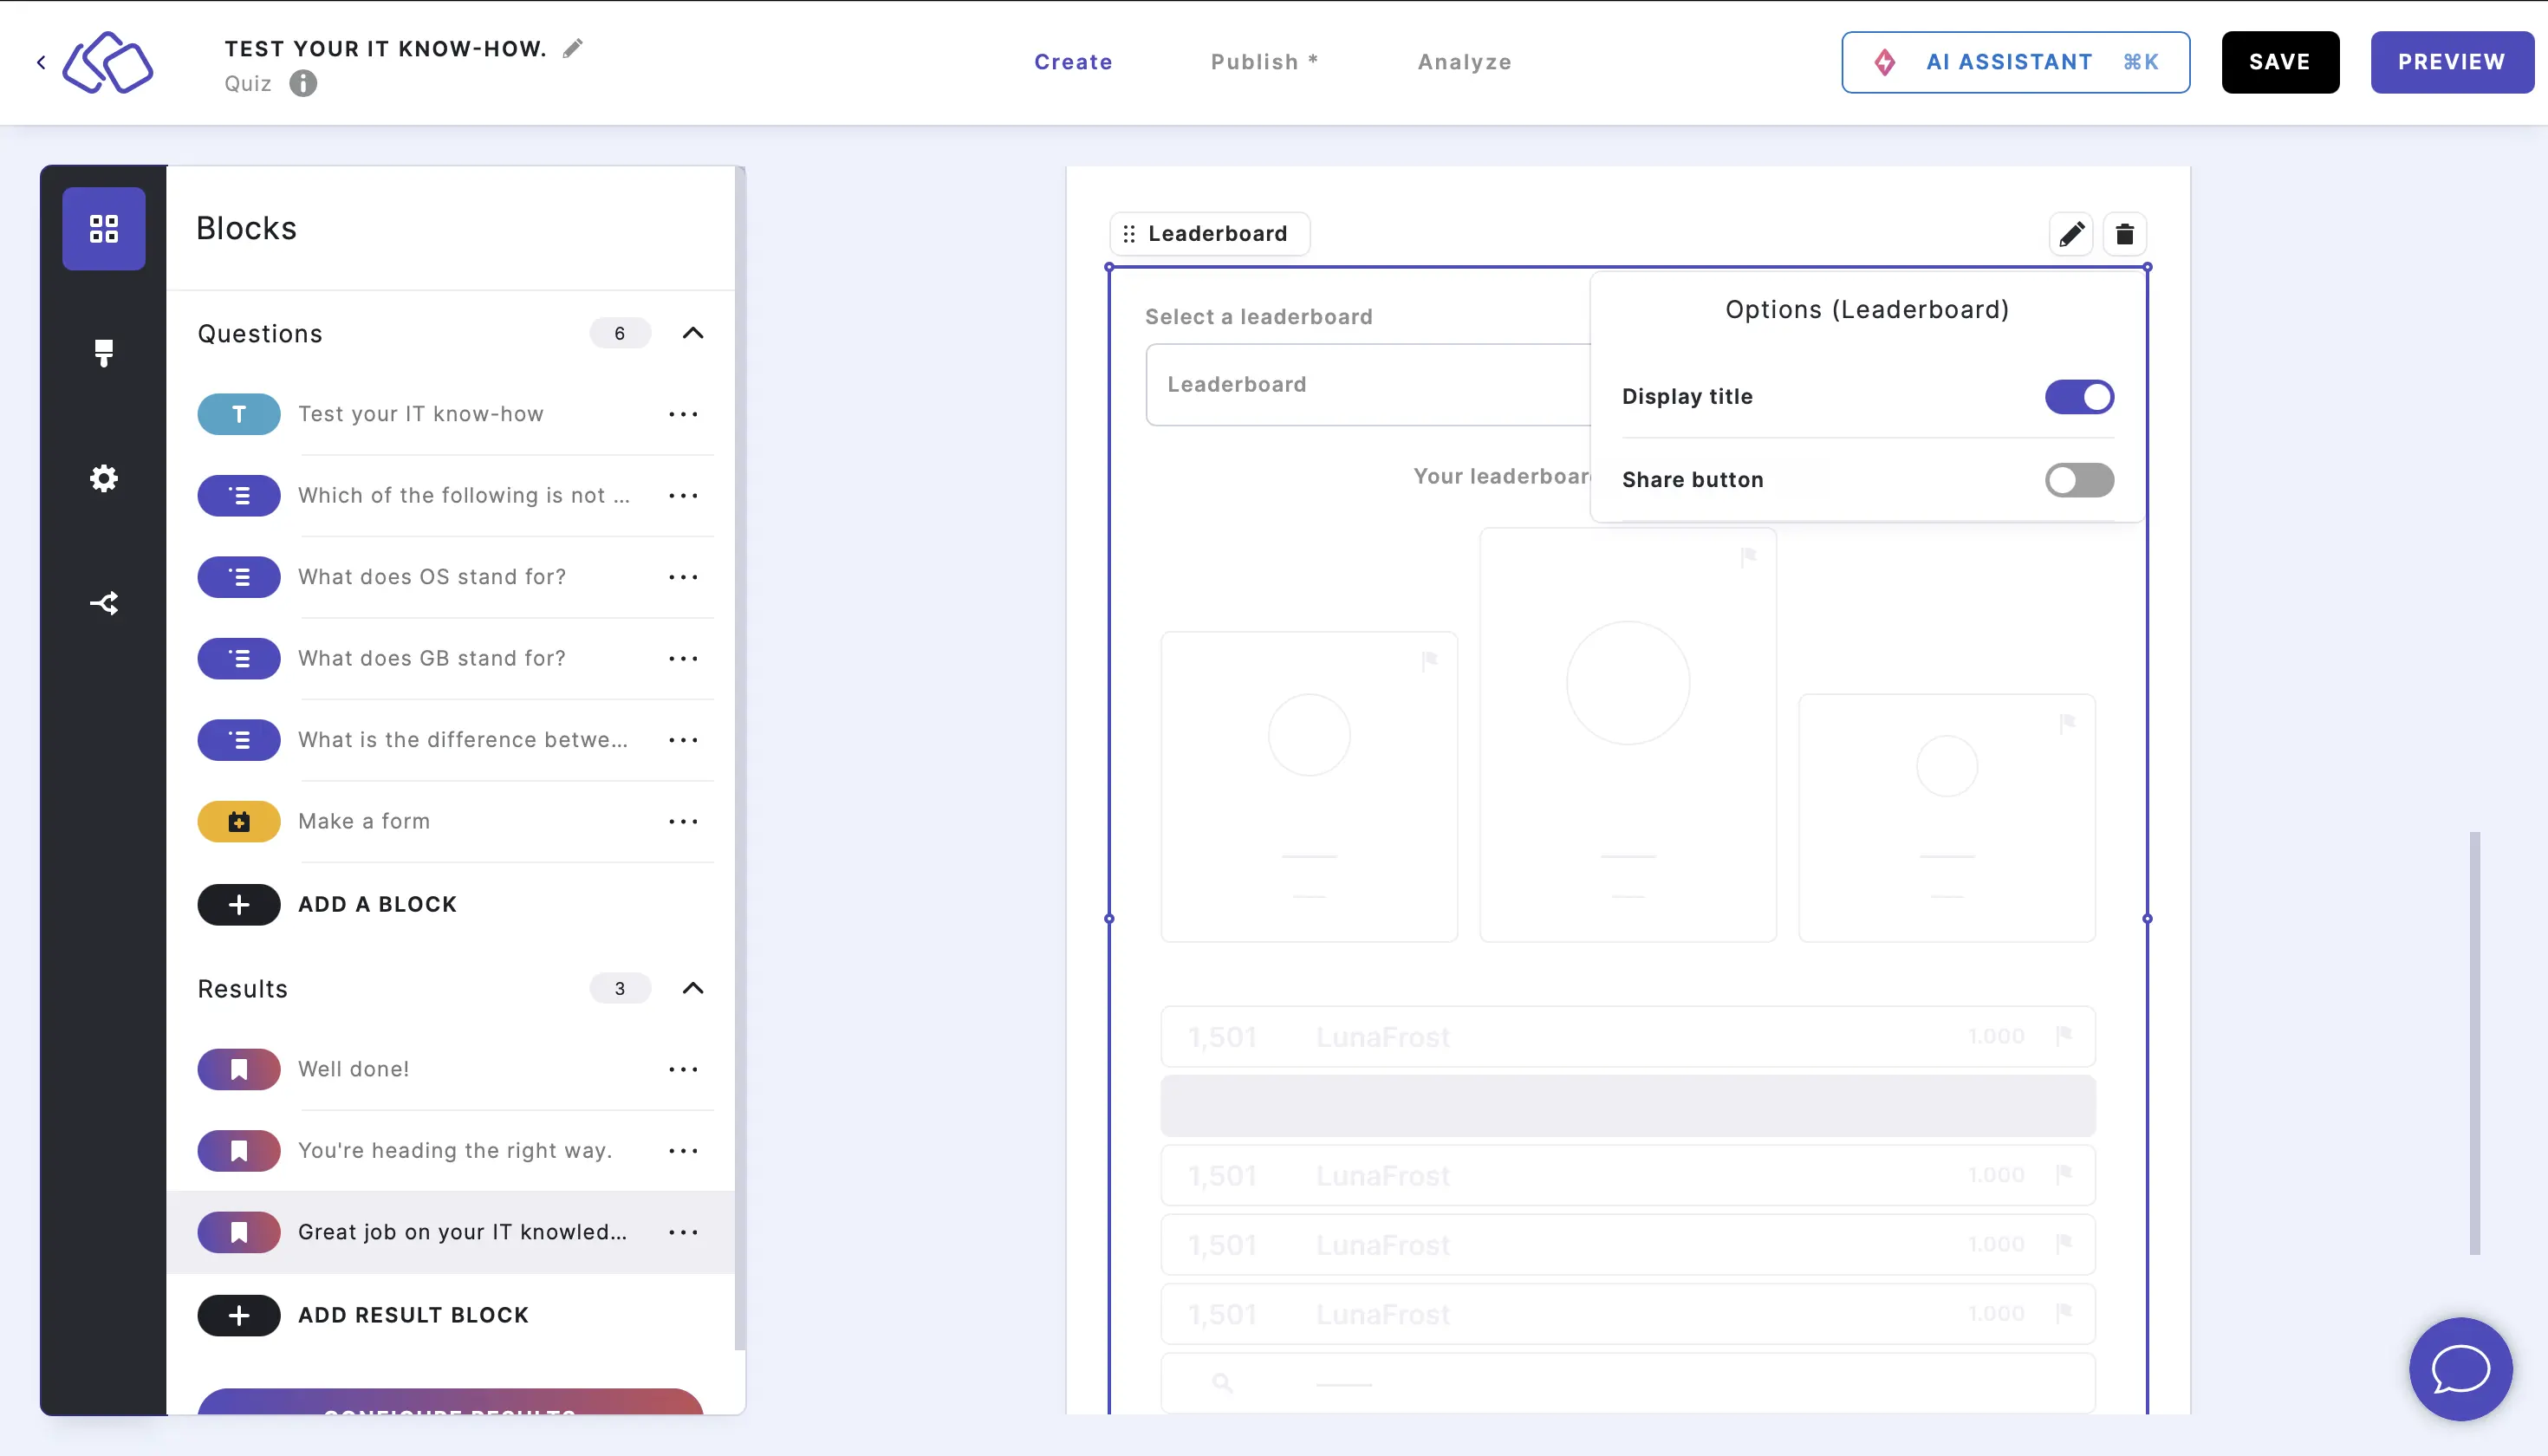
- Enable Share button.
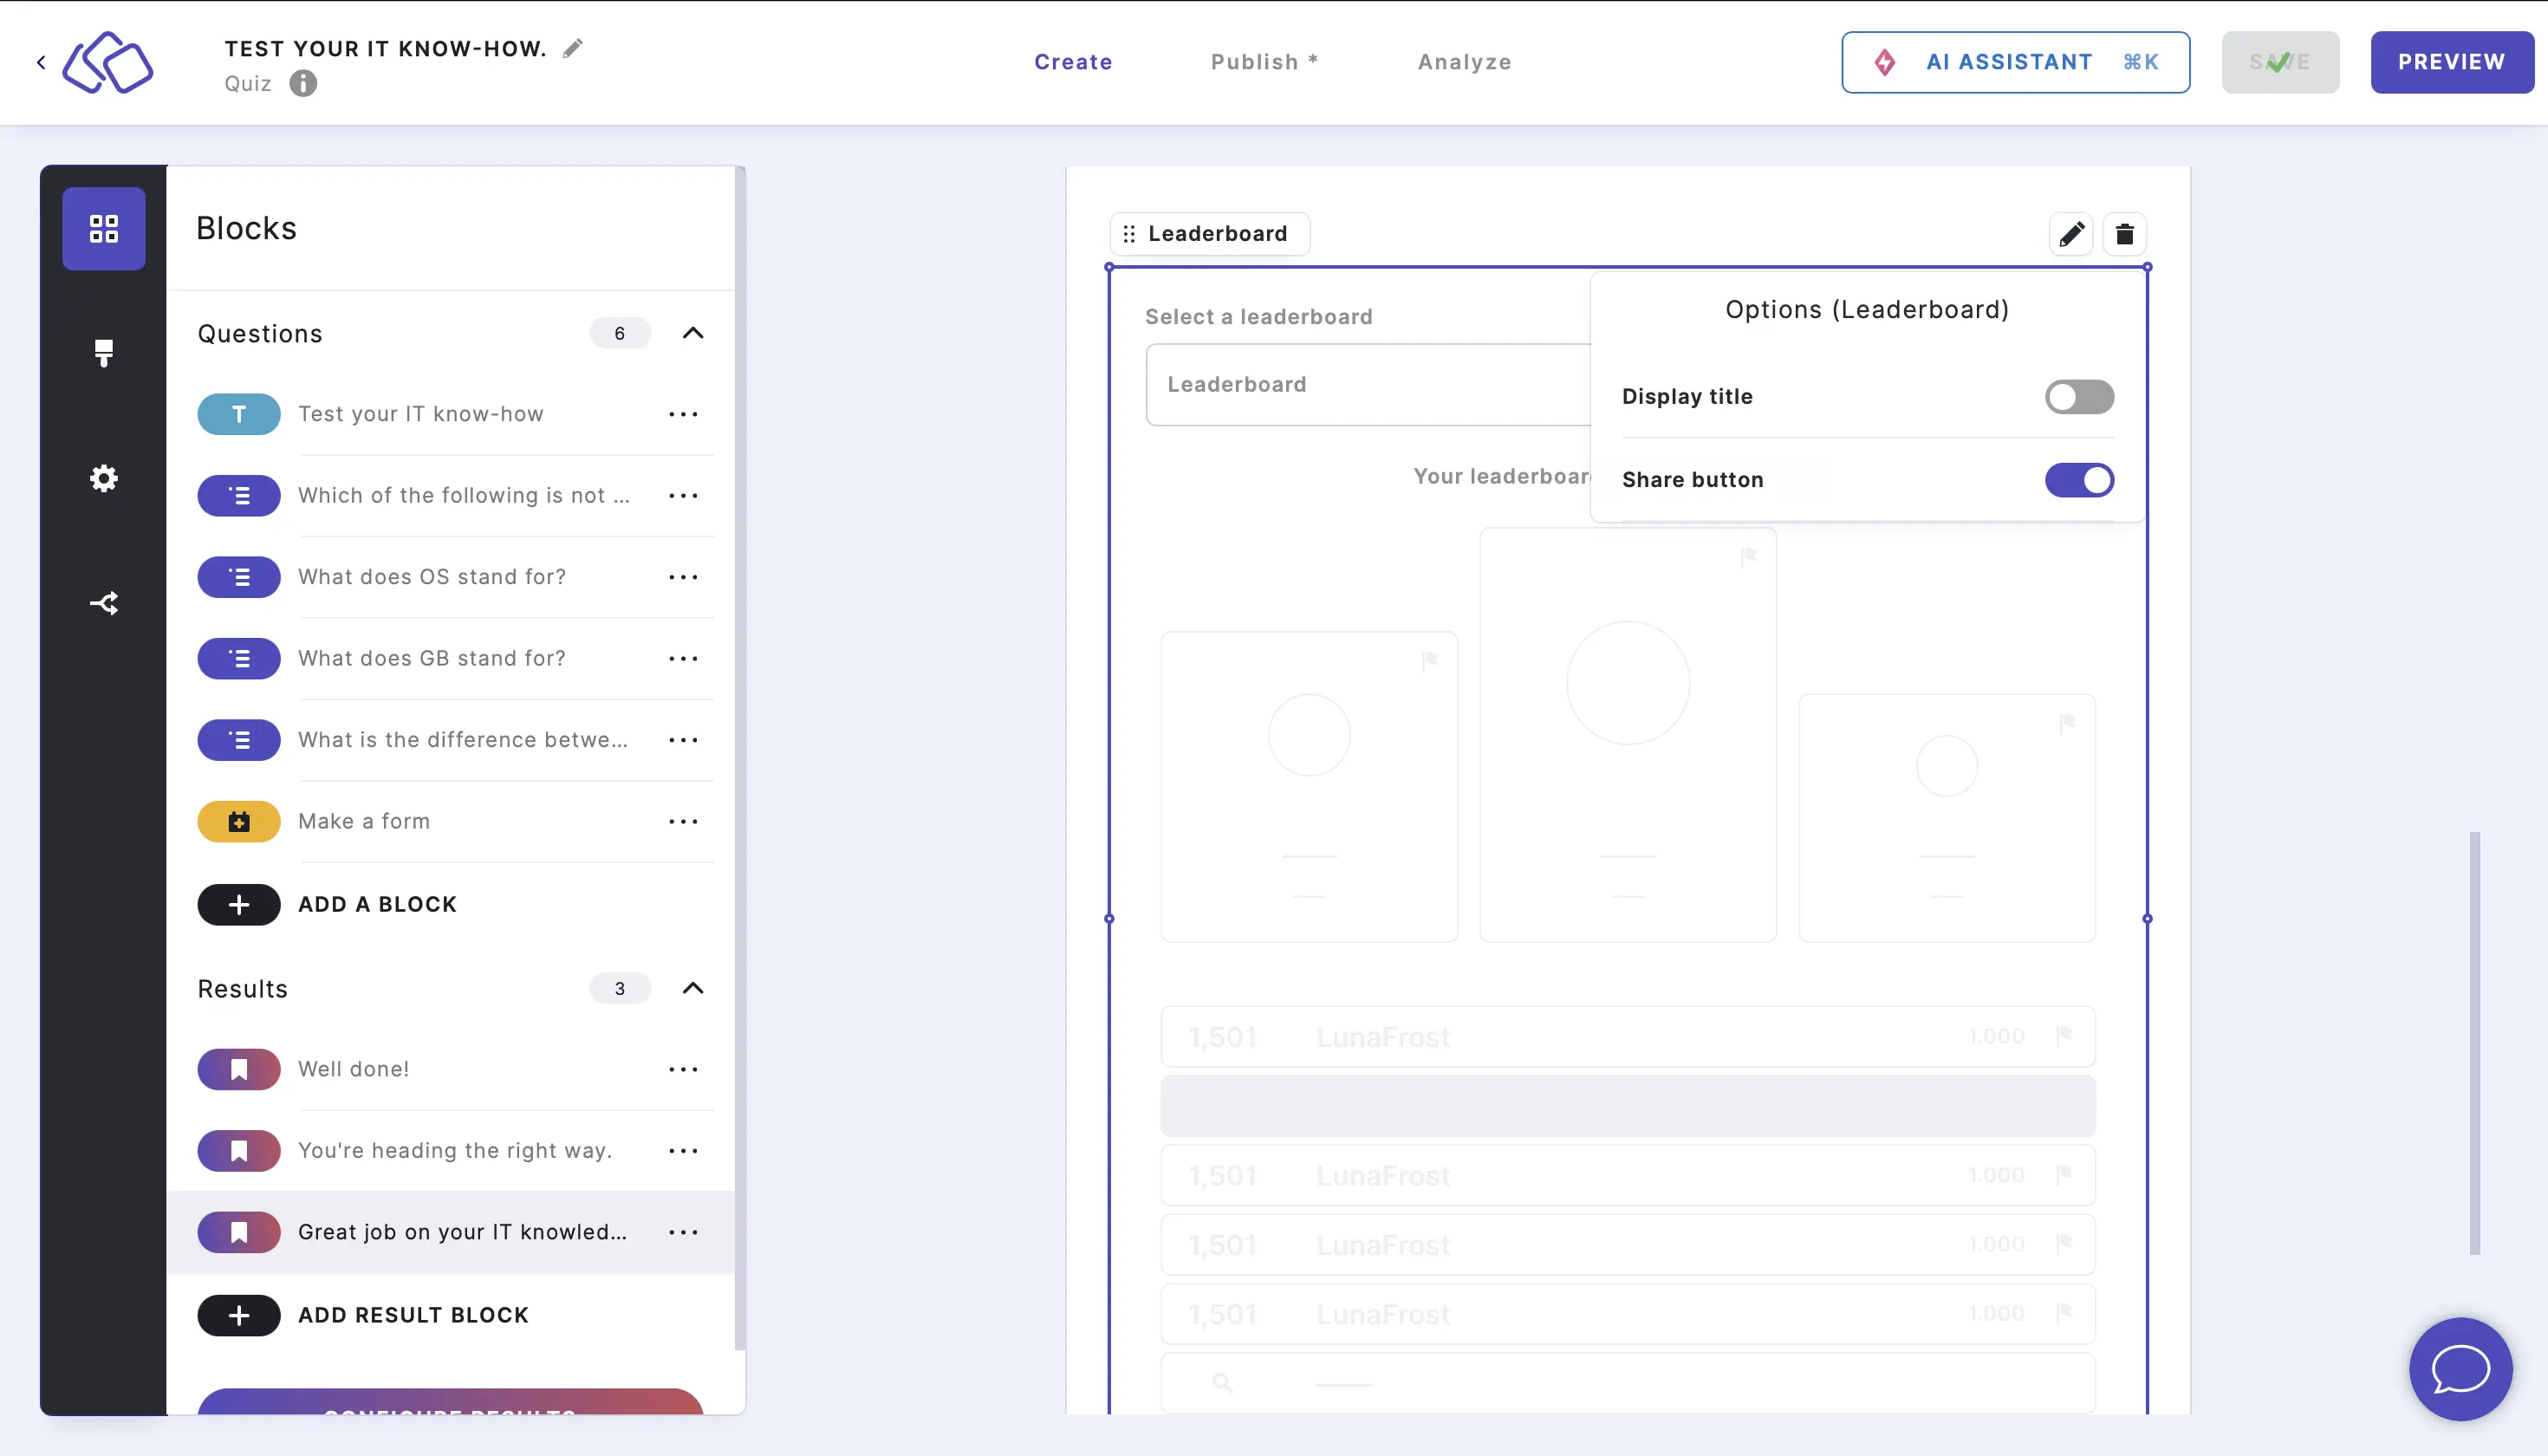
- Enable or Disable Display title.
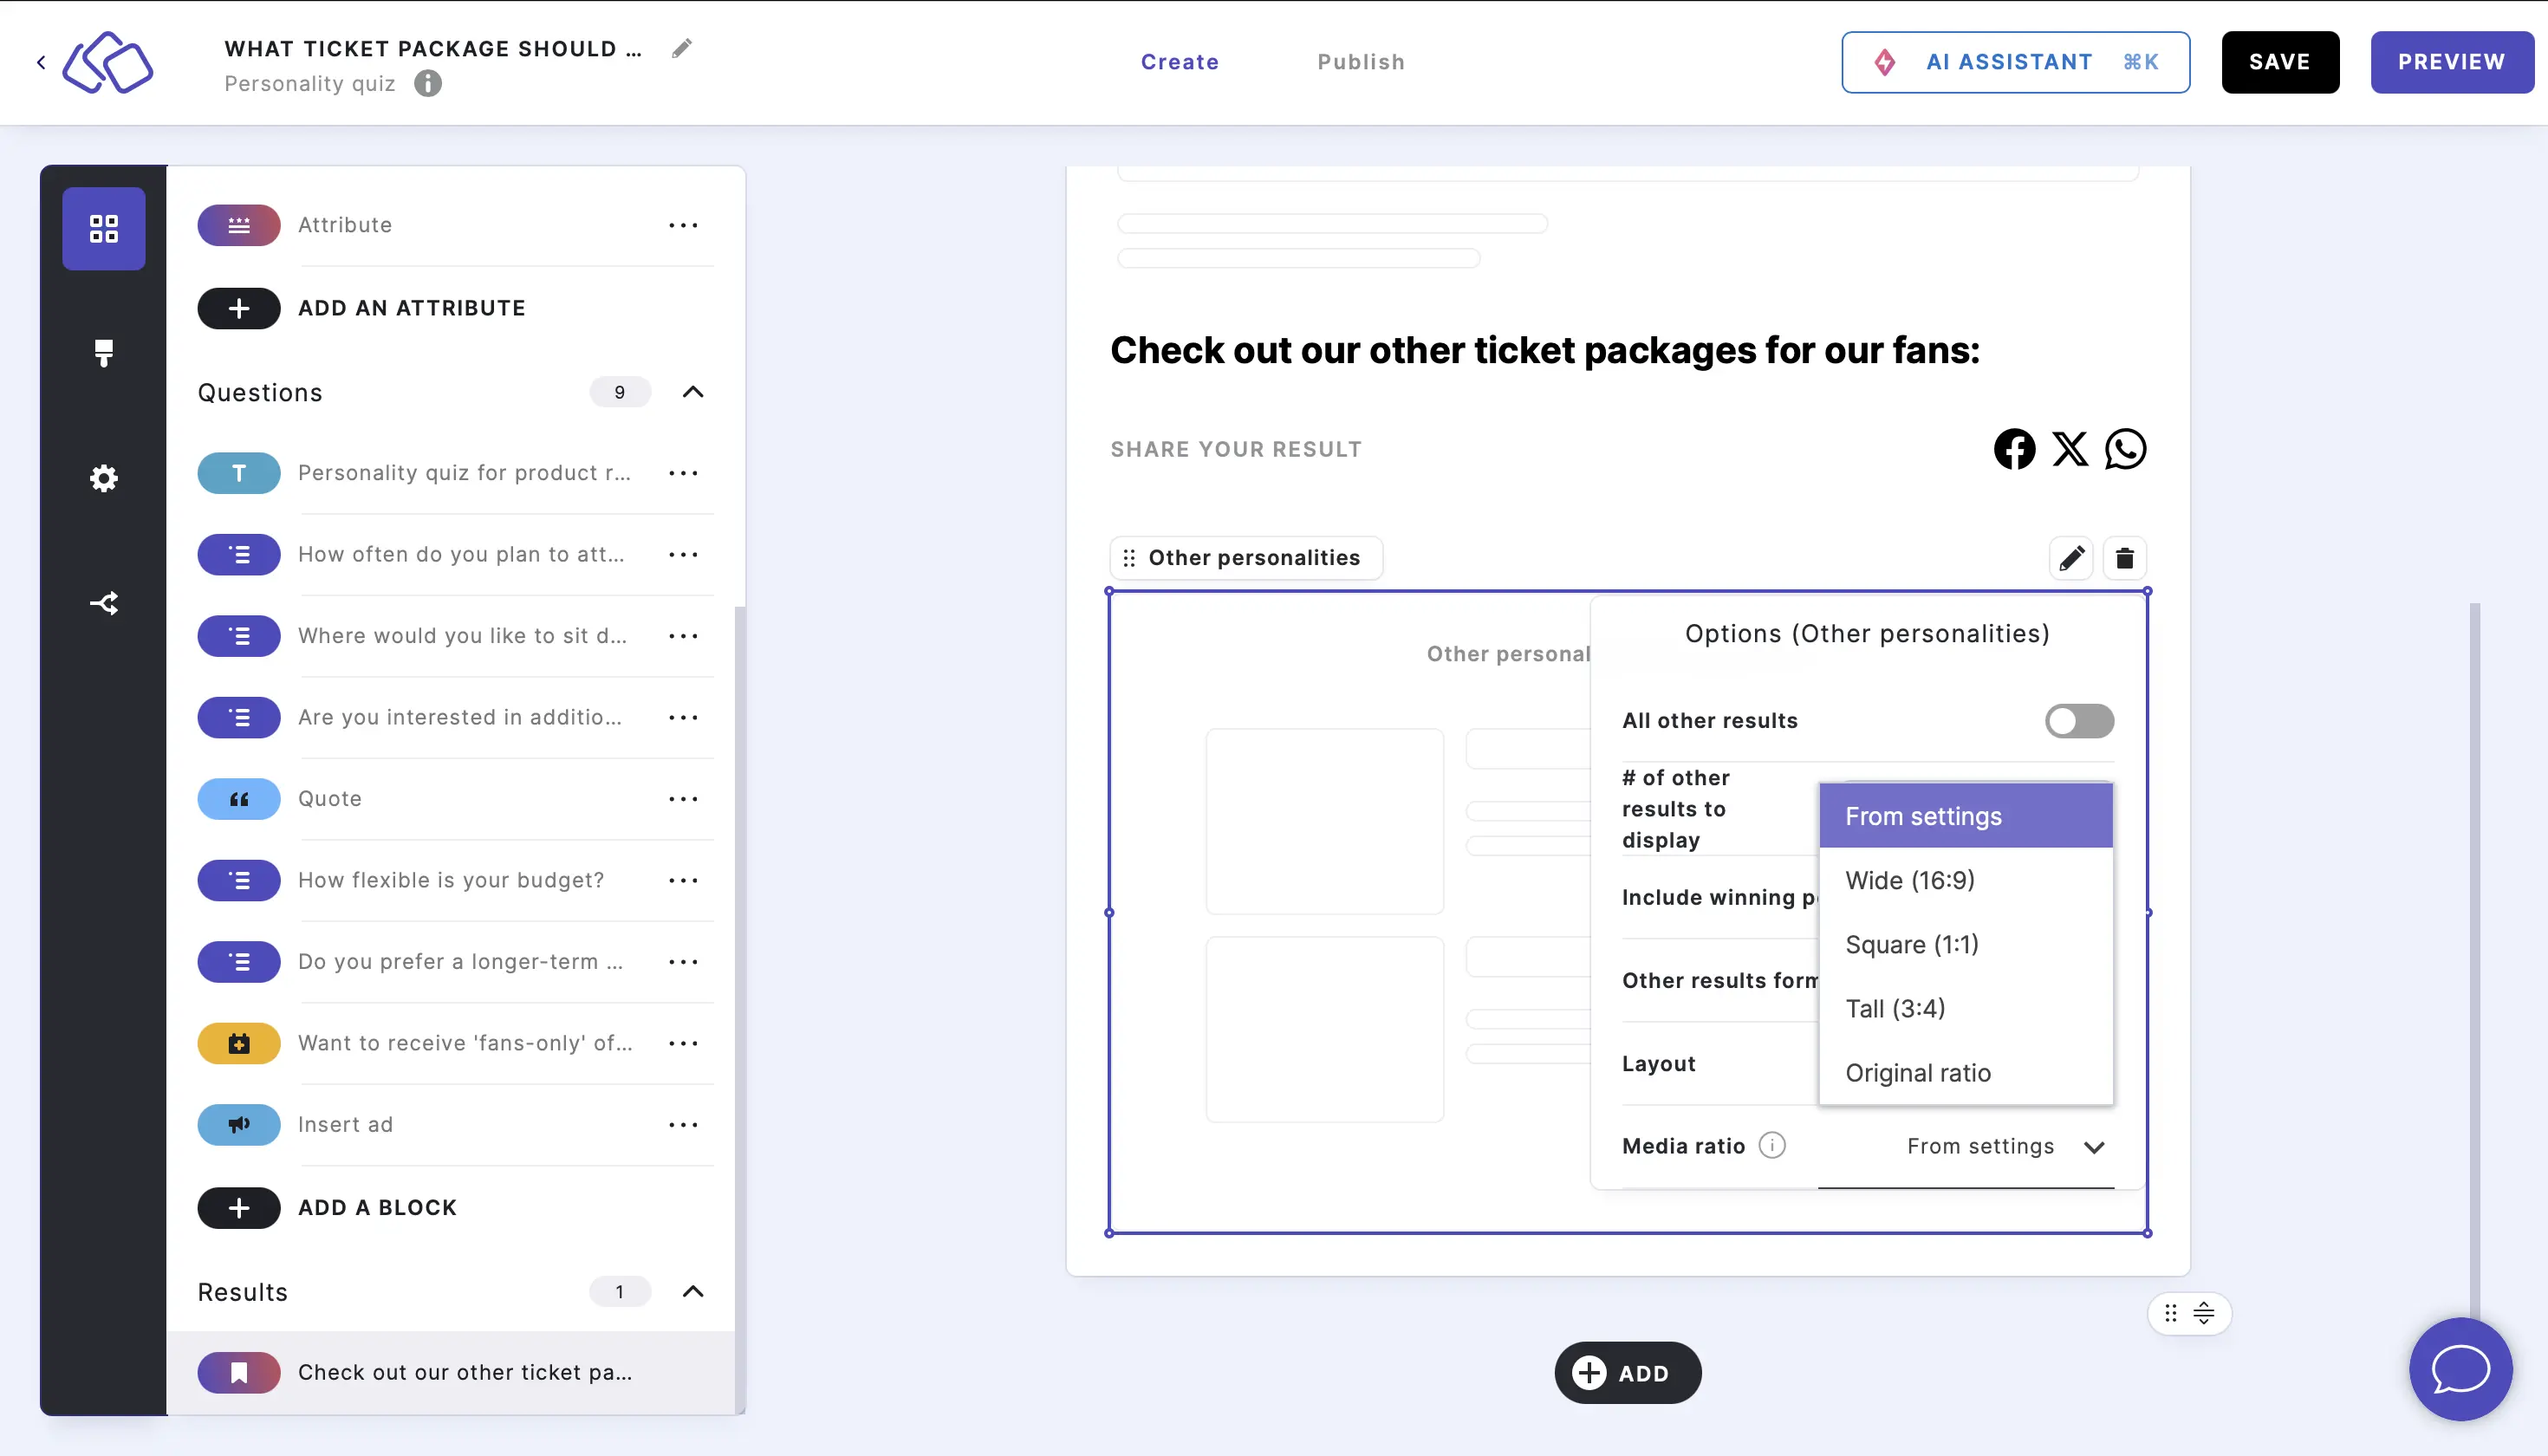
8. Add other personalities
- Click on the ADD button under your result page and select Other personalities.
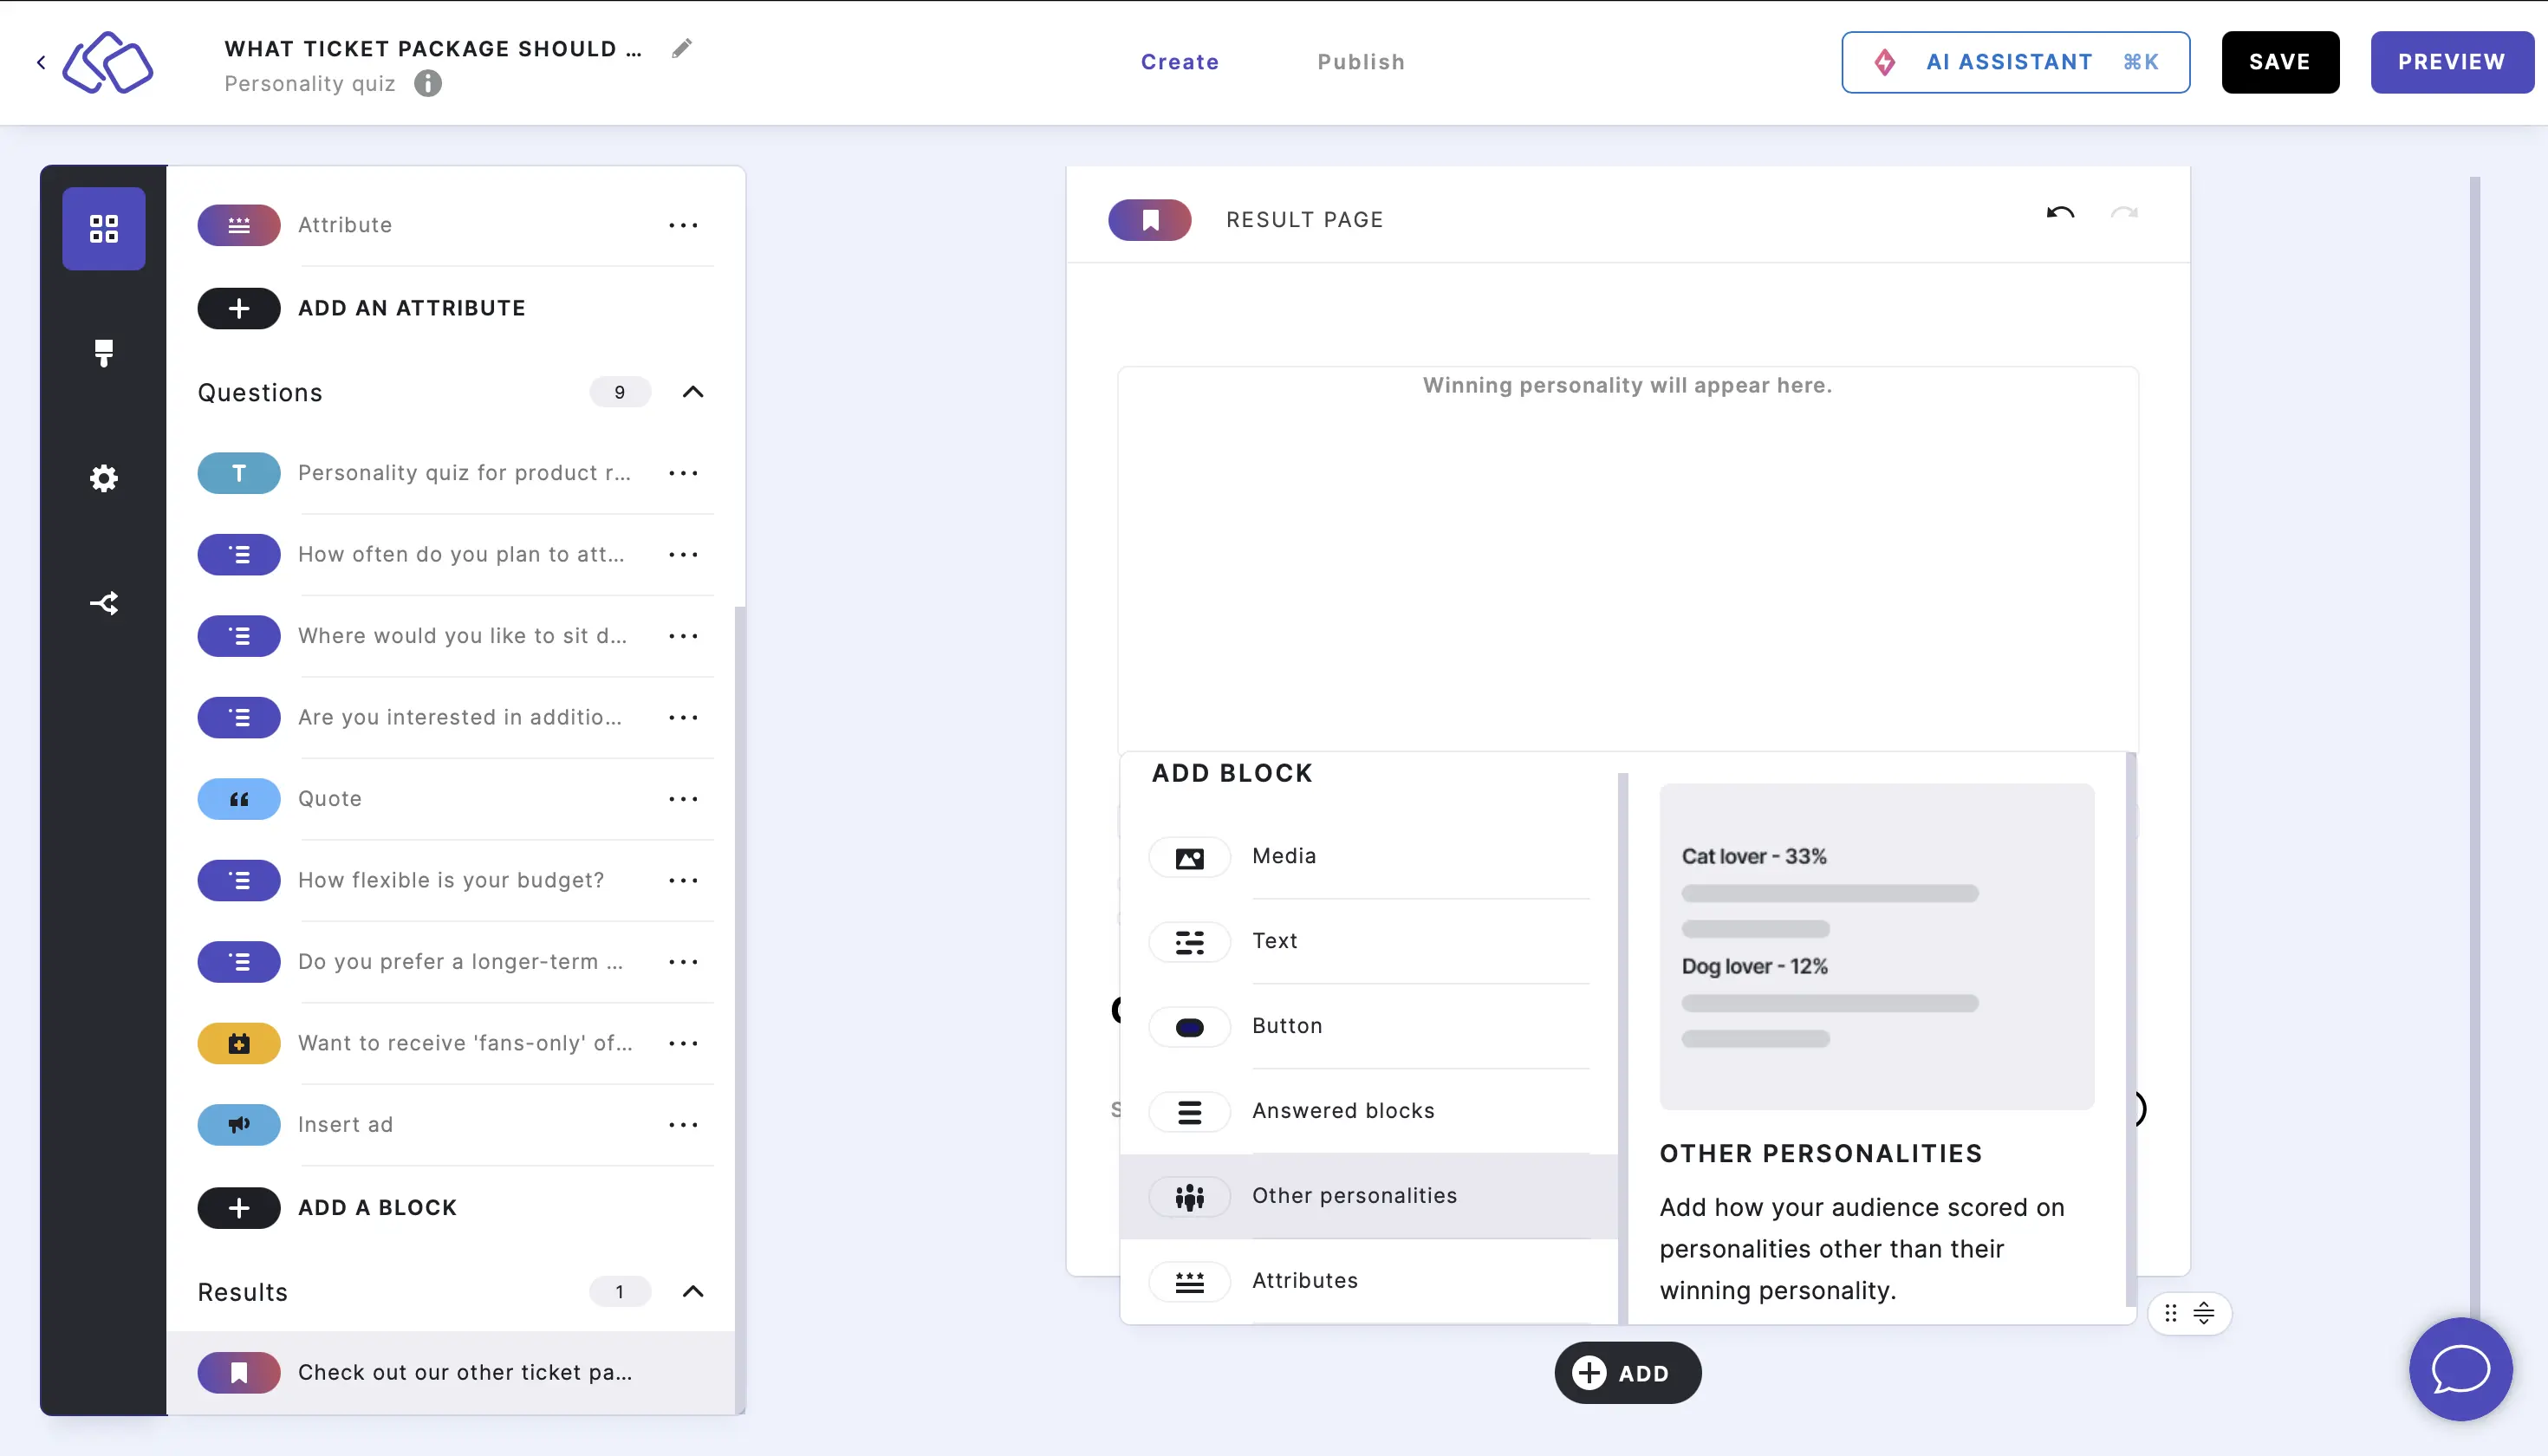
- All other personalities will now appear with the default settings without any change. To edit, click on the Other personalities element and then click on the Edit icon.
- Enable All other results to see all other personalities under the winning personality on the result page.

- Disable All other results and select or type the number of results in the # of other results to display field to choose how many personalities appear under the winning personality on the result page.

- Enable Include winning personality to show the winning personality as well as the other personalities.
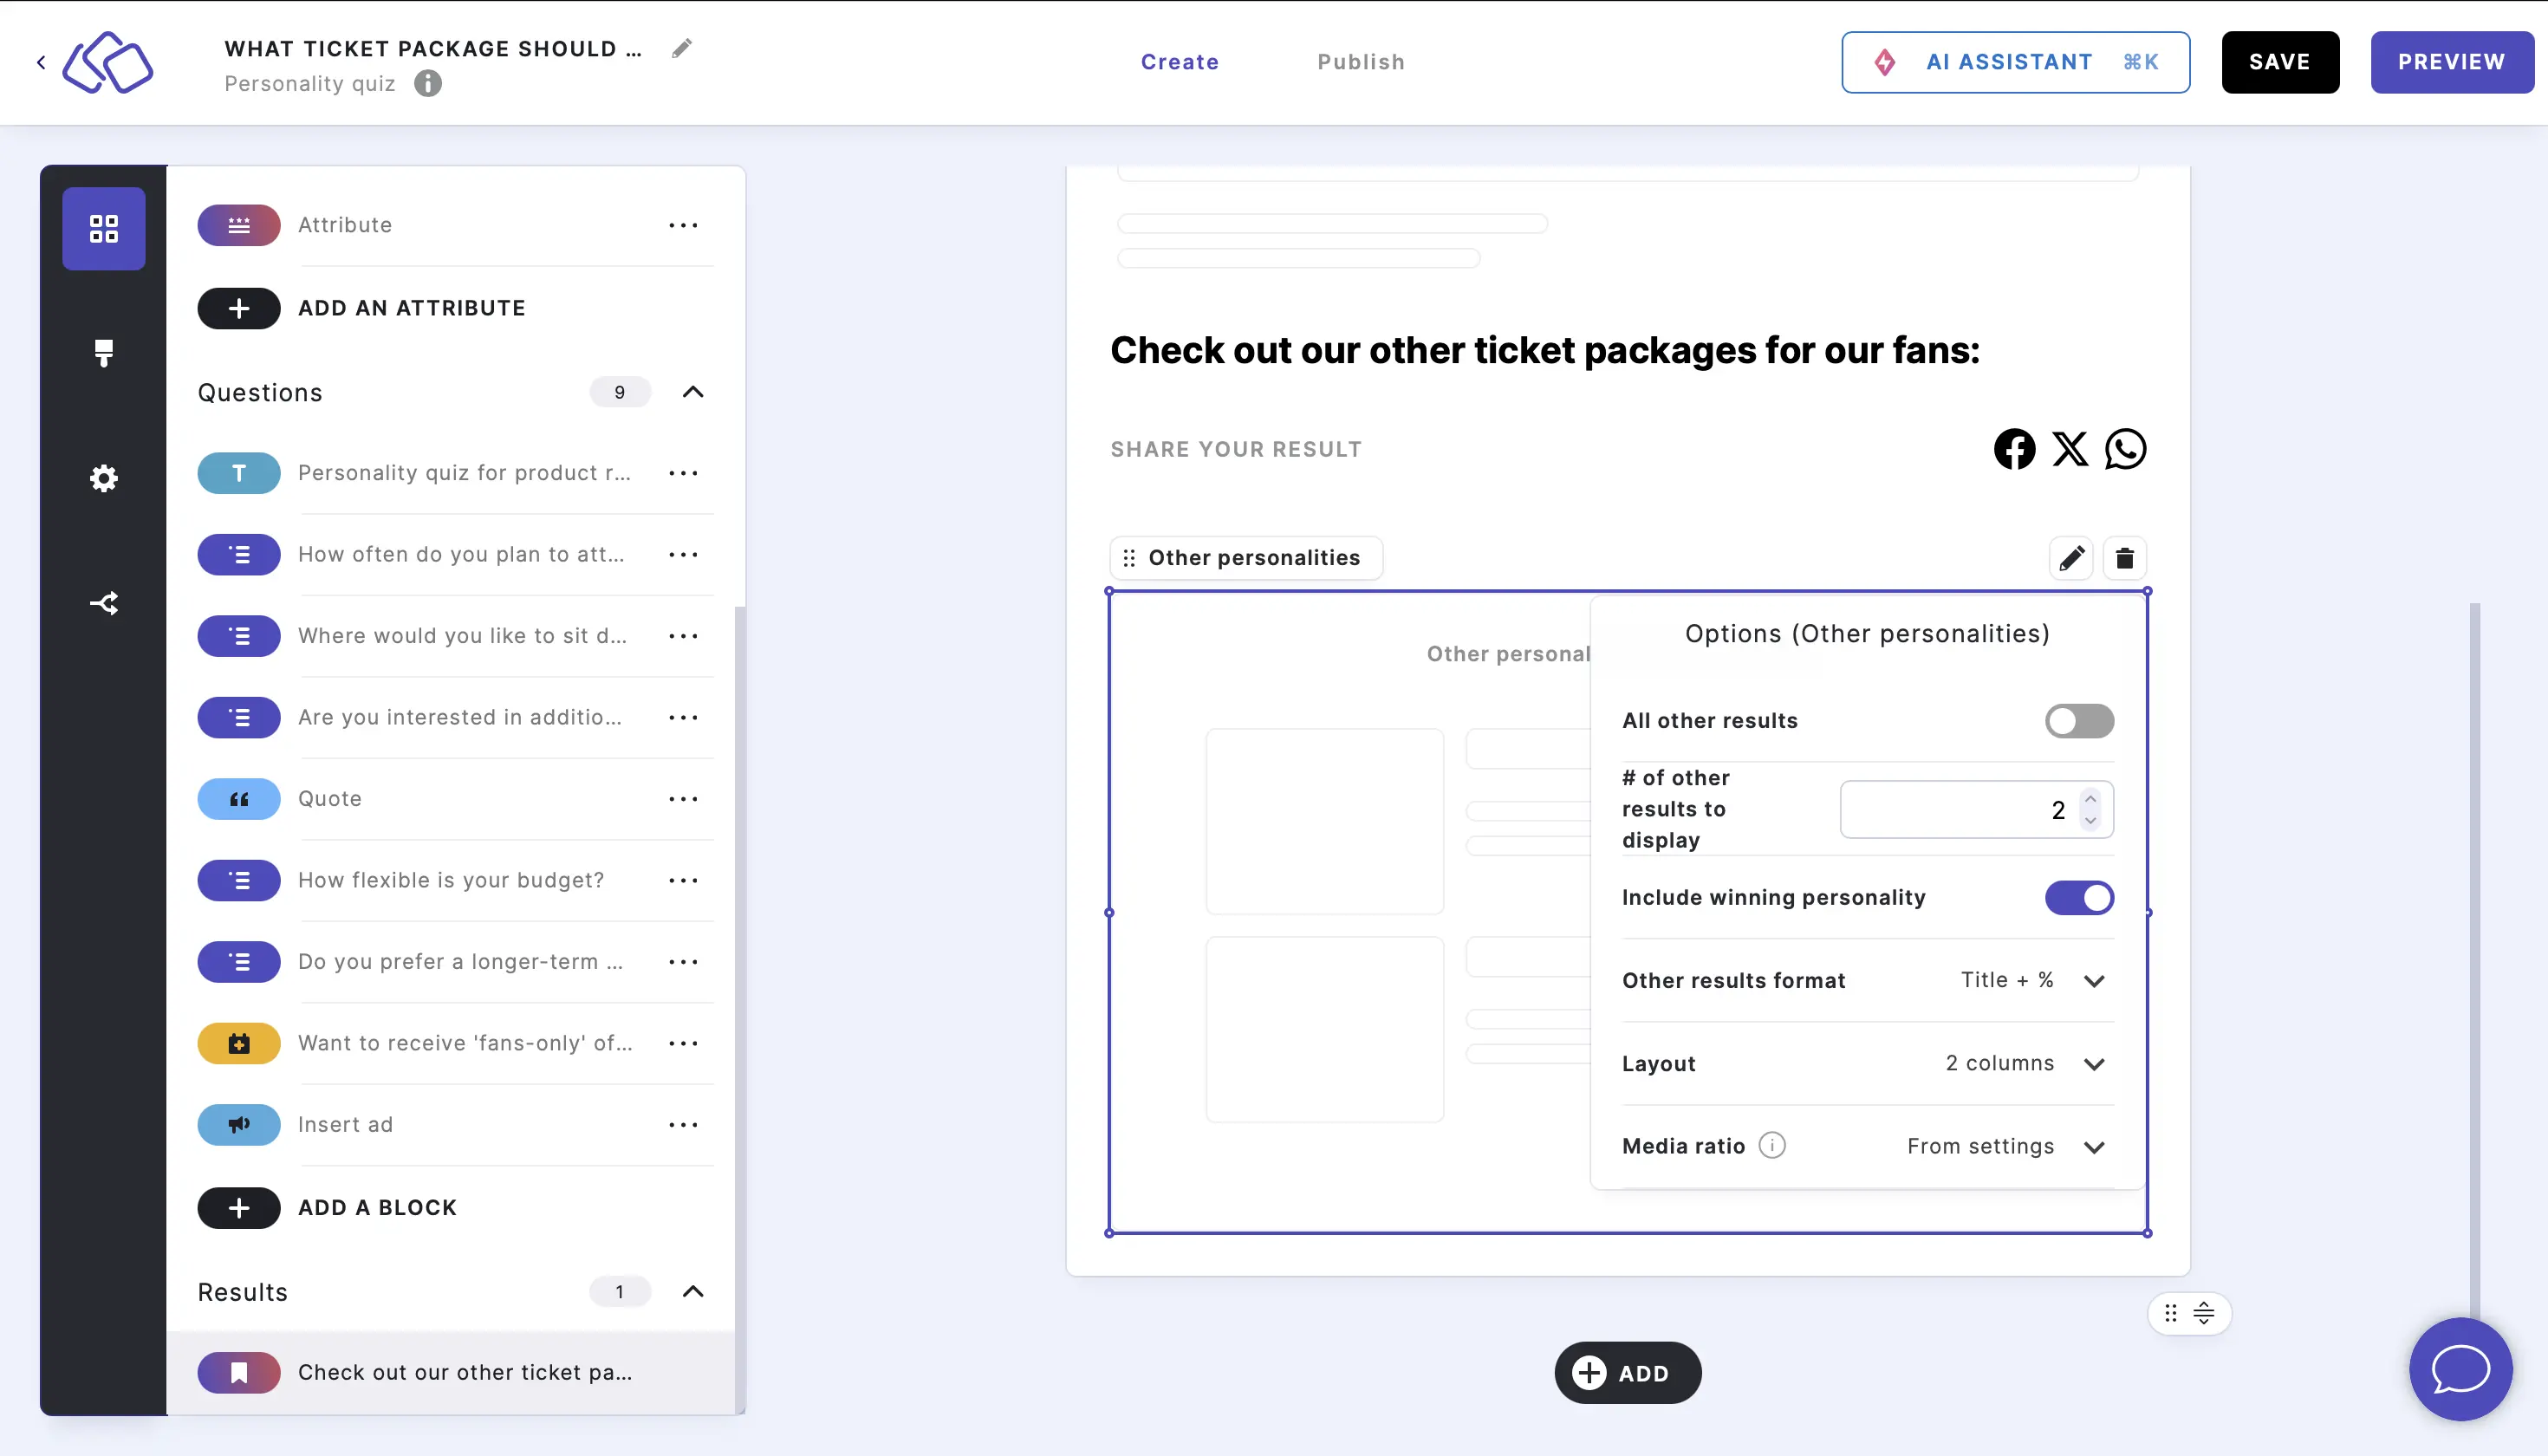
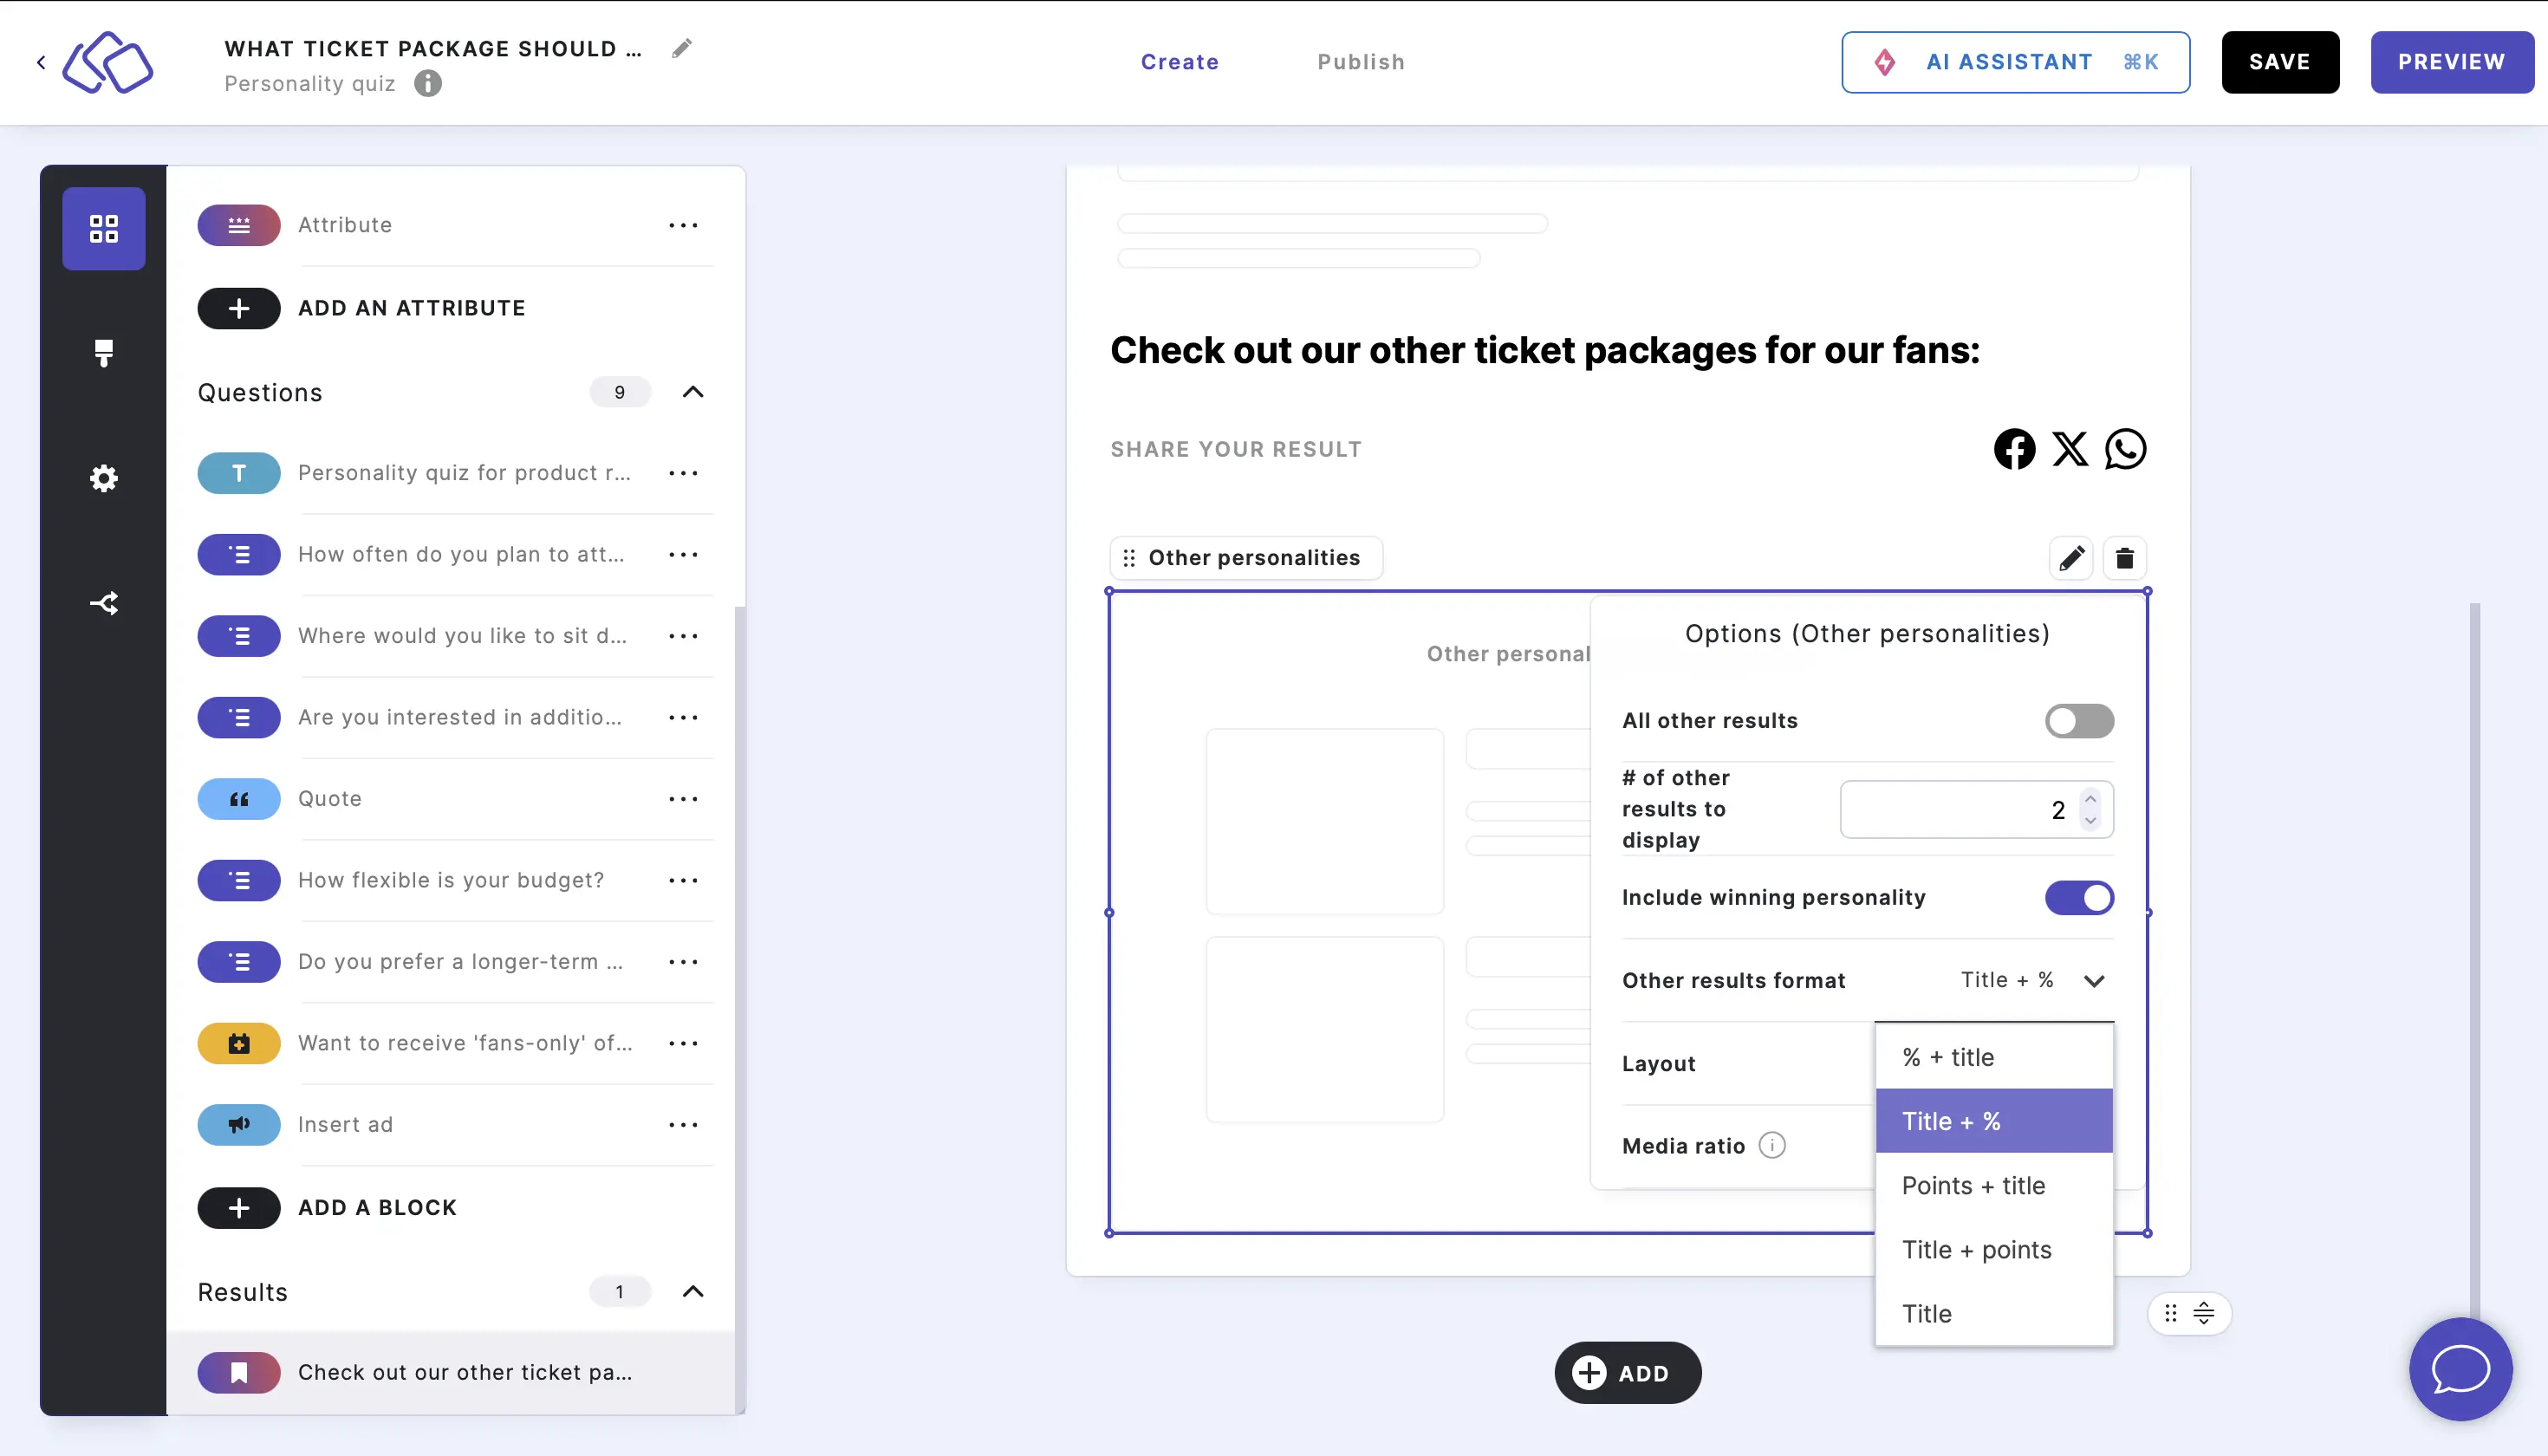
- Select an Other results format to choose what information about the other results should be included from the dropdown menu.
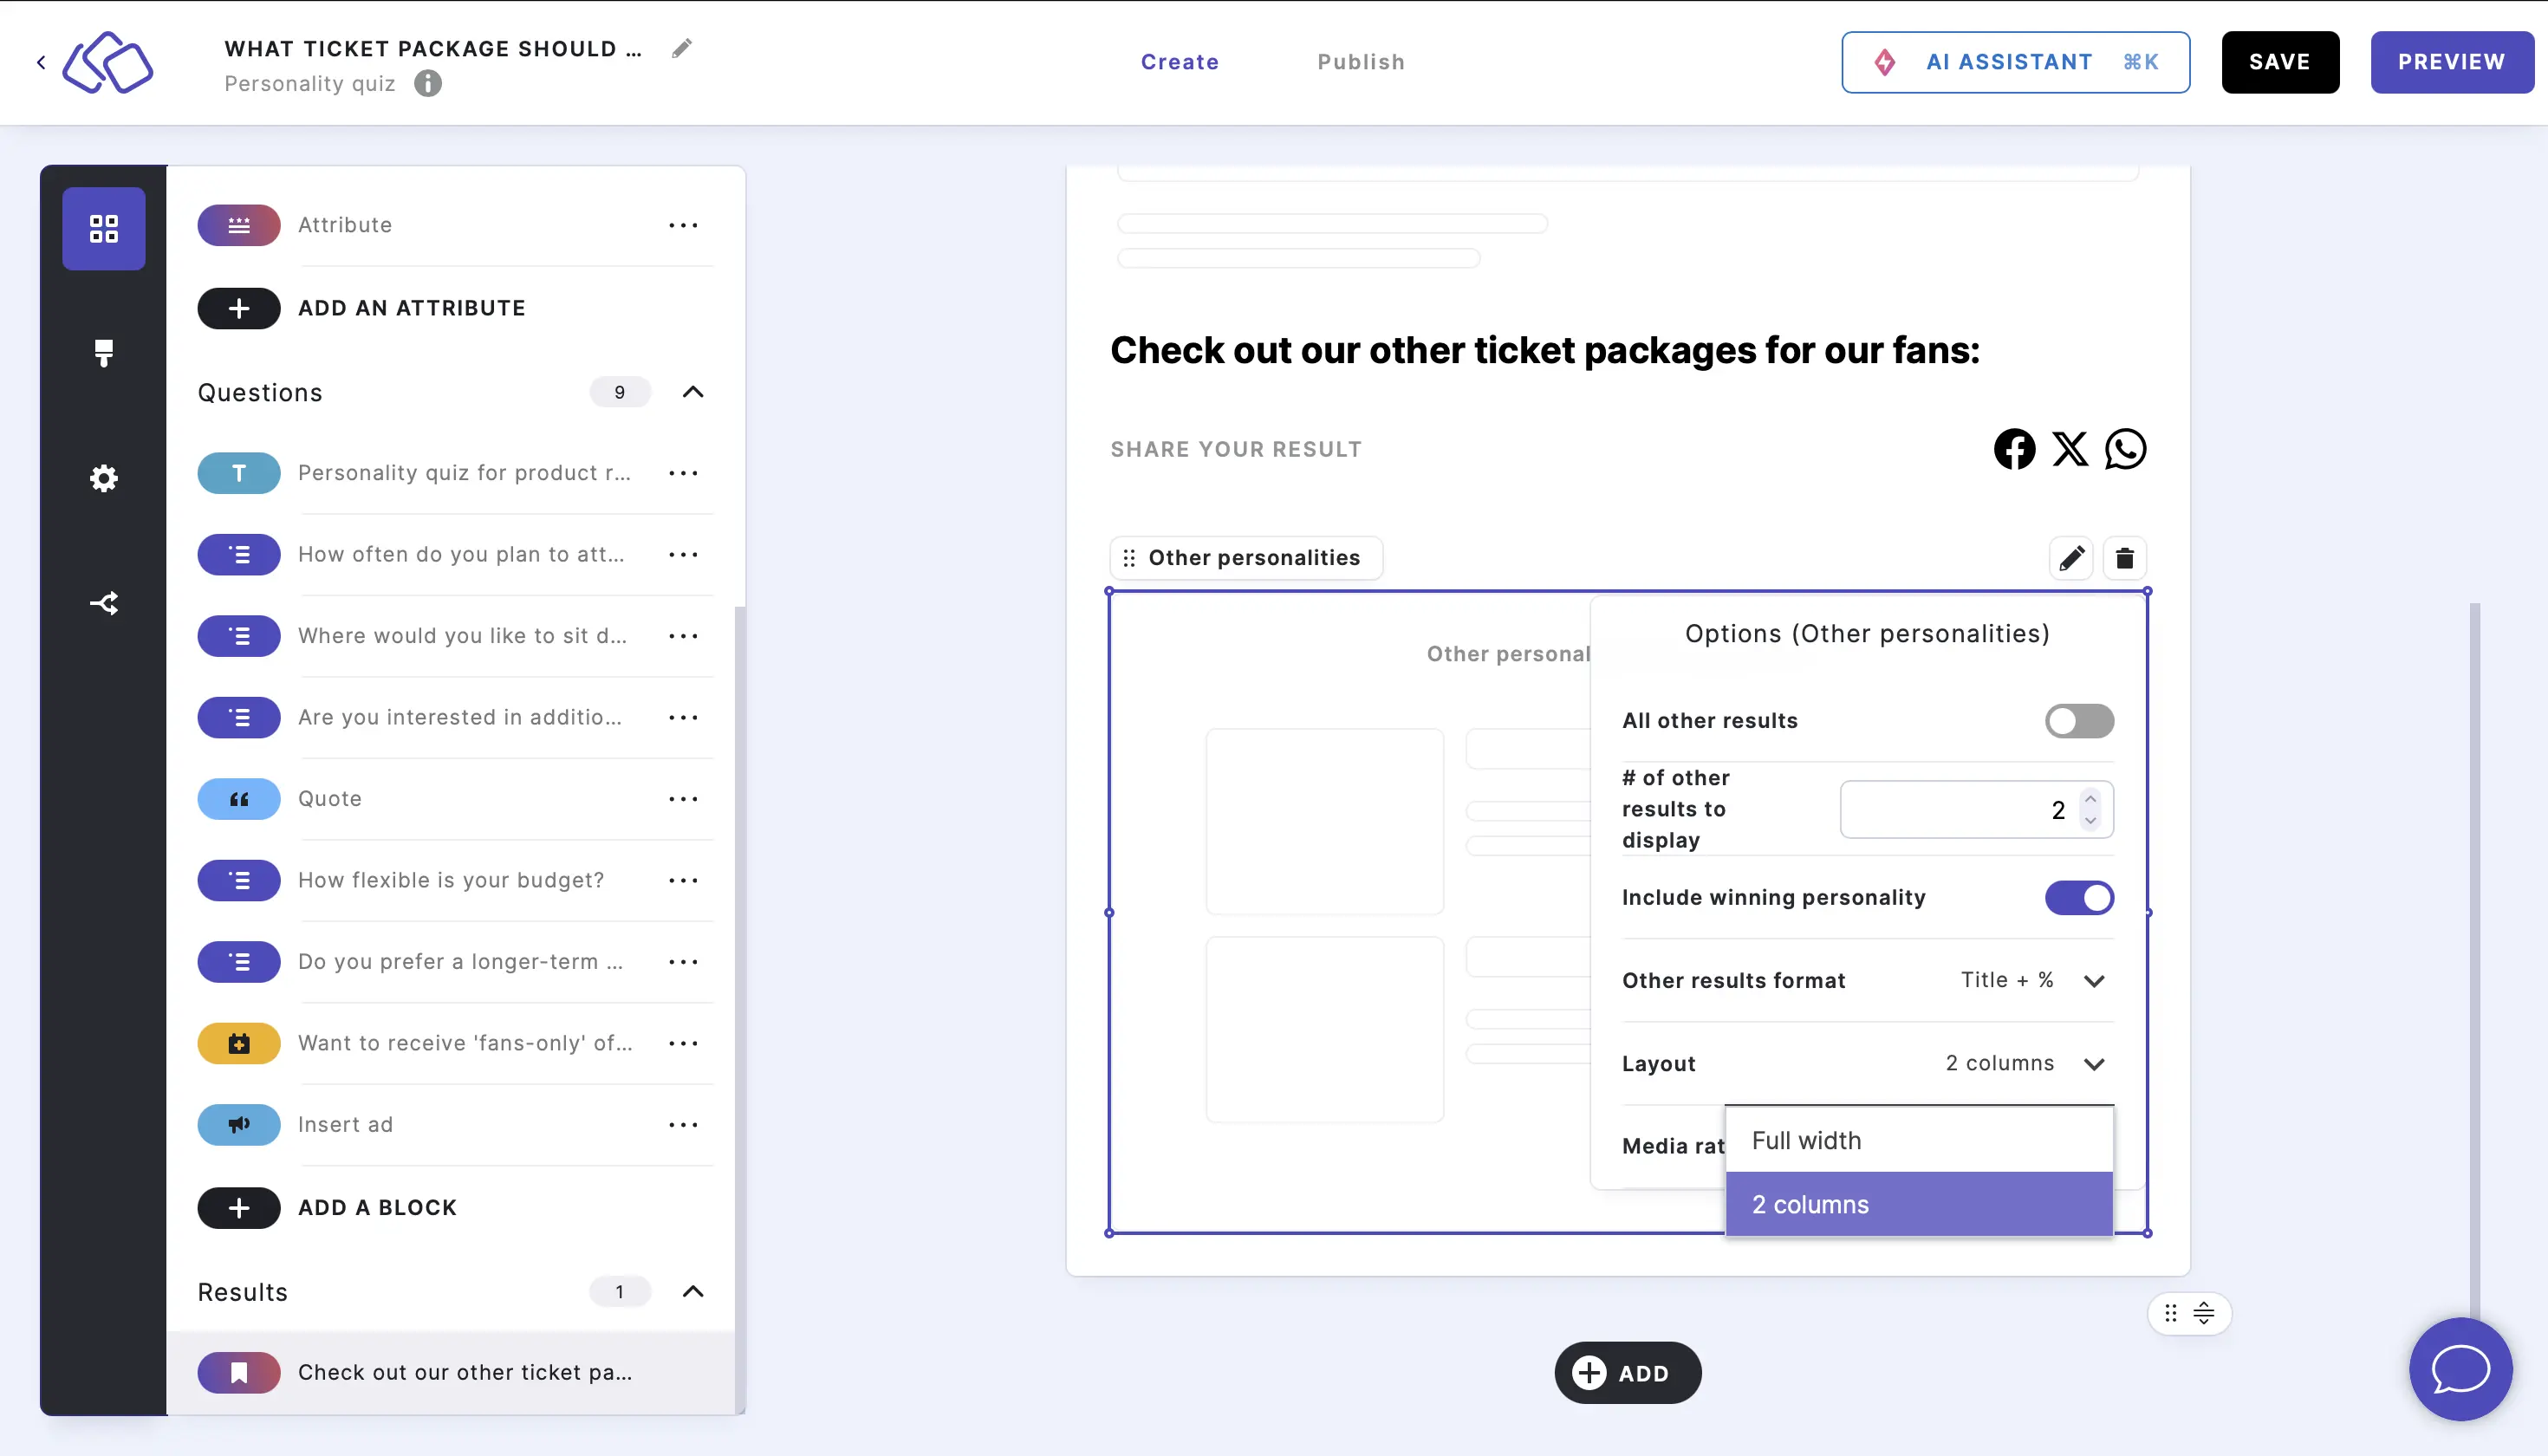
- Select a Layout for the other personalities from the dropwdown menu.
- Select a Media ratio for the personality block media from the dropdown menu.
- Enable All other results to see all other personalities under the winning personality on the result page.
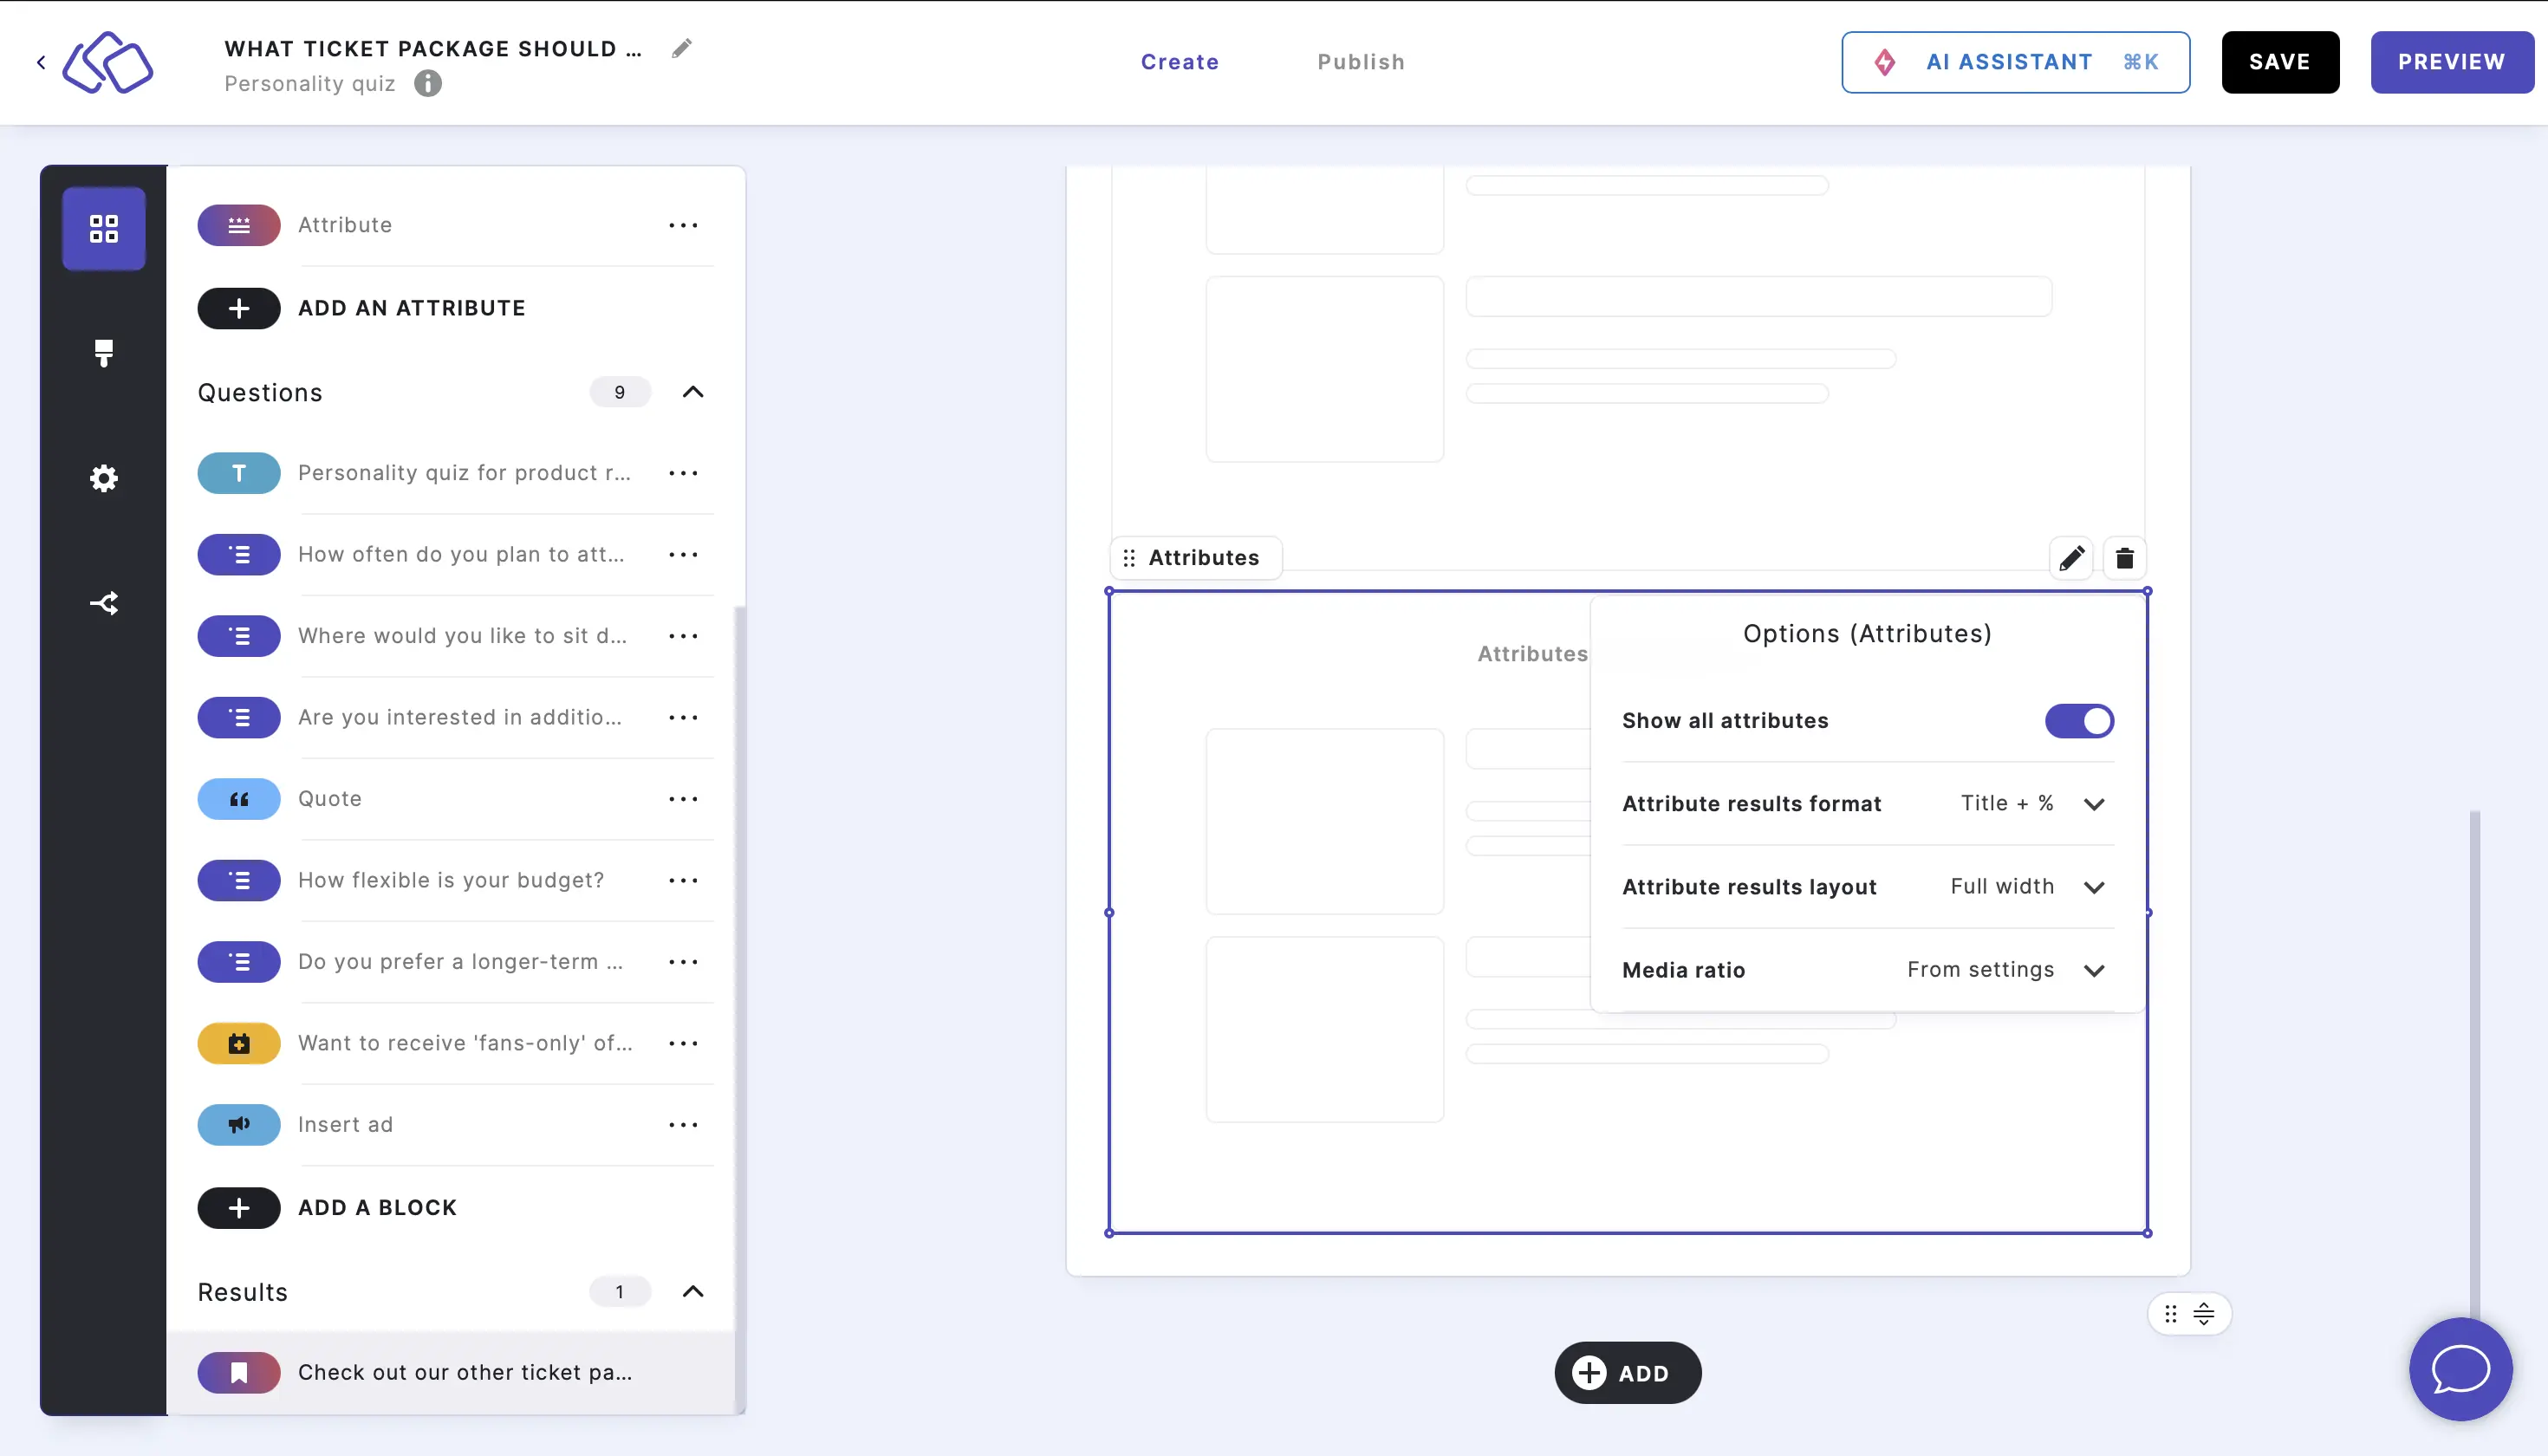
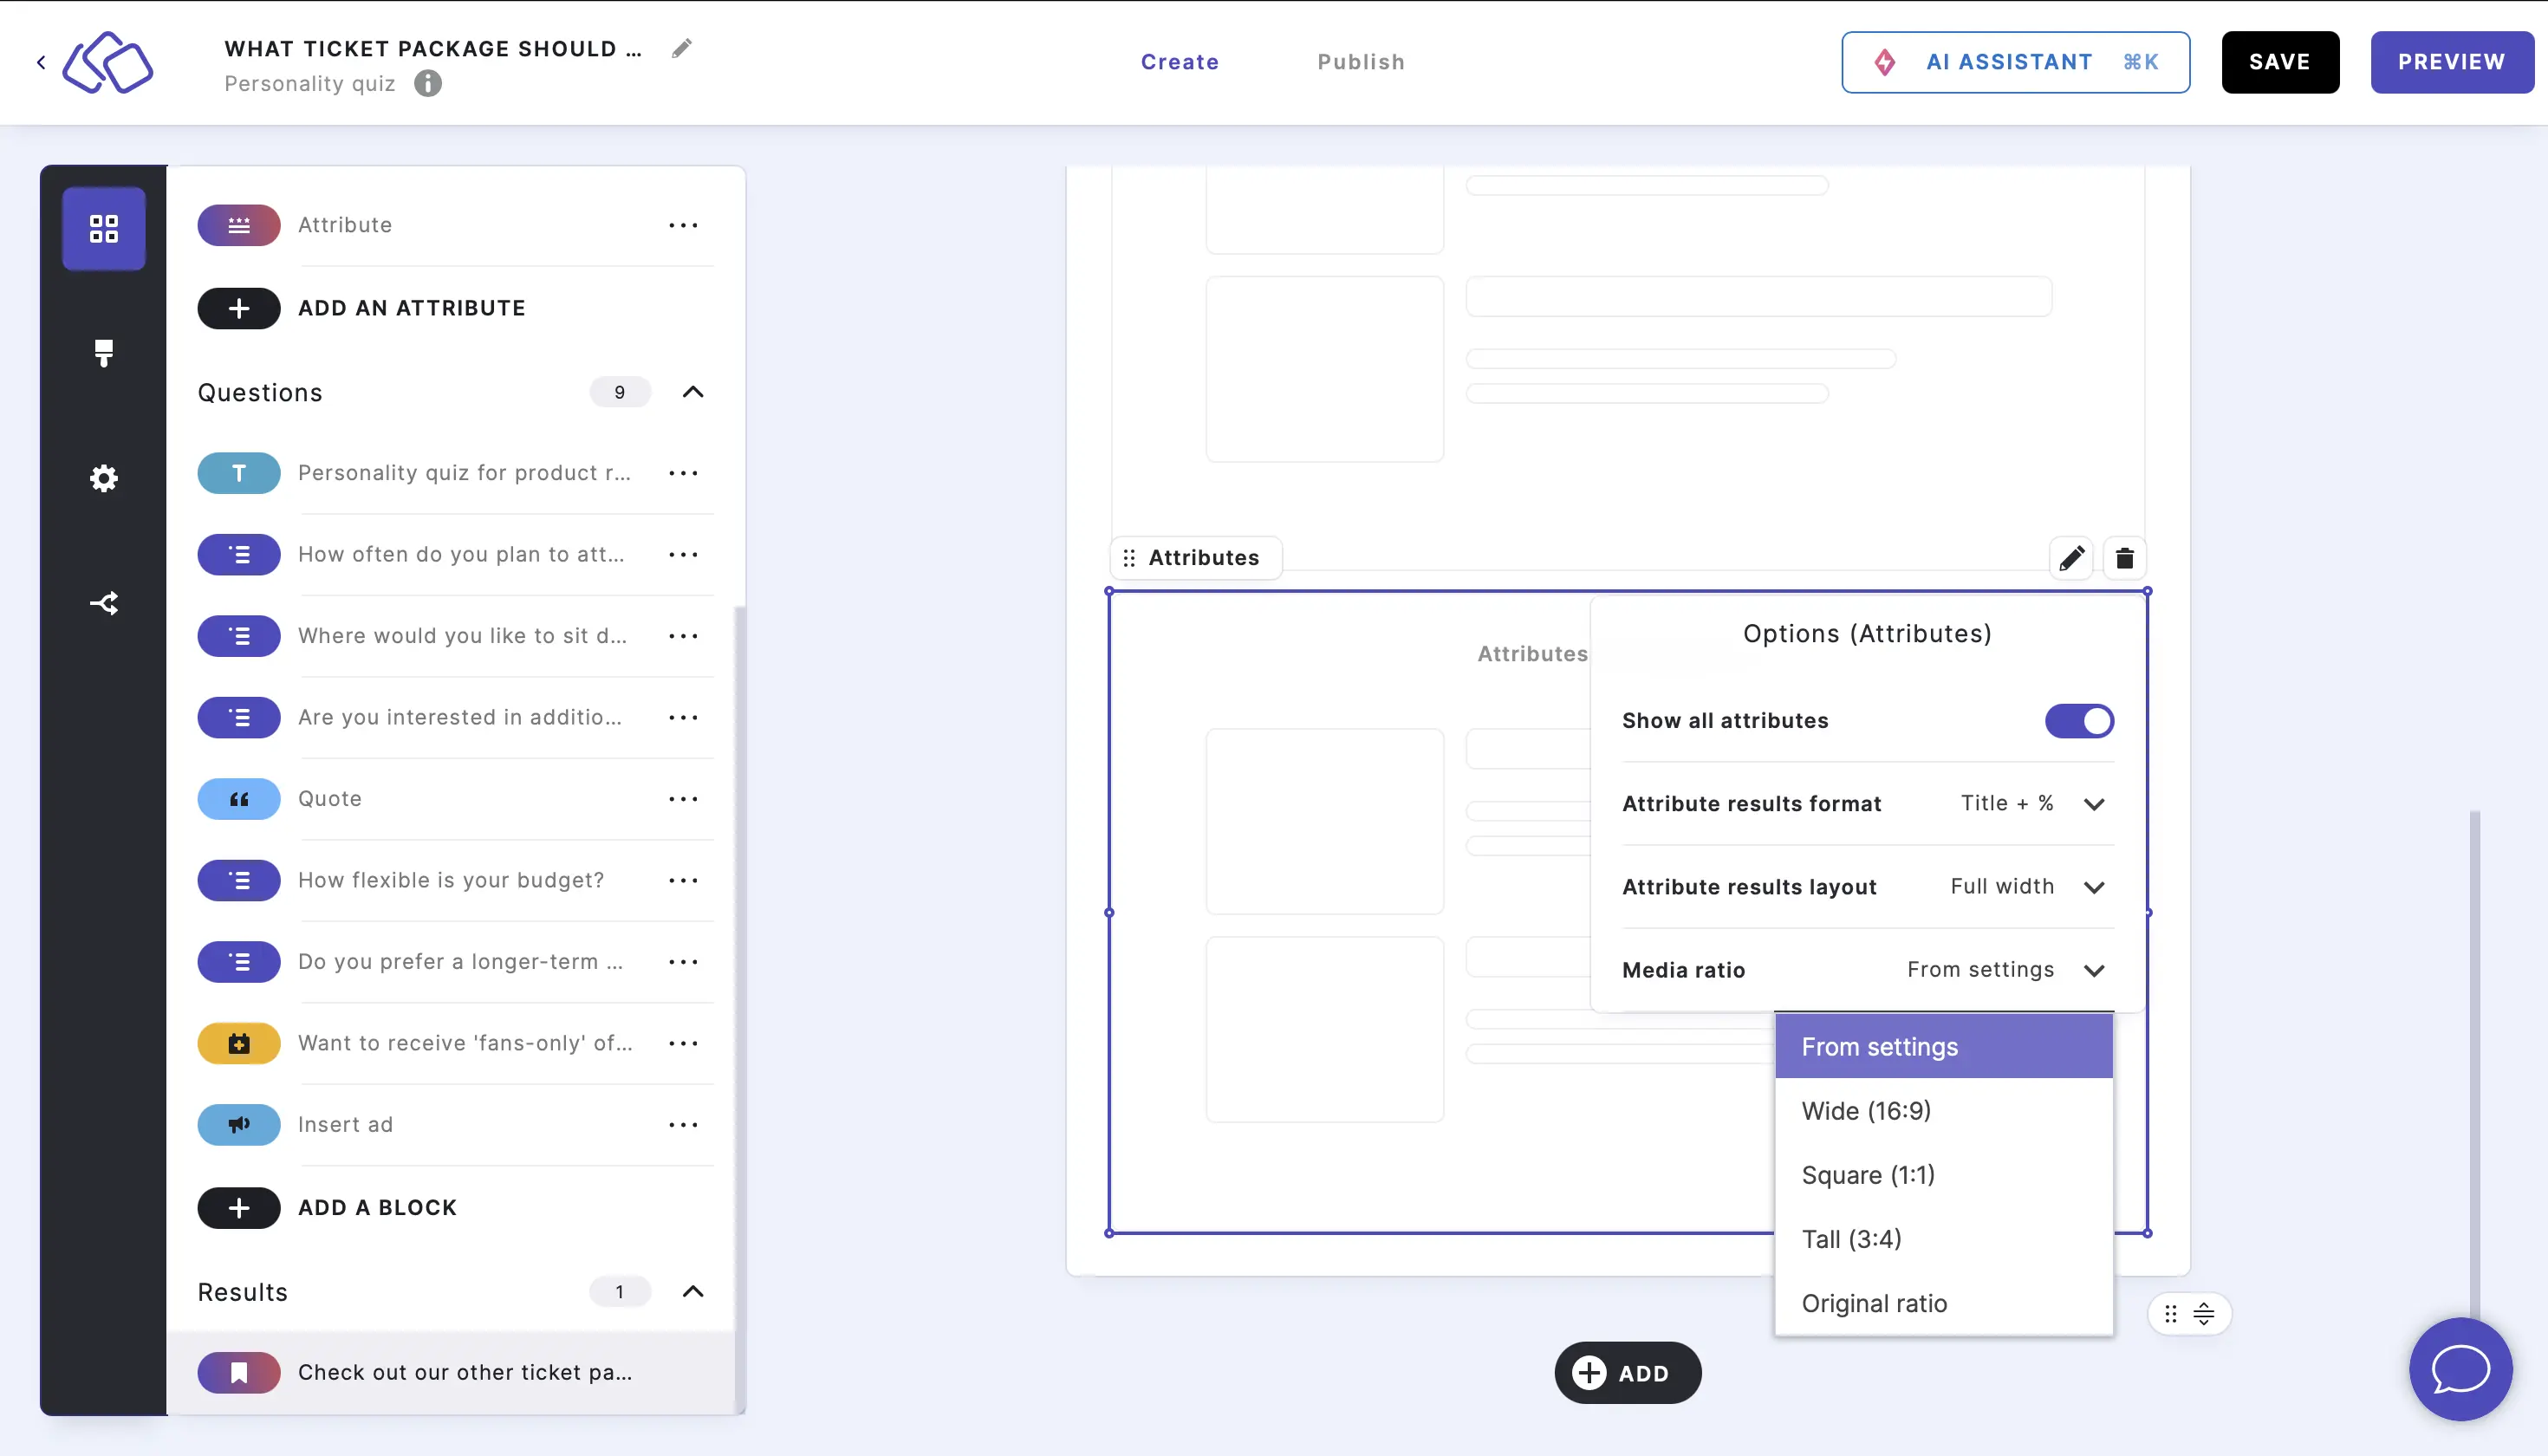
9. Add attributes
- Click on the ADD button under your result page and select Attributes.
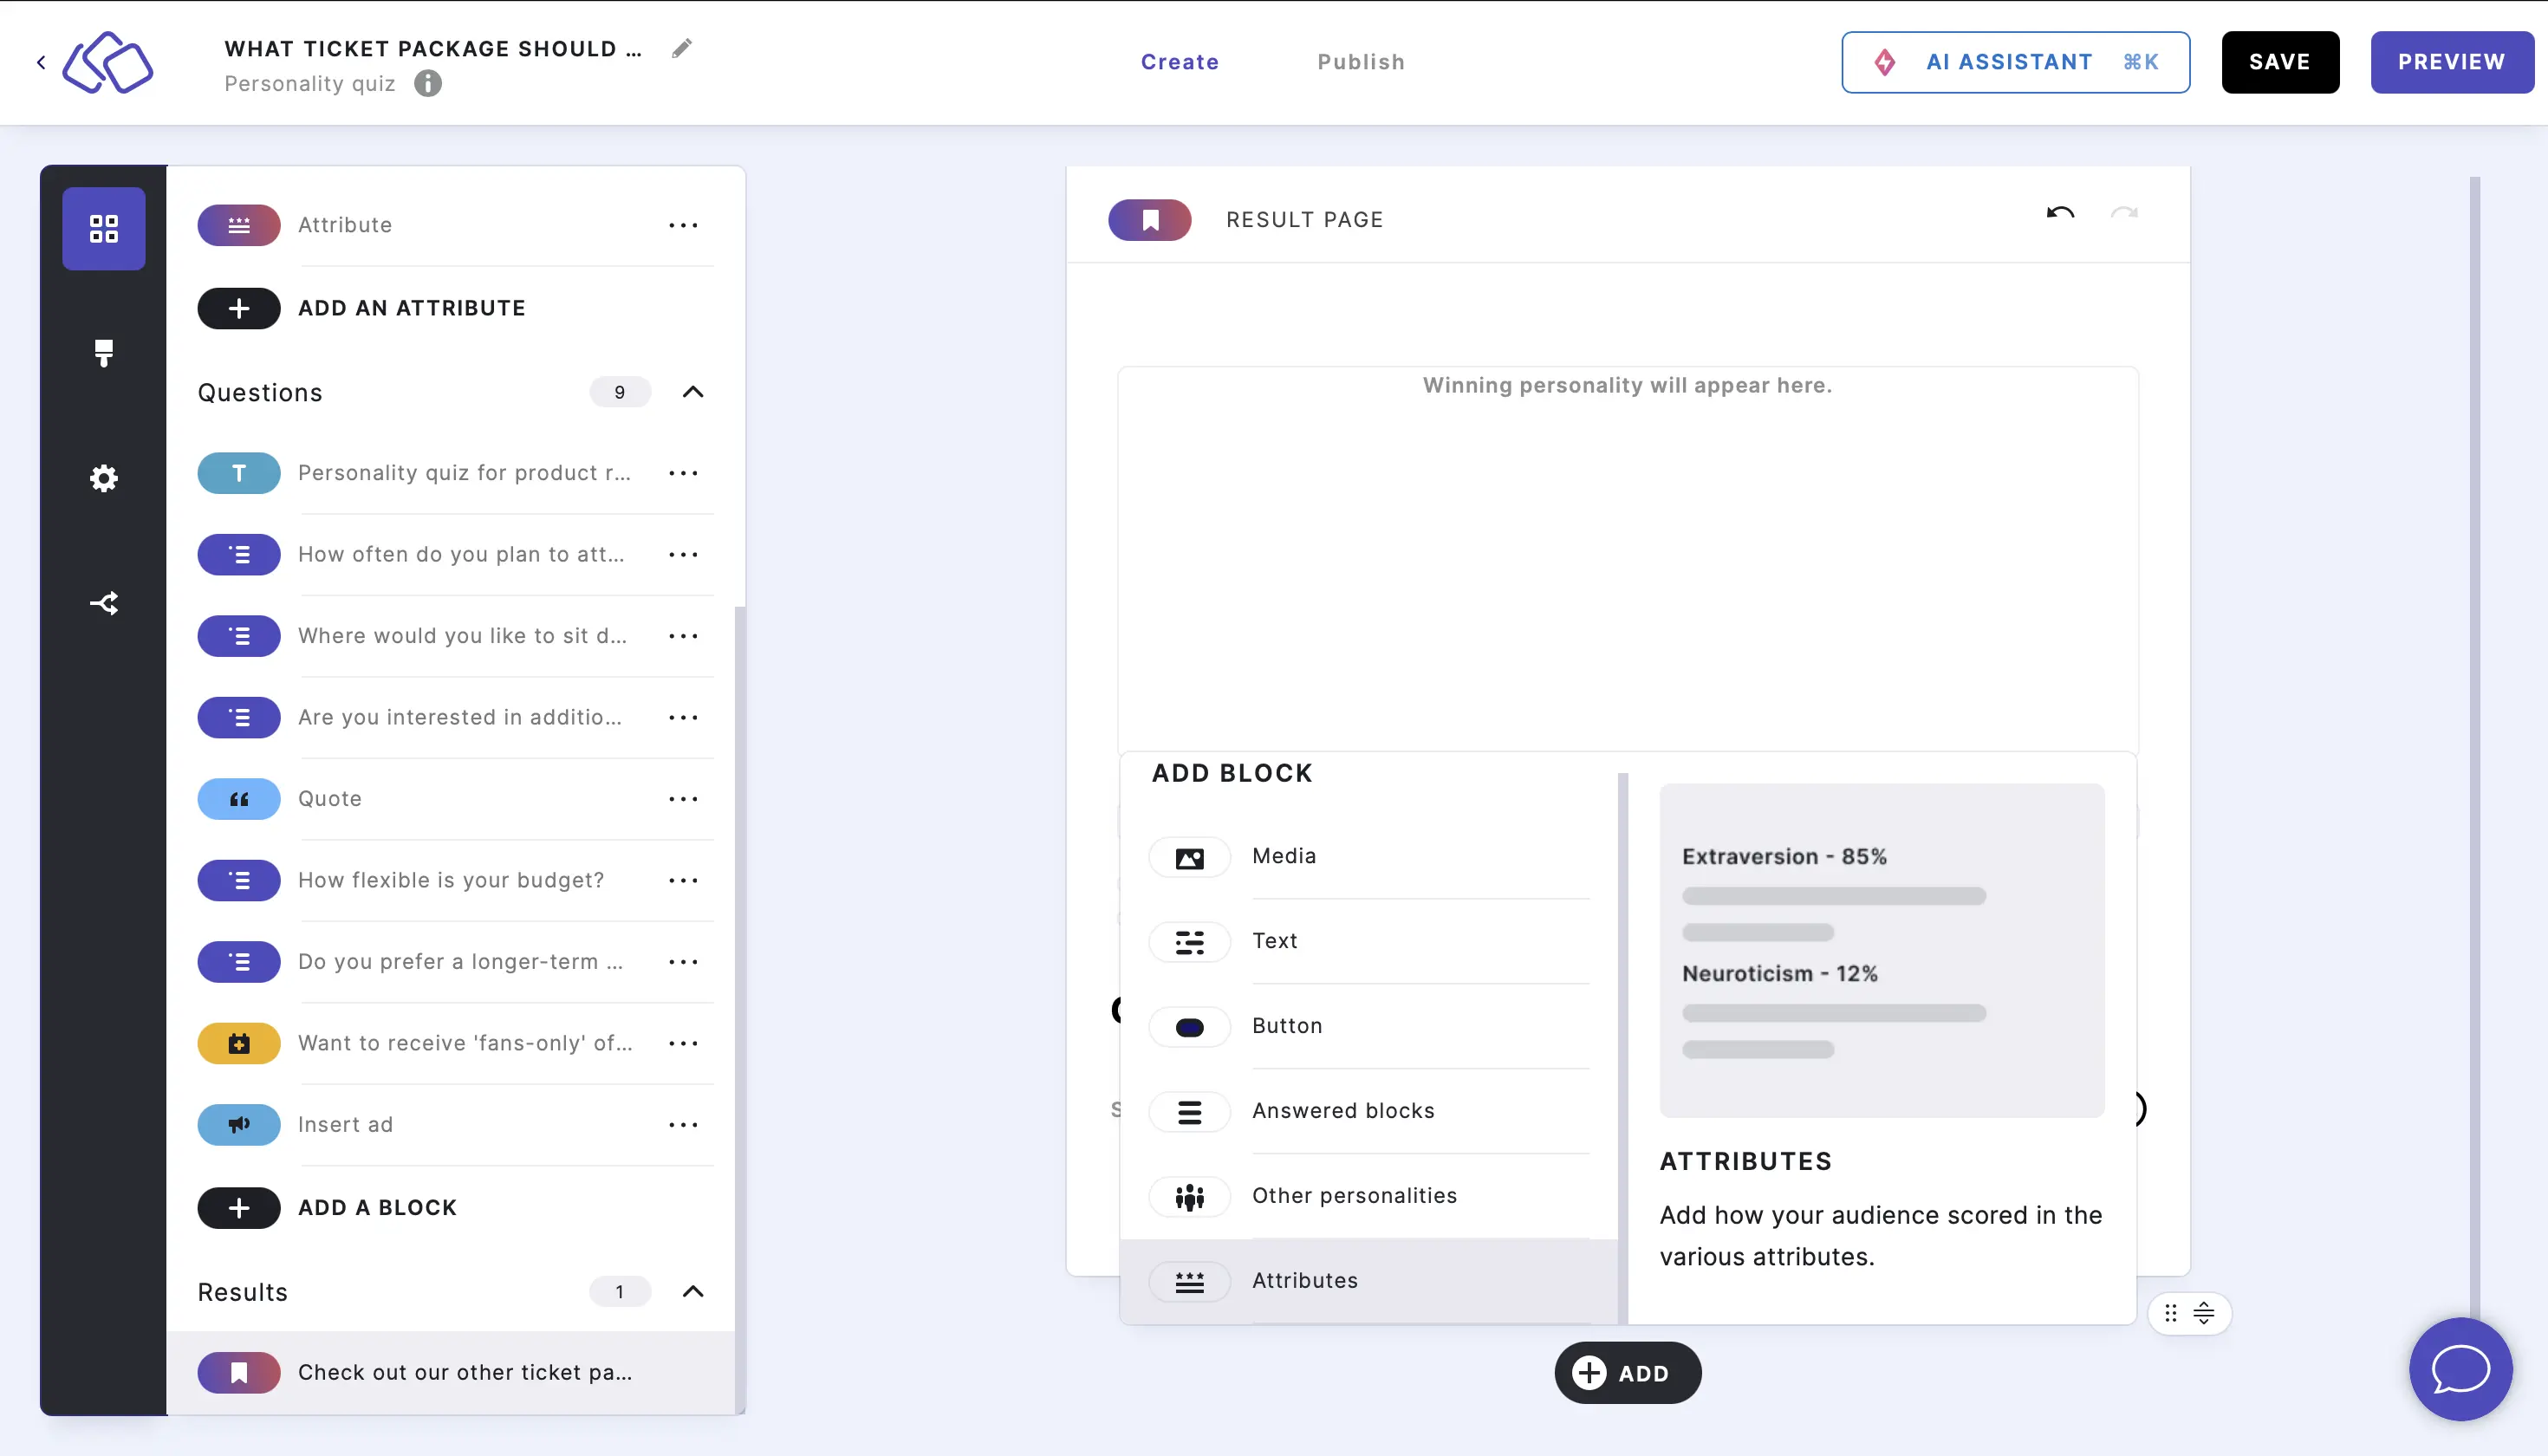
- Attributes will now appear with the default settings without any change. To edit, click on the Attributes element and then click on the Edit icon.
- Enable Show all attributes to see all attributes.
- Disable Show all attributes and select or type the number of results in the # of other results to display field to choose how many attributes appear on the result page.
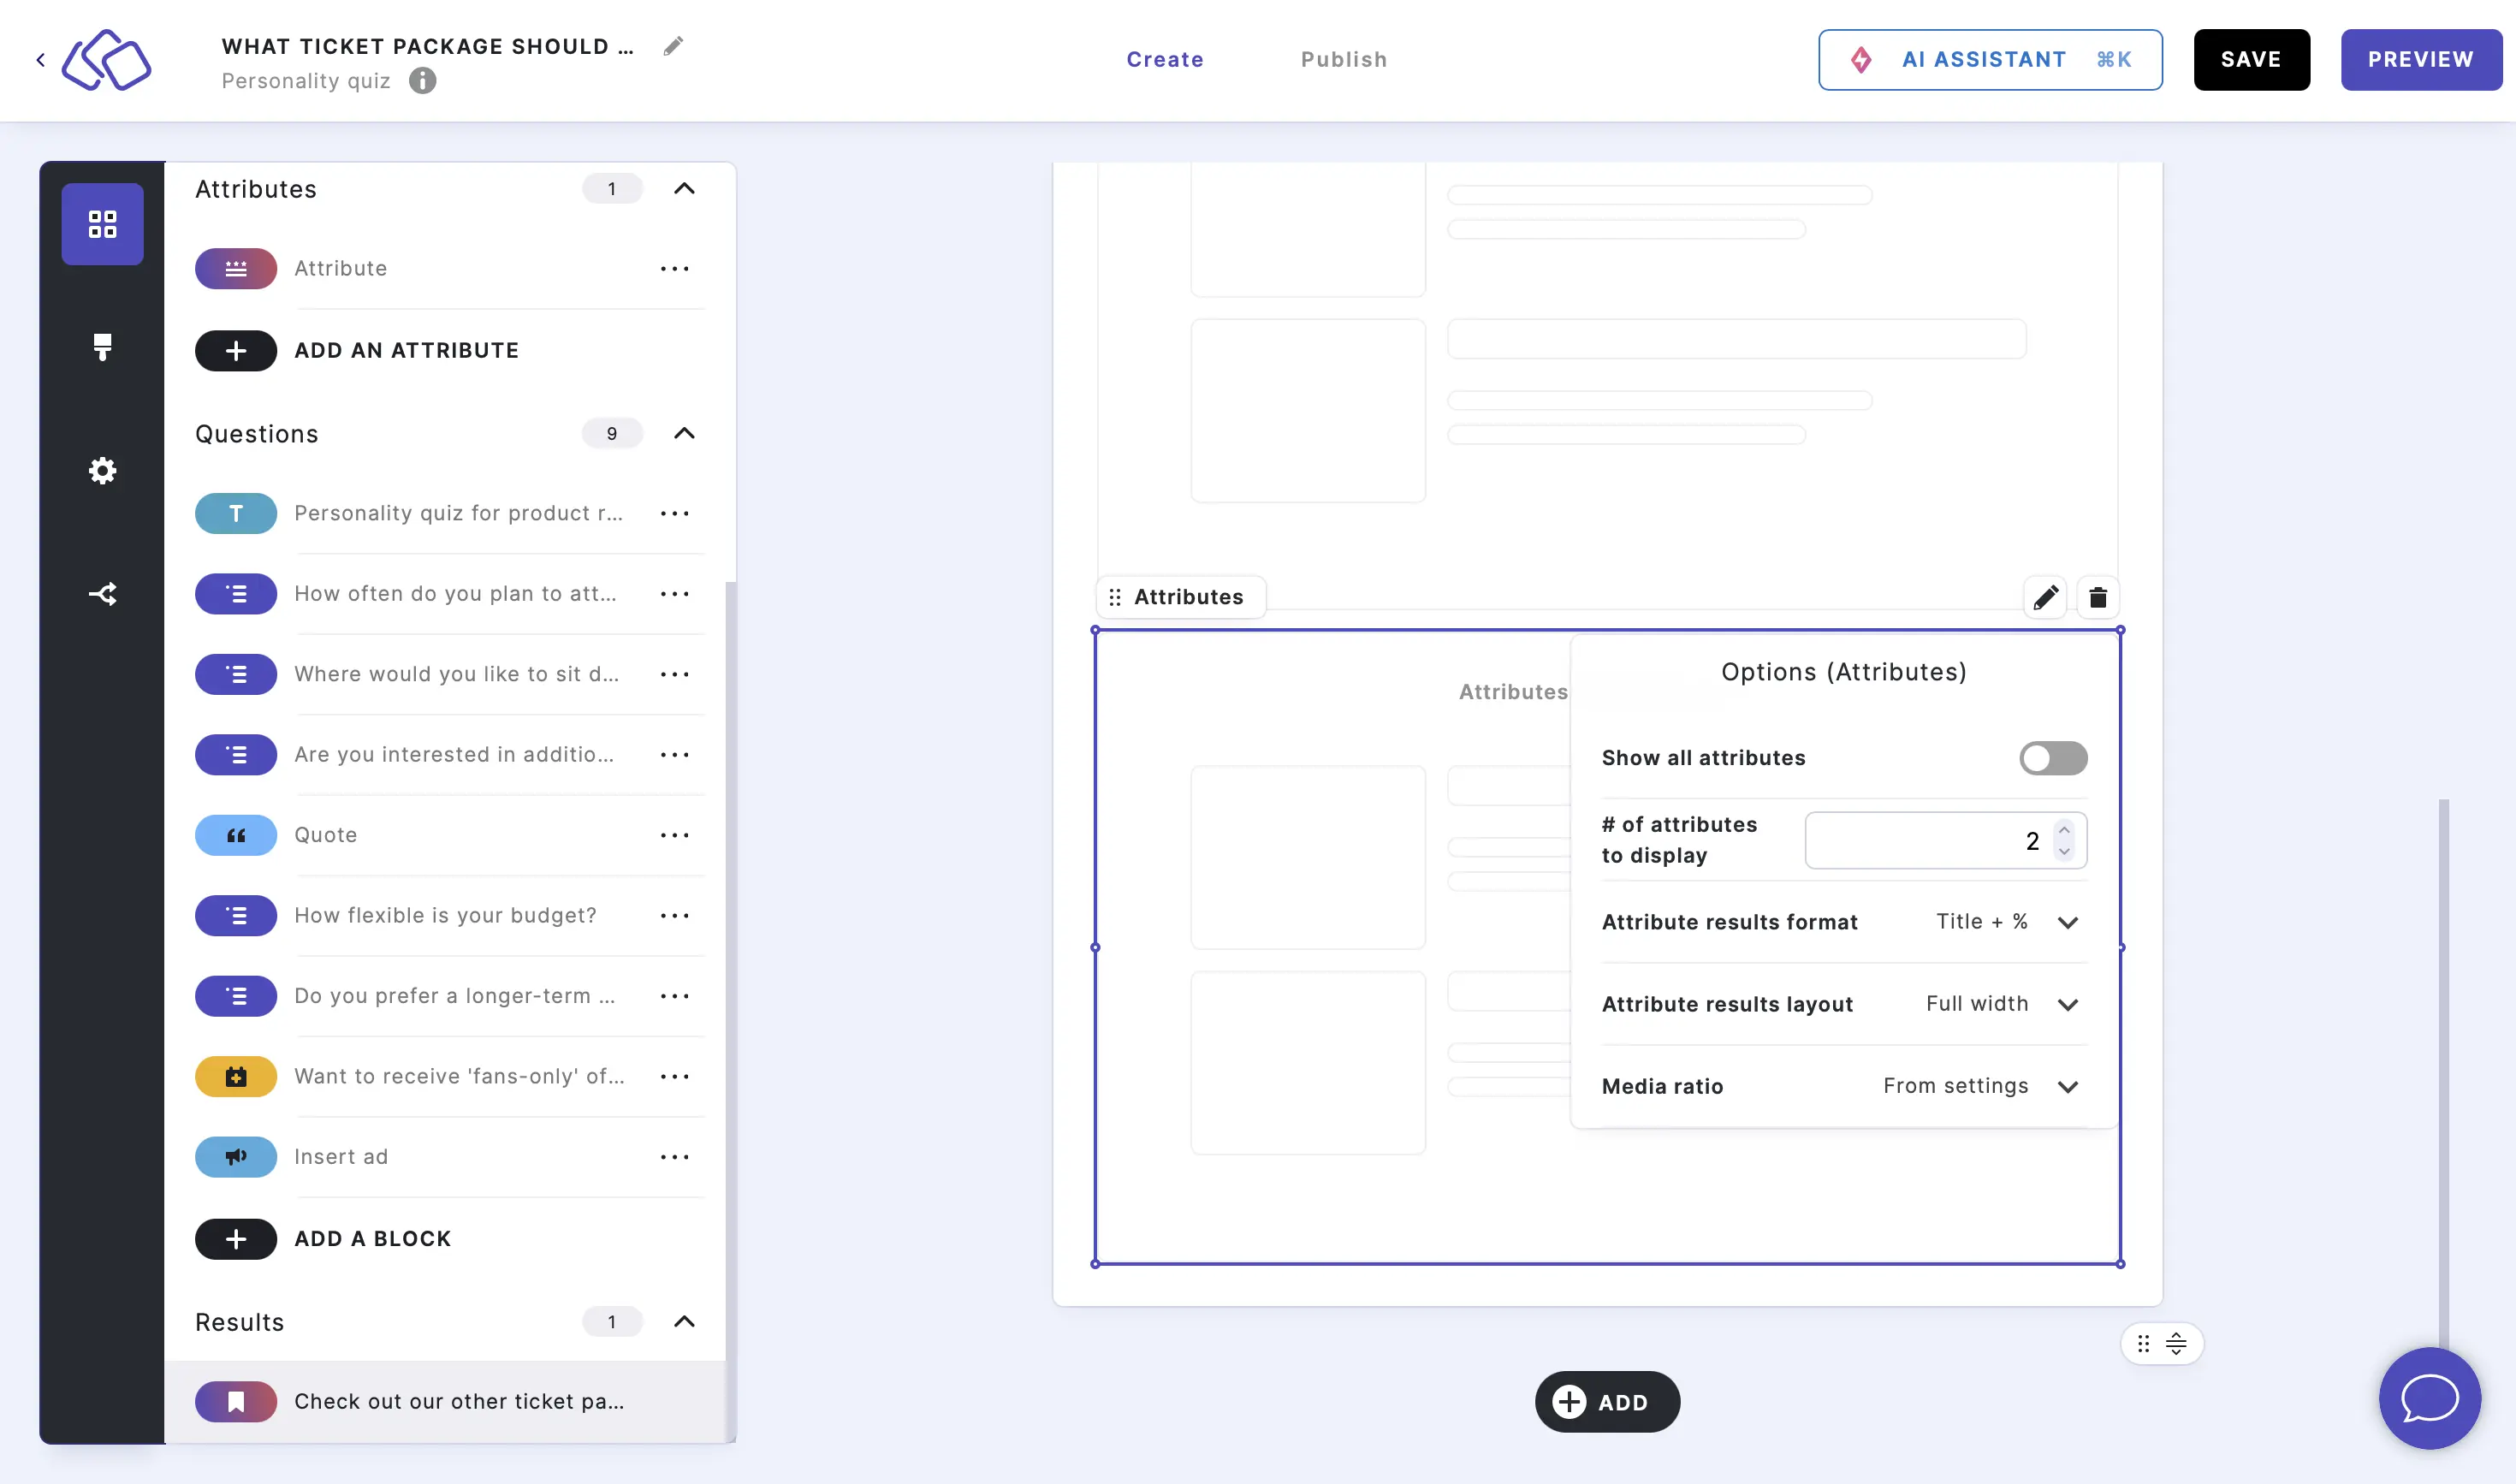
- Select a results format from the dropdown menu.

- Select a results layout from the dropwdown menu.
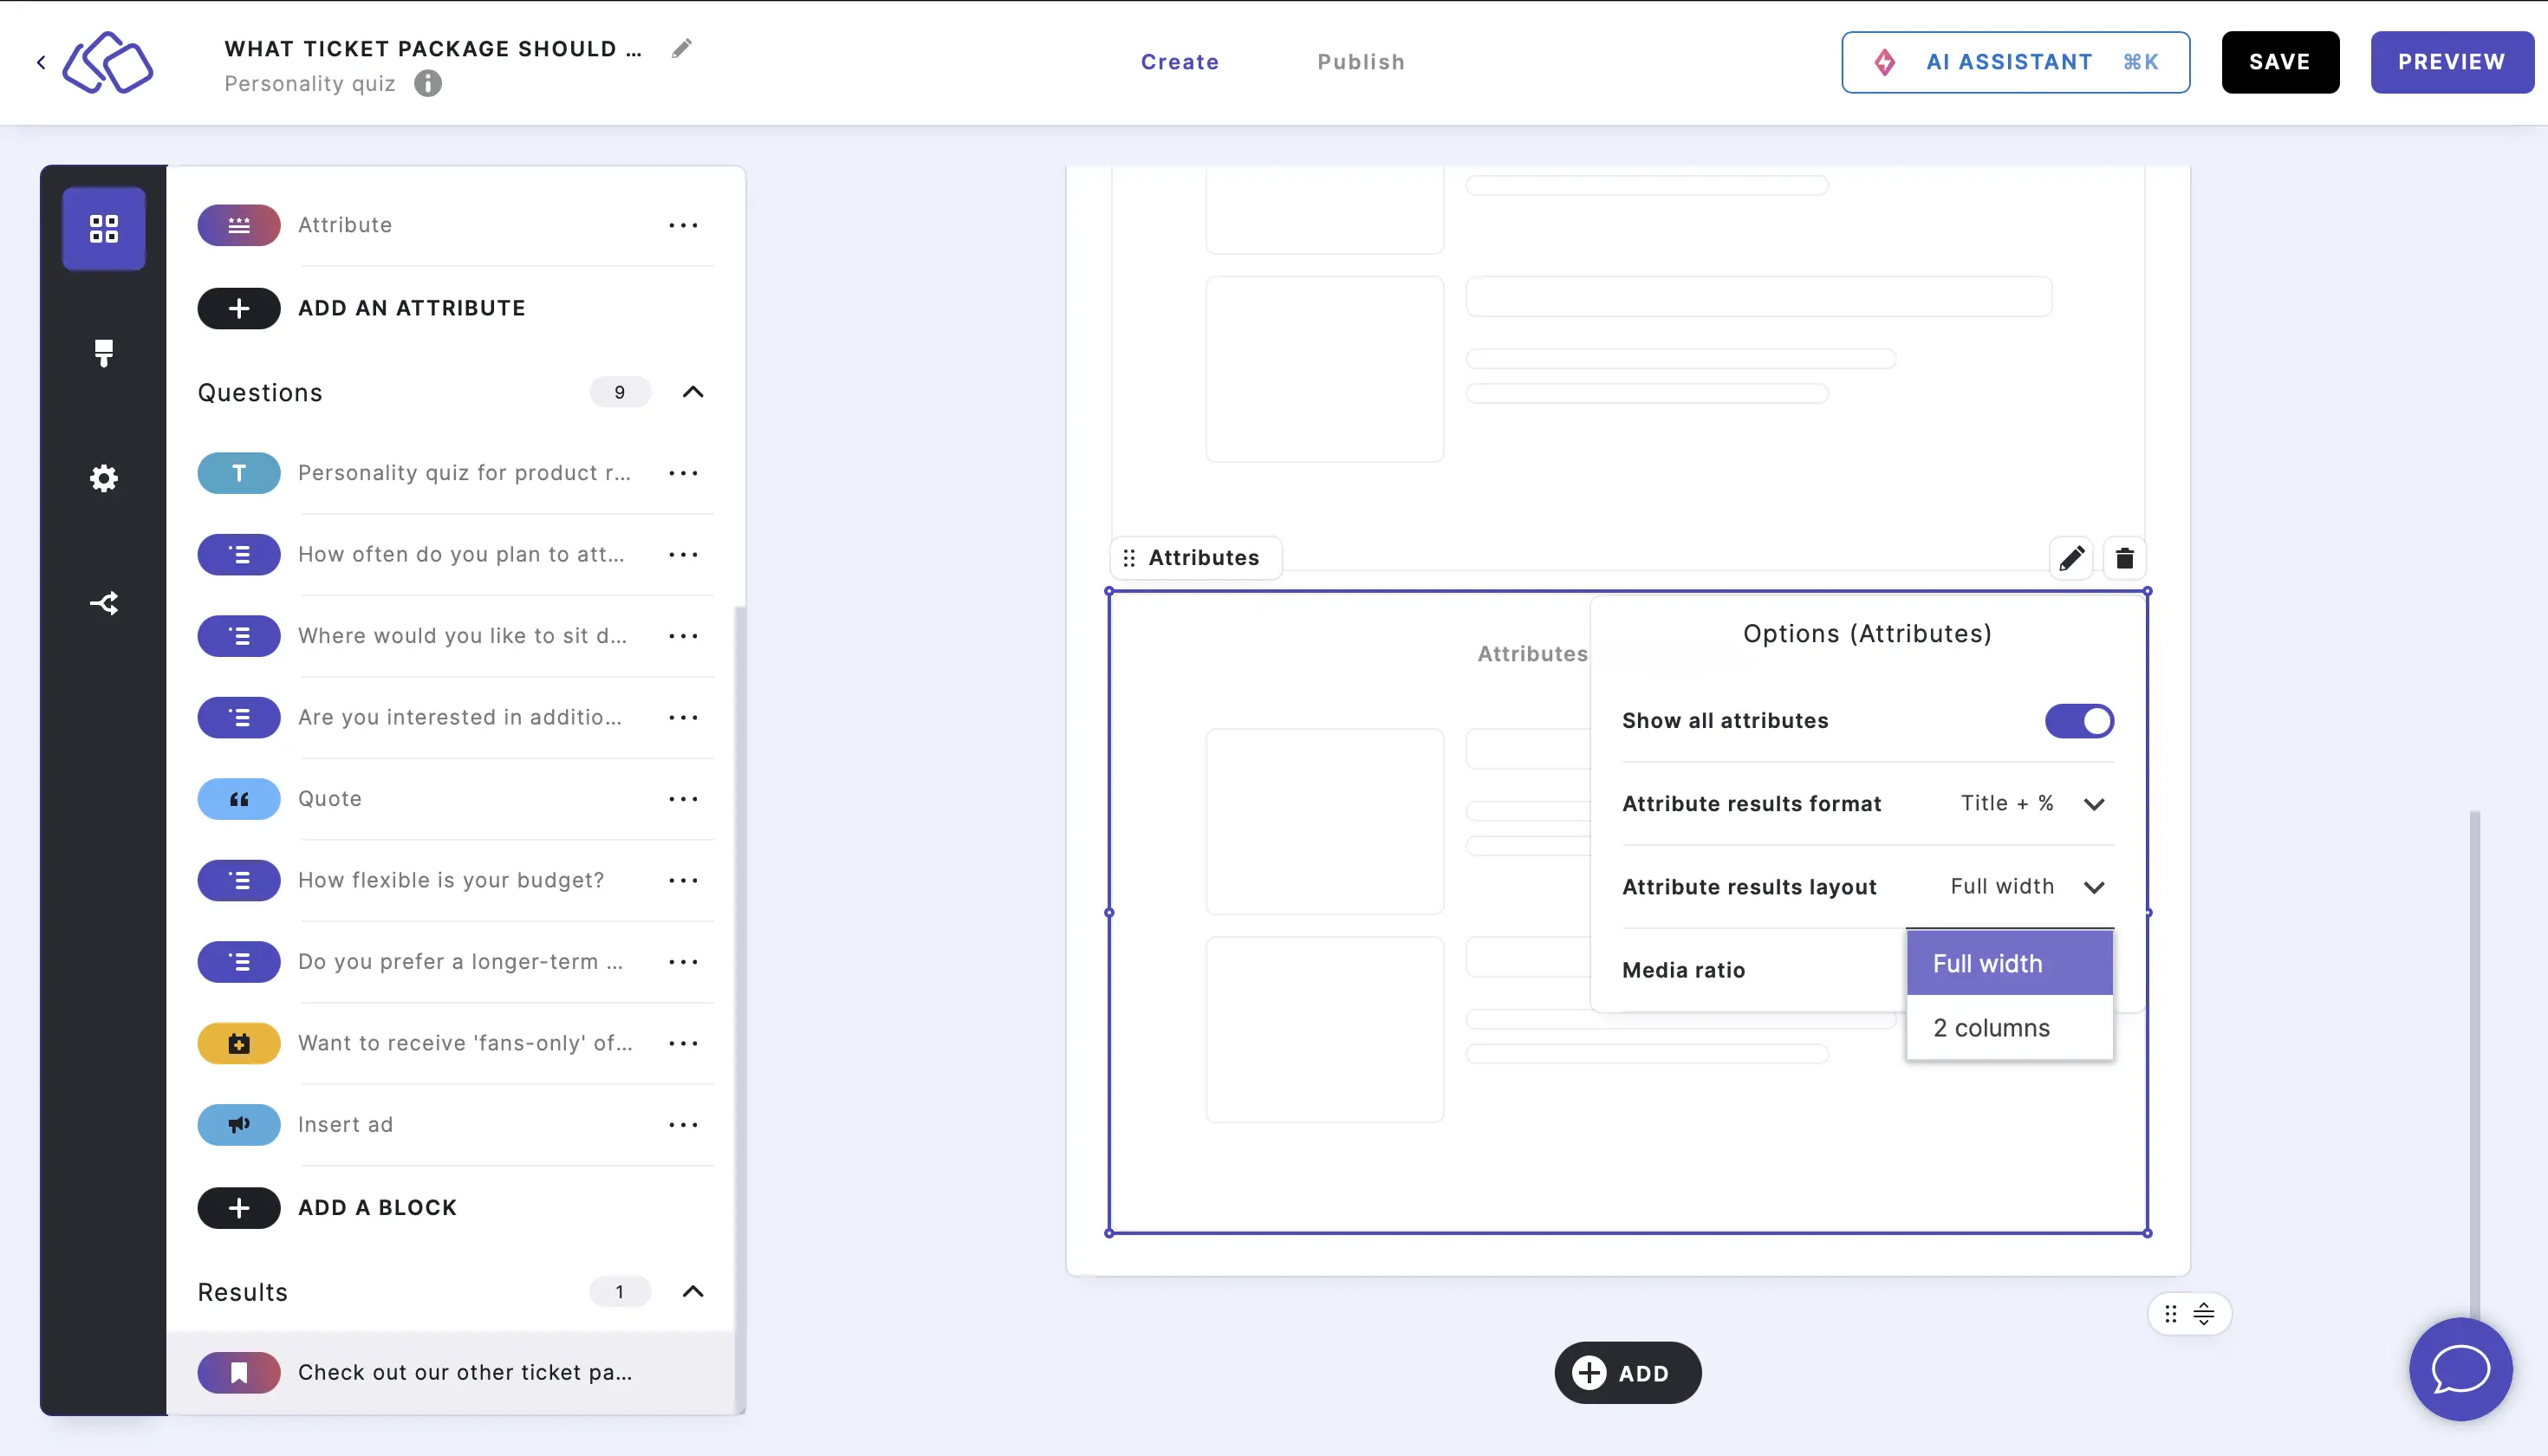
- Select a Media ratio for the personality block media from the dropdown menu.
- Enable Show all attributes to see all attributes.
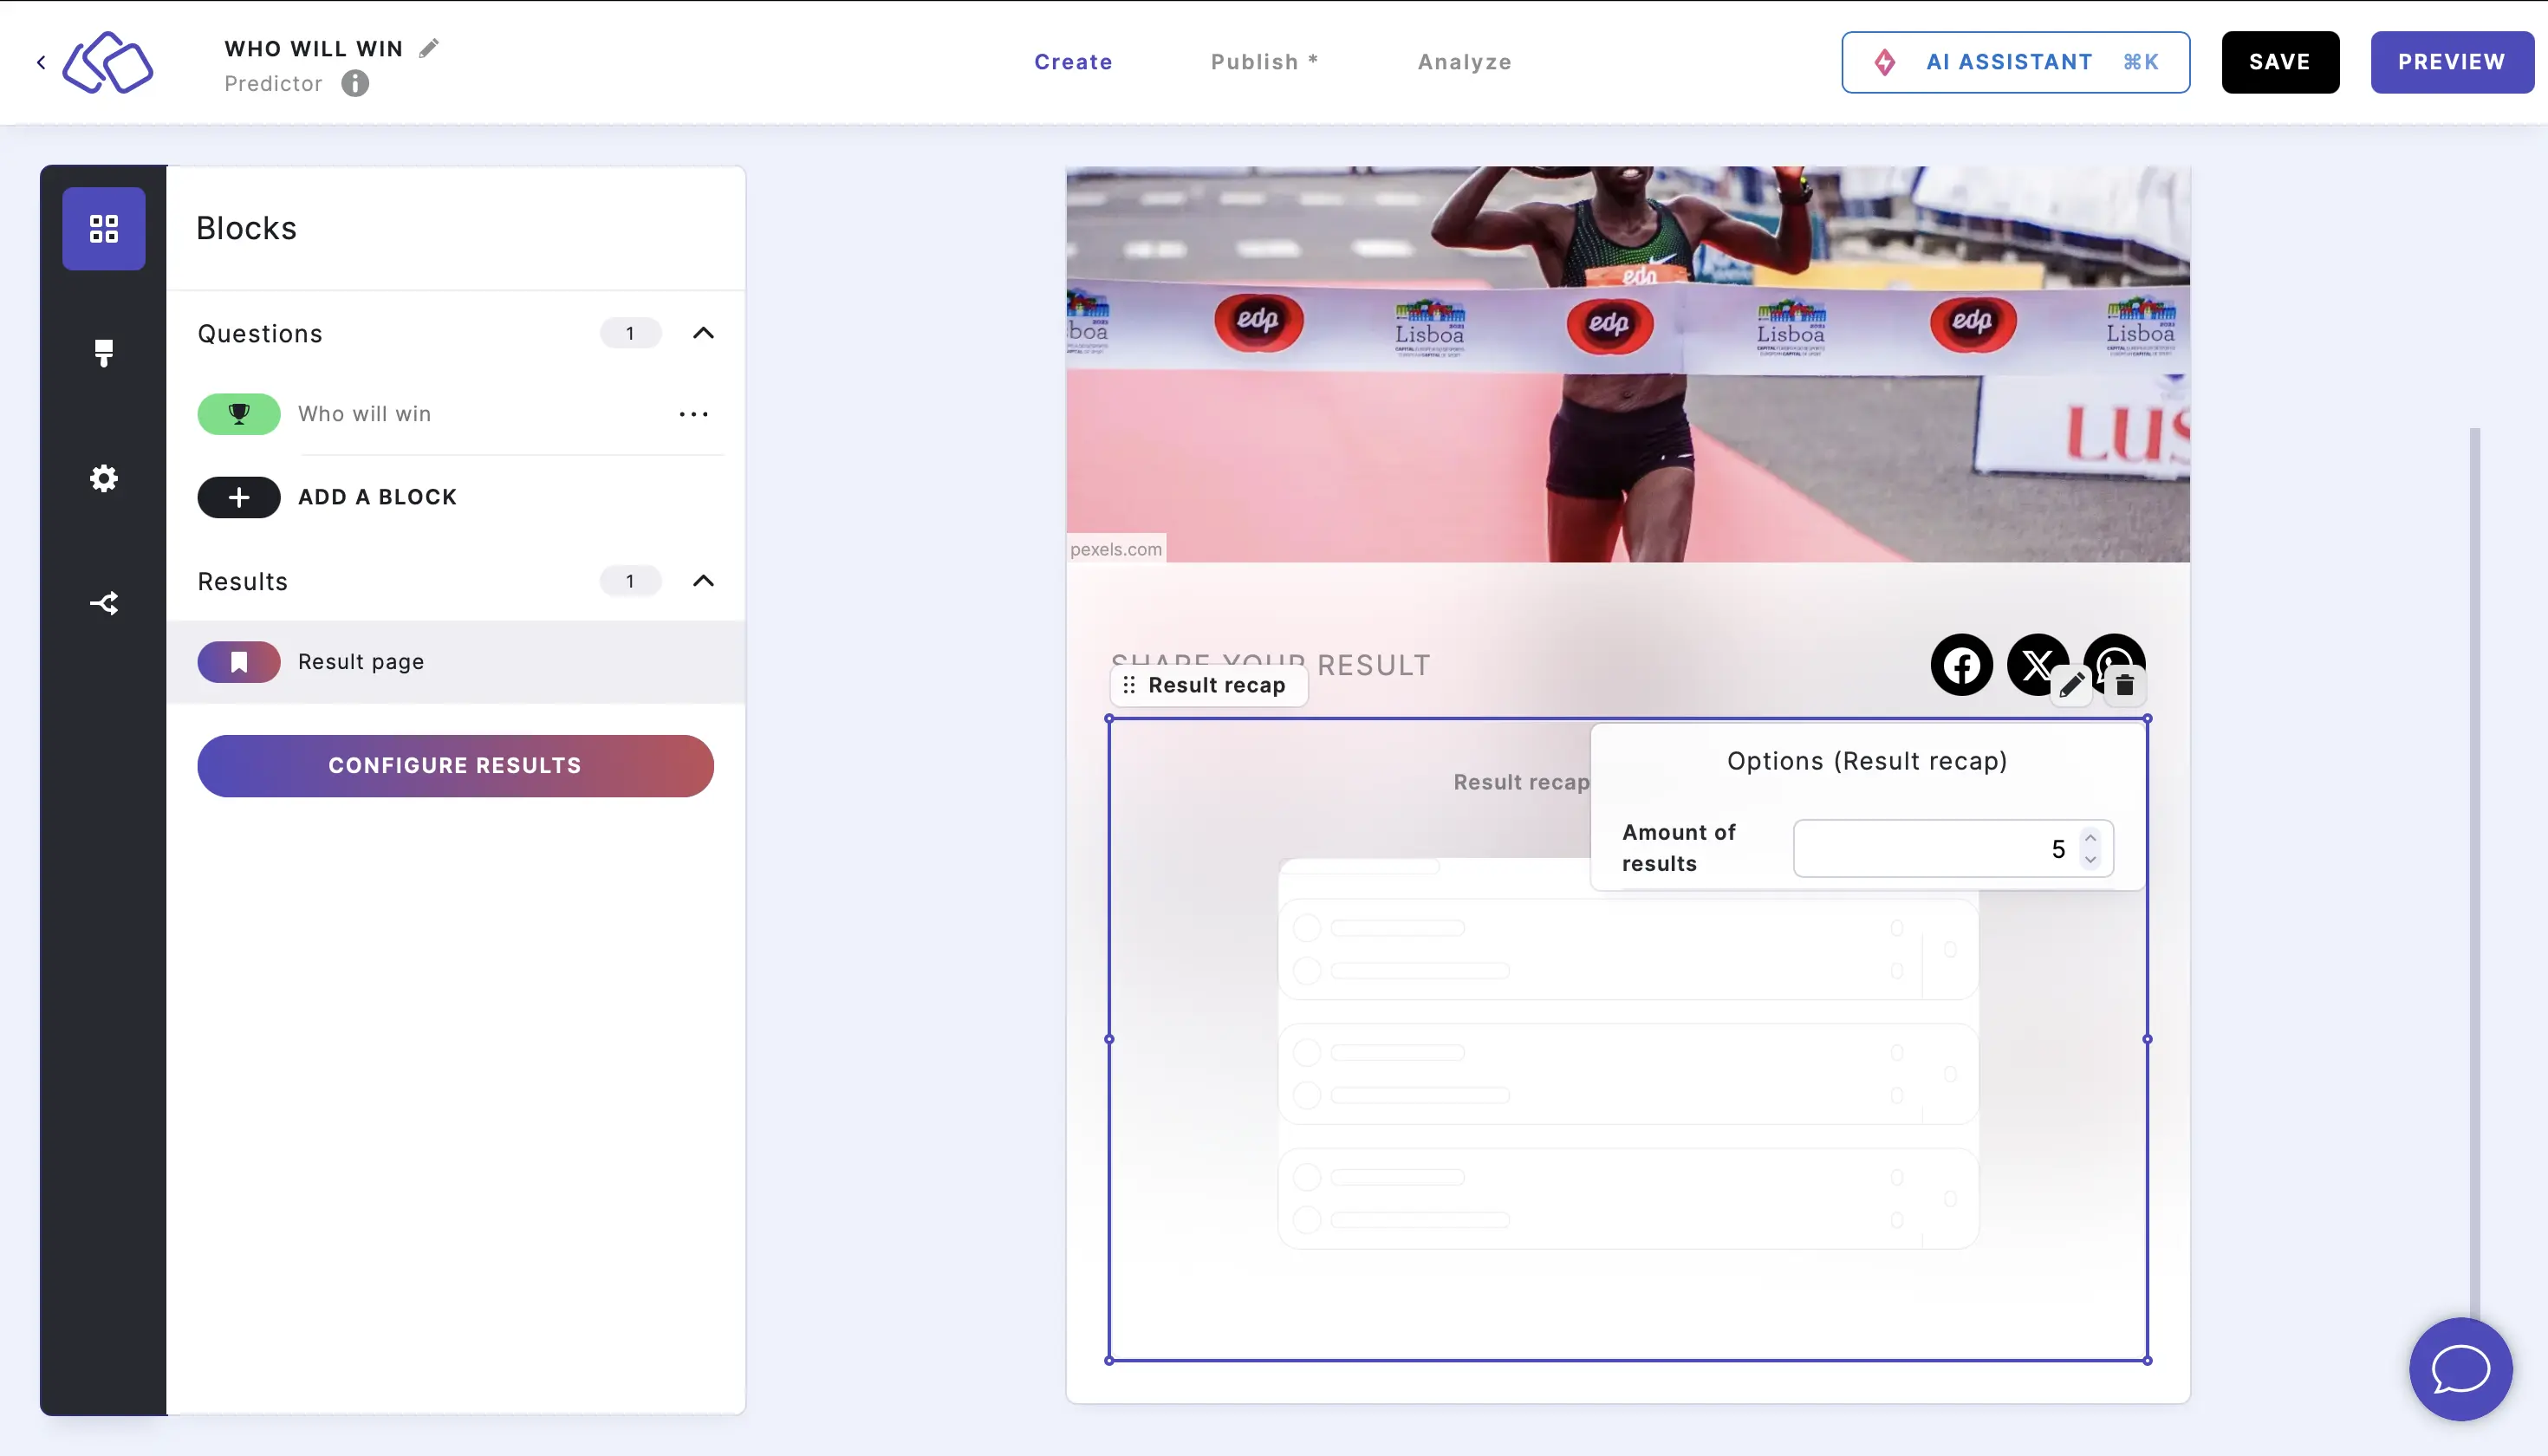
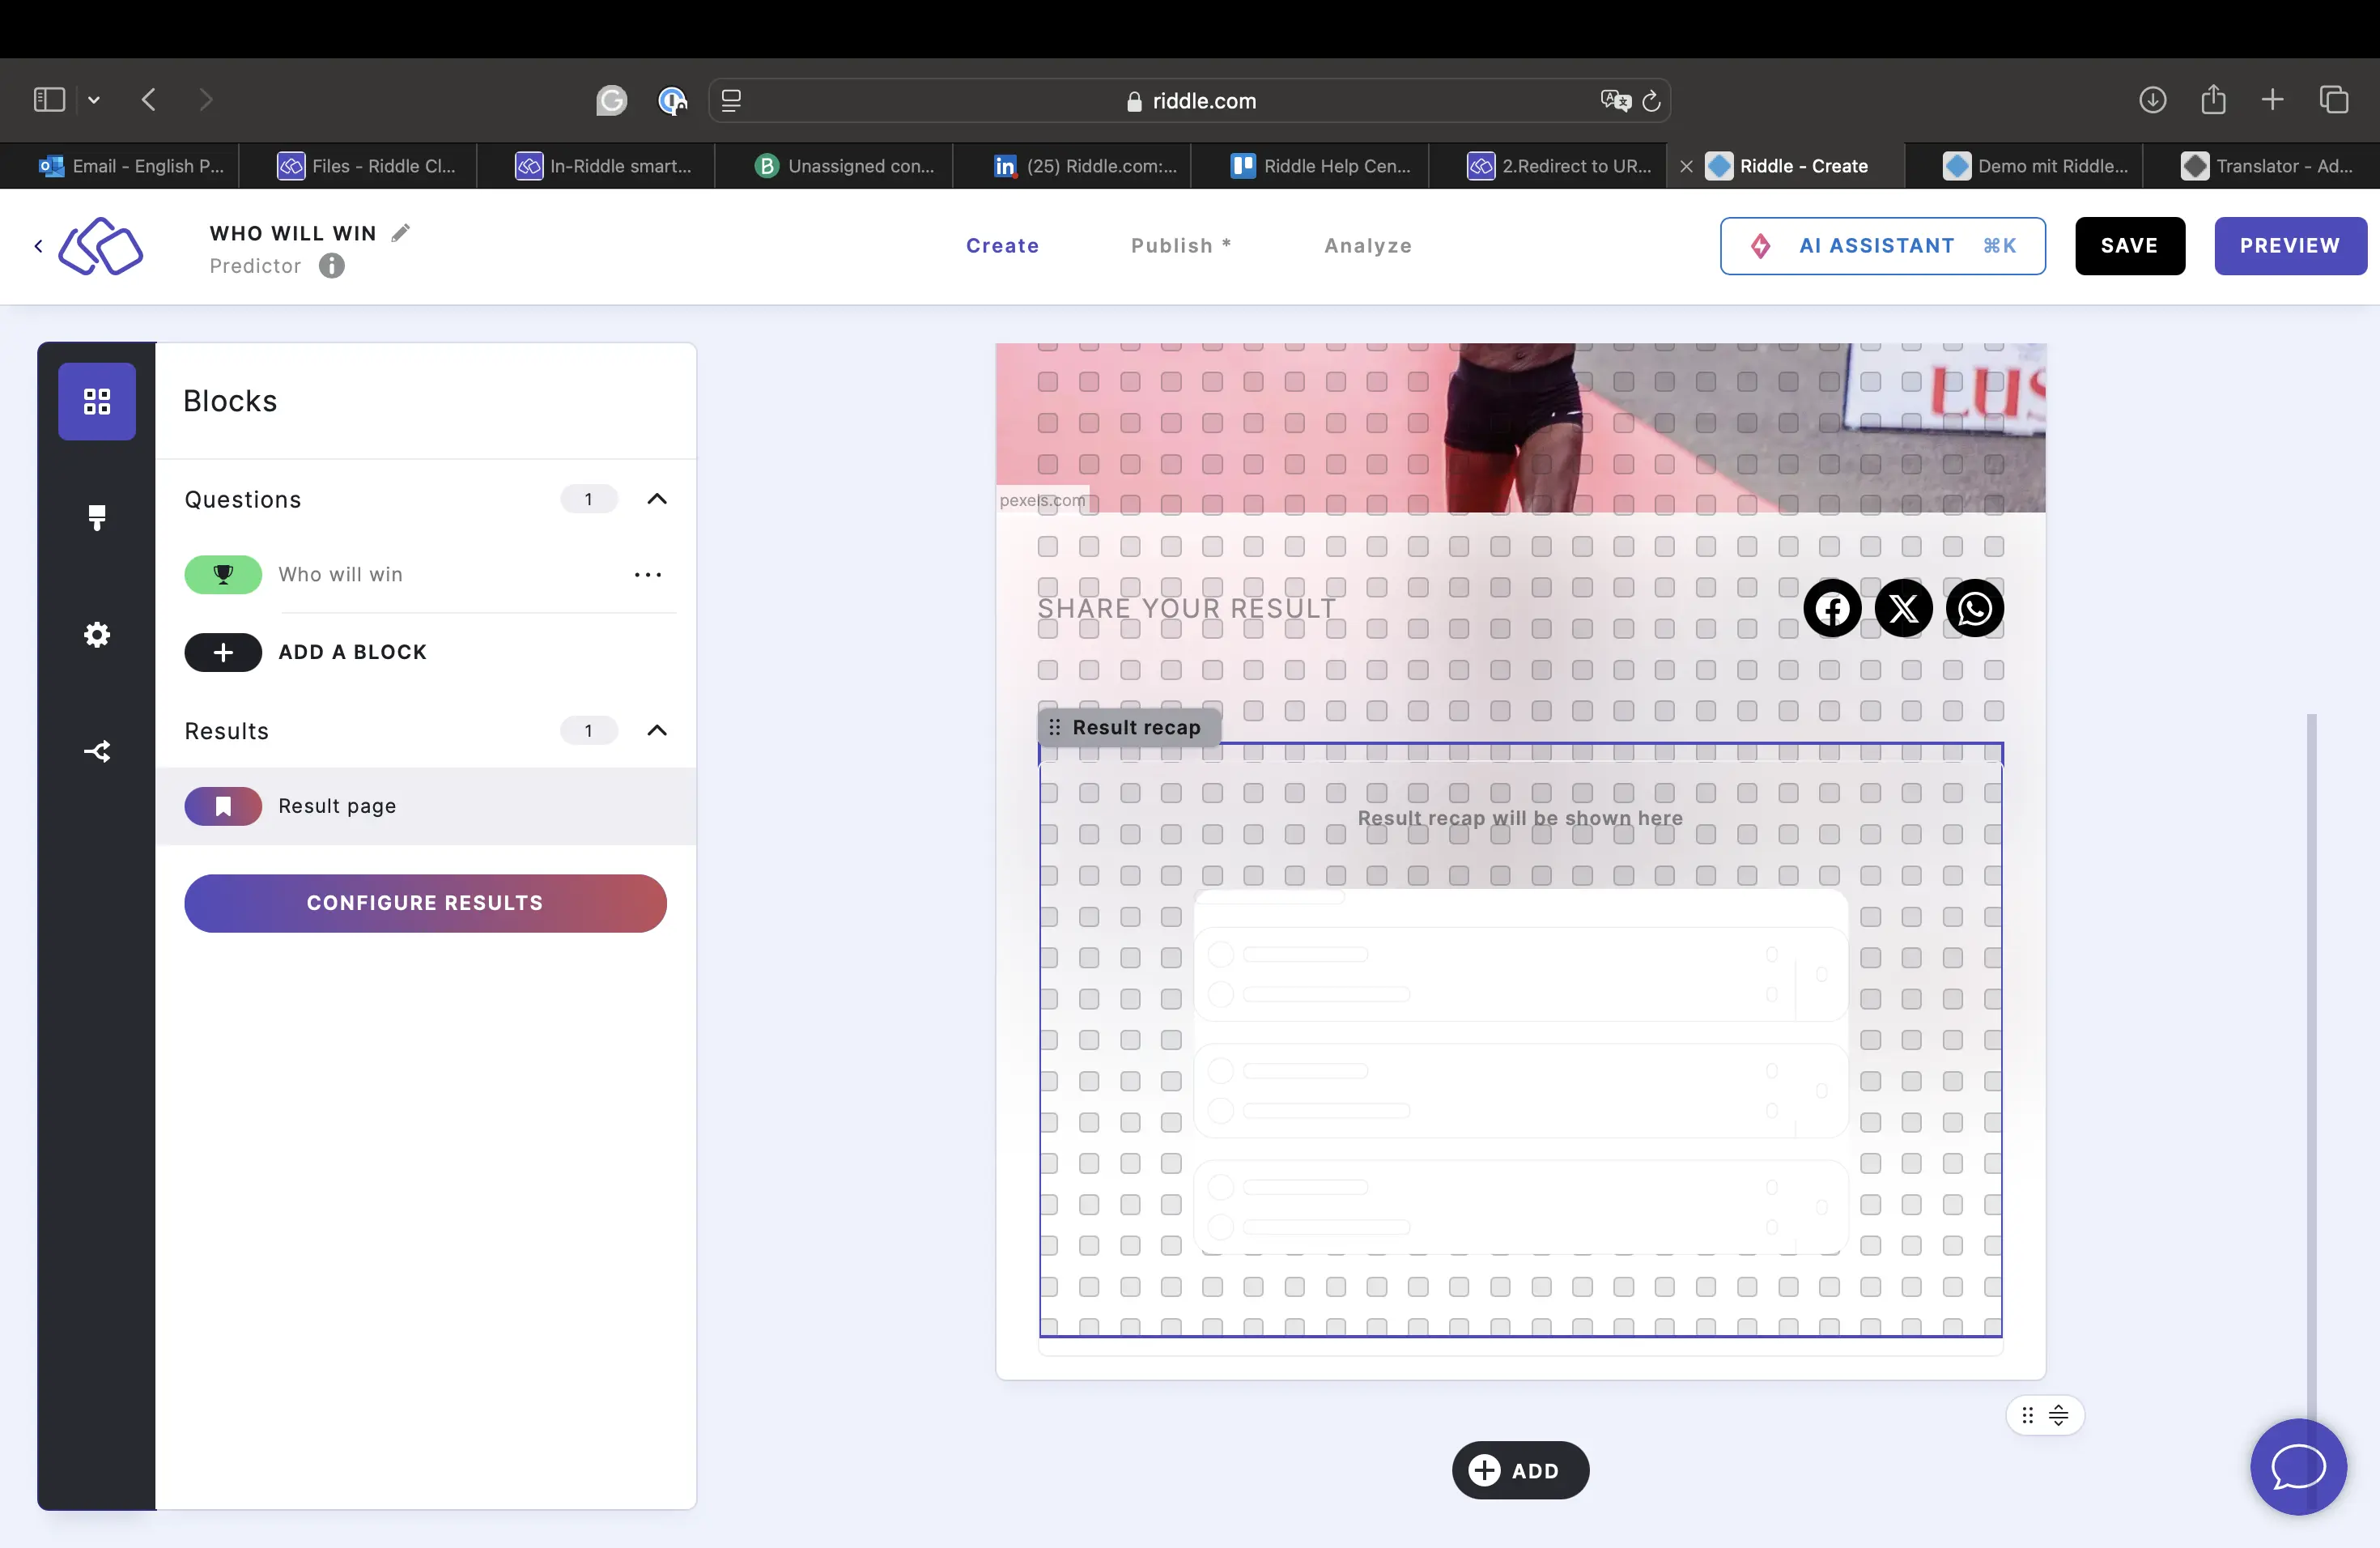
10. Add results recap
New Predictors have the Results Recap block by default. You can easily add it to old Predictors on the result page.
- Click on the ADD button under your result page and select Results recap.
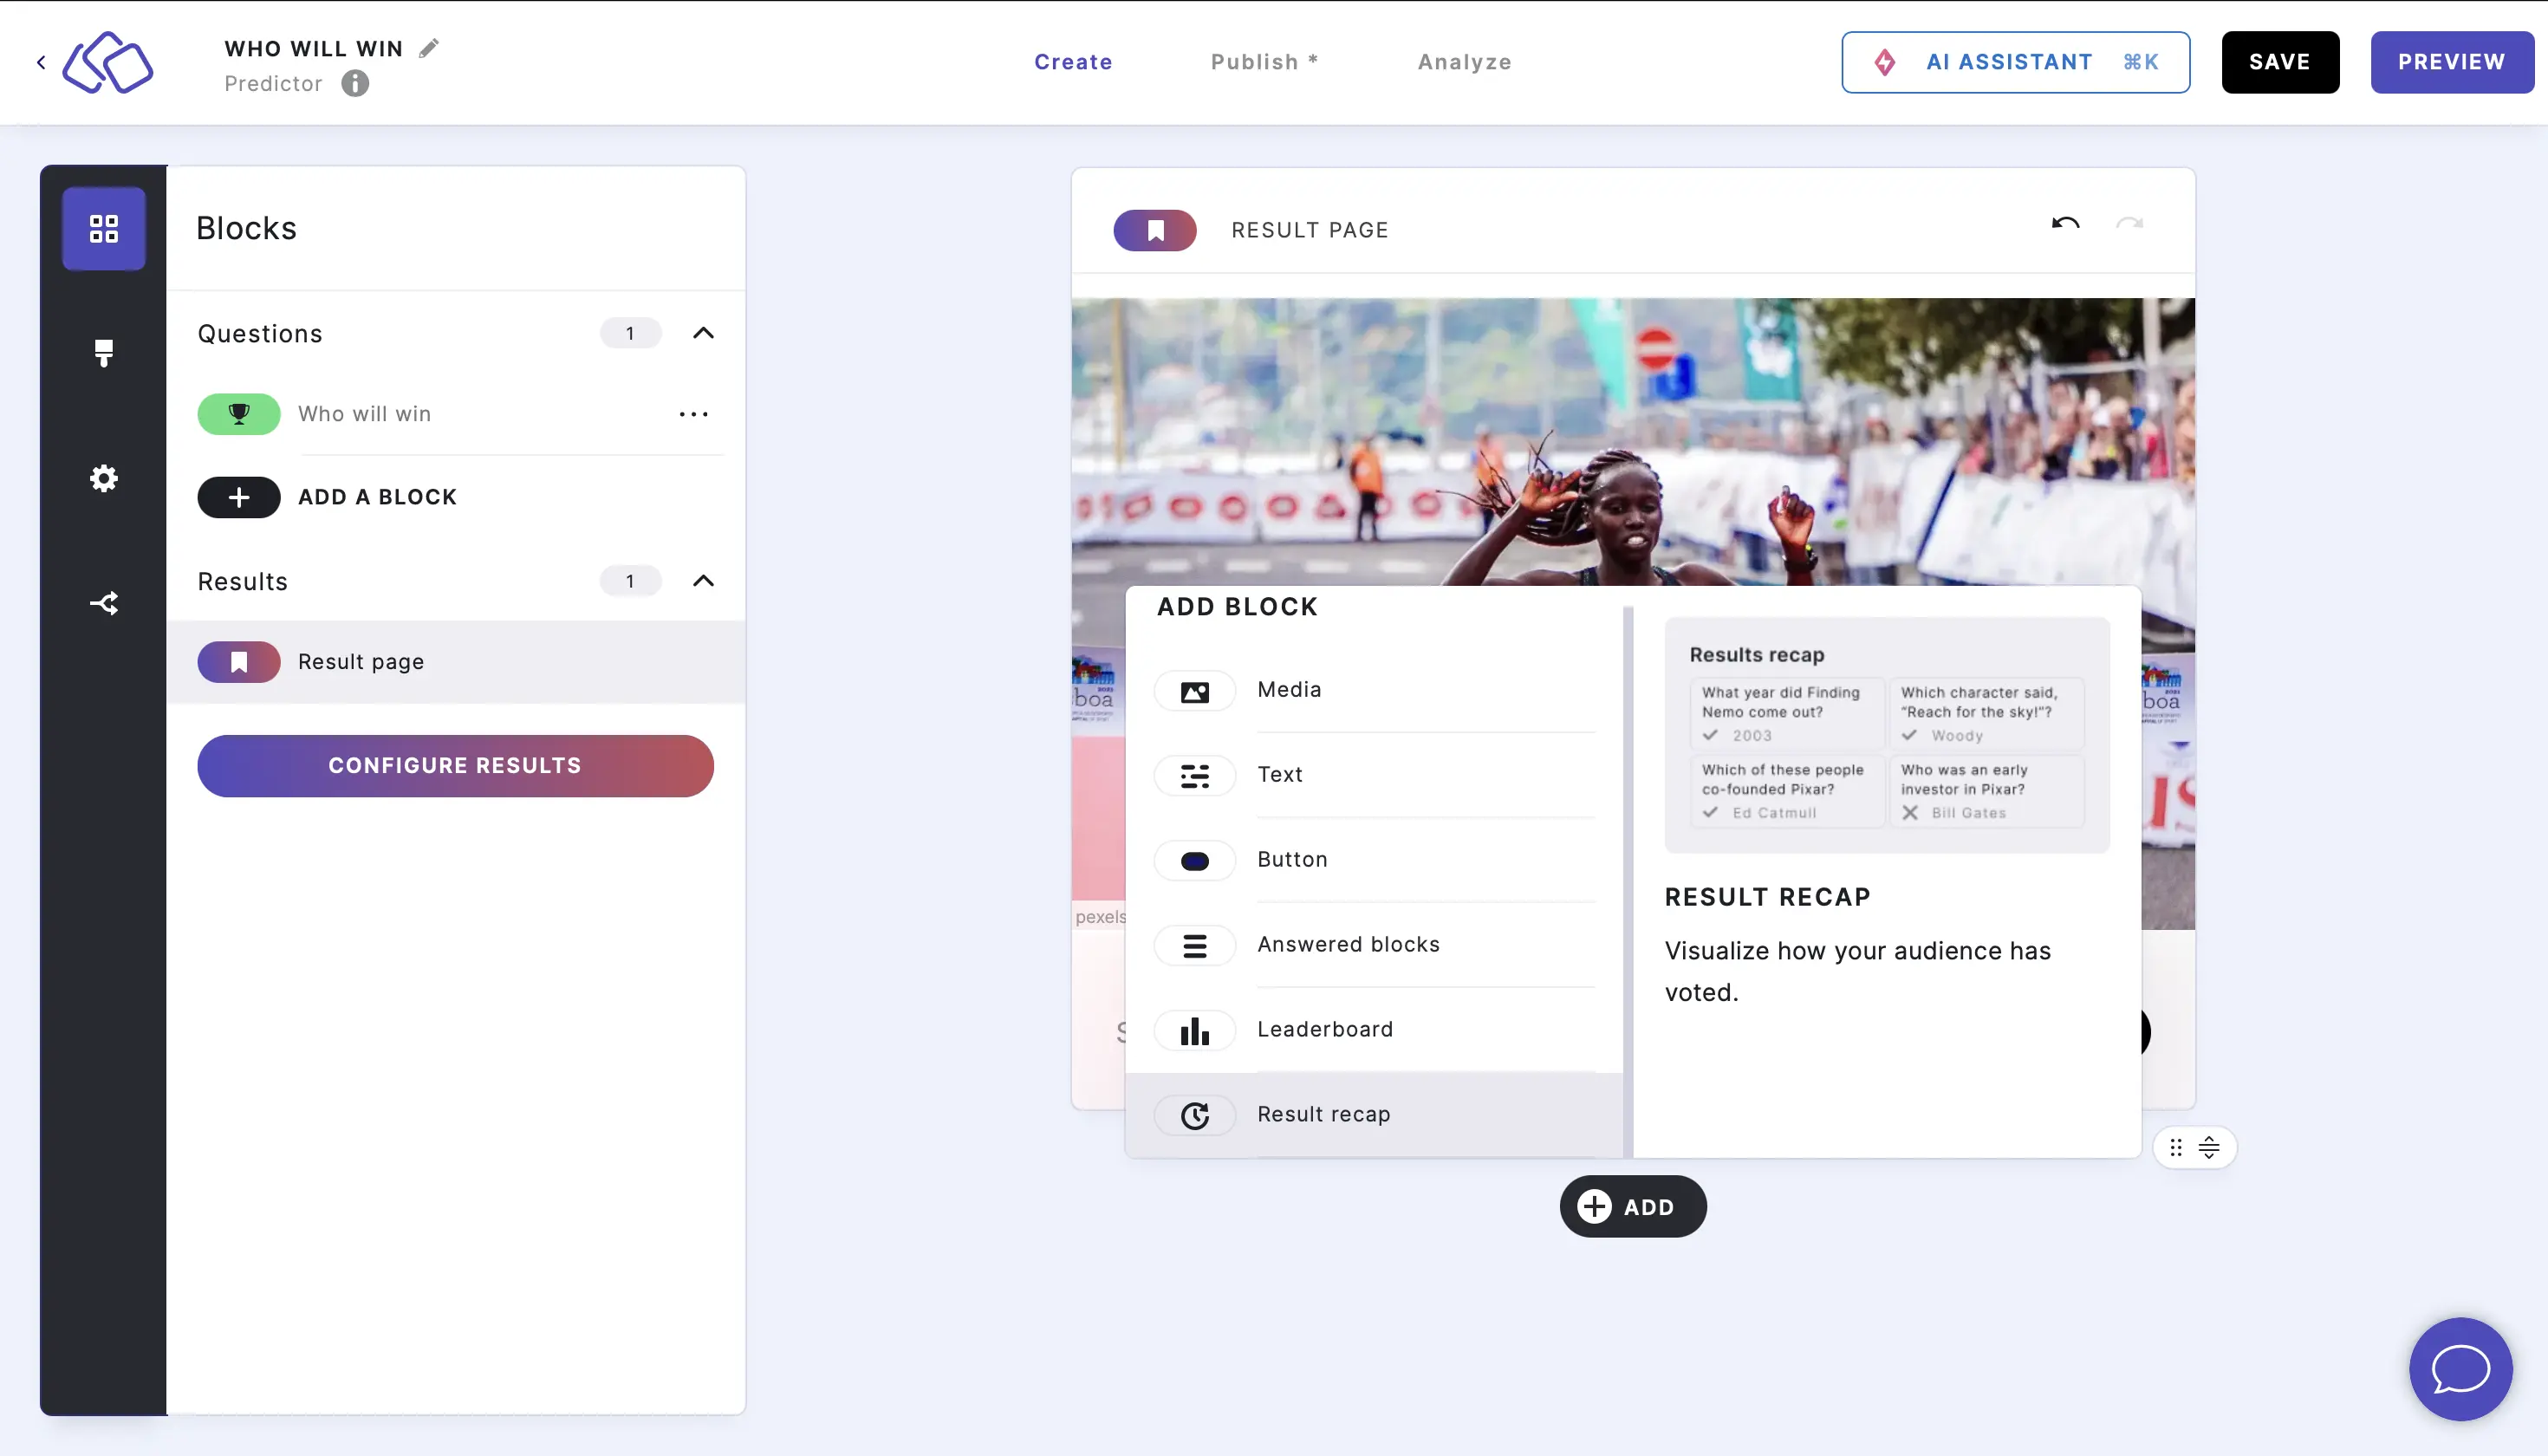
- The default audience choices will appear here without any further changes necessary. To edit, click on the edit icon and enter or use the up and down arrows to select the amount of results you'd like to show.
11. Add recommended content
Keep your audience engaged even after they finish a Riddle. The Recommended Content block lets you showcase additional content directly on the result page – so users never reach a dead end and naturally spend more time on your site.
- Click on the ADD button under your result page and select Recommended Content.
- Choose your recommendation type:
Dynamic recommendations:- Enable Filter by type and select one or more Riddle types (Quiz, Poll/Survey, Personality Quiz, etc.).
- Enable Filter by tags and select tags to match content with specific tags.
- Recommendations automatically refresh every hour to surface your latest Riddles.
Static selections:- Disable dynamic filtering options.
- Click on Select Riddles and choose specific Riddles you want to feature.
- These Riddles will always appear statically on the result page.
- Customize display (optional):
- Set how many recommendations to show.
- Choose the layout and styling to match your result page design.
This feature helps you drive higher engagement, increase session duration, and create a smoother content journey for your audience.
Options
1. Show a result page after the closing date (poll and predictor only)
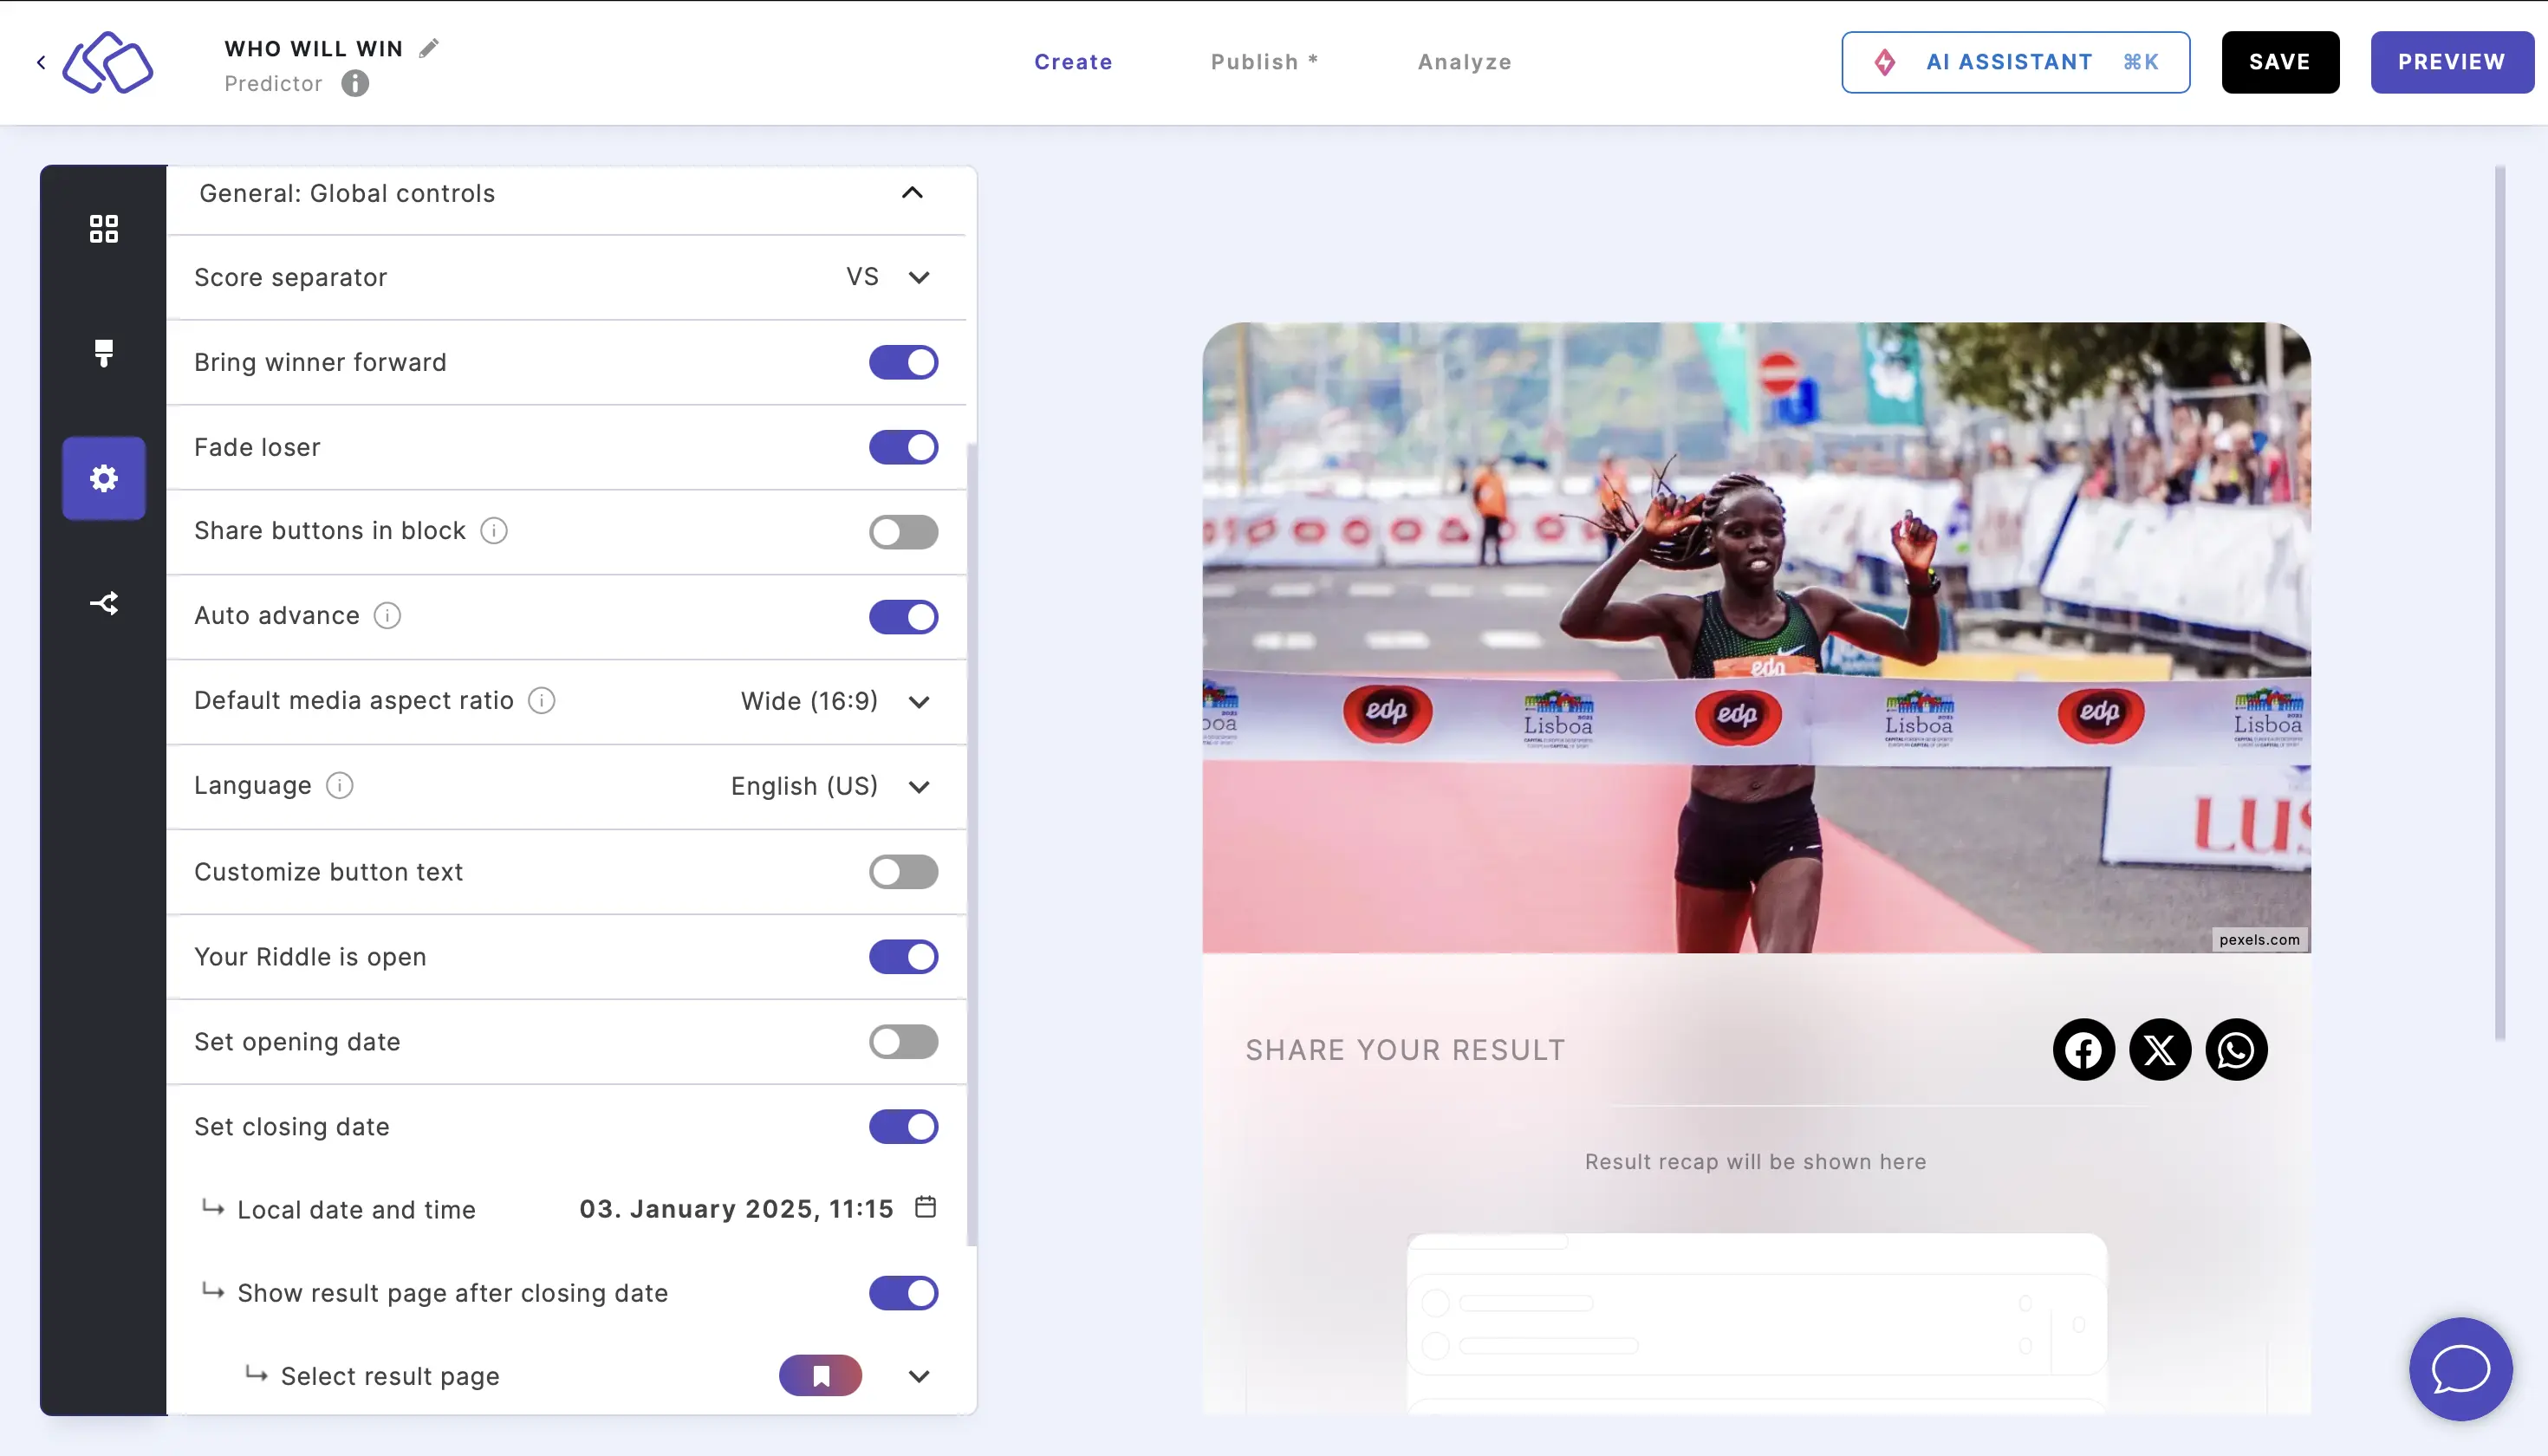
Go to Settings, select General: Global controls, scroll down, enable Show the result page after the closing date, and select a result page from the dropdown menu.
2. Delete an element
Click on an element and click on the delete bin icon.
3. Move an element
Click on an the six dots top left on any element and drag it to your preferred position. There are gridlines in the background to help you position the elements.
4. Undo/redo changes
Click on the back or forward arrow next to RESULT.